
Vaults, wallets & addresses
Vaults
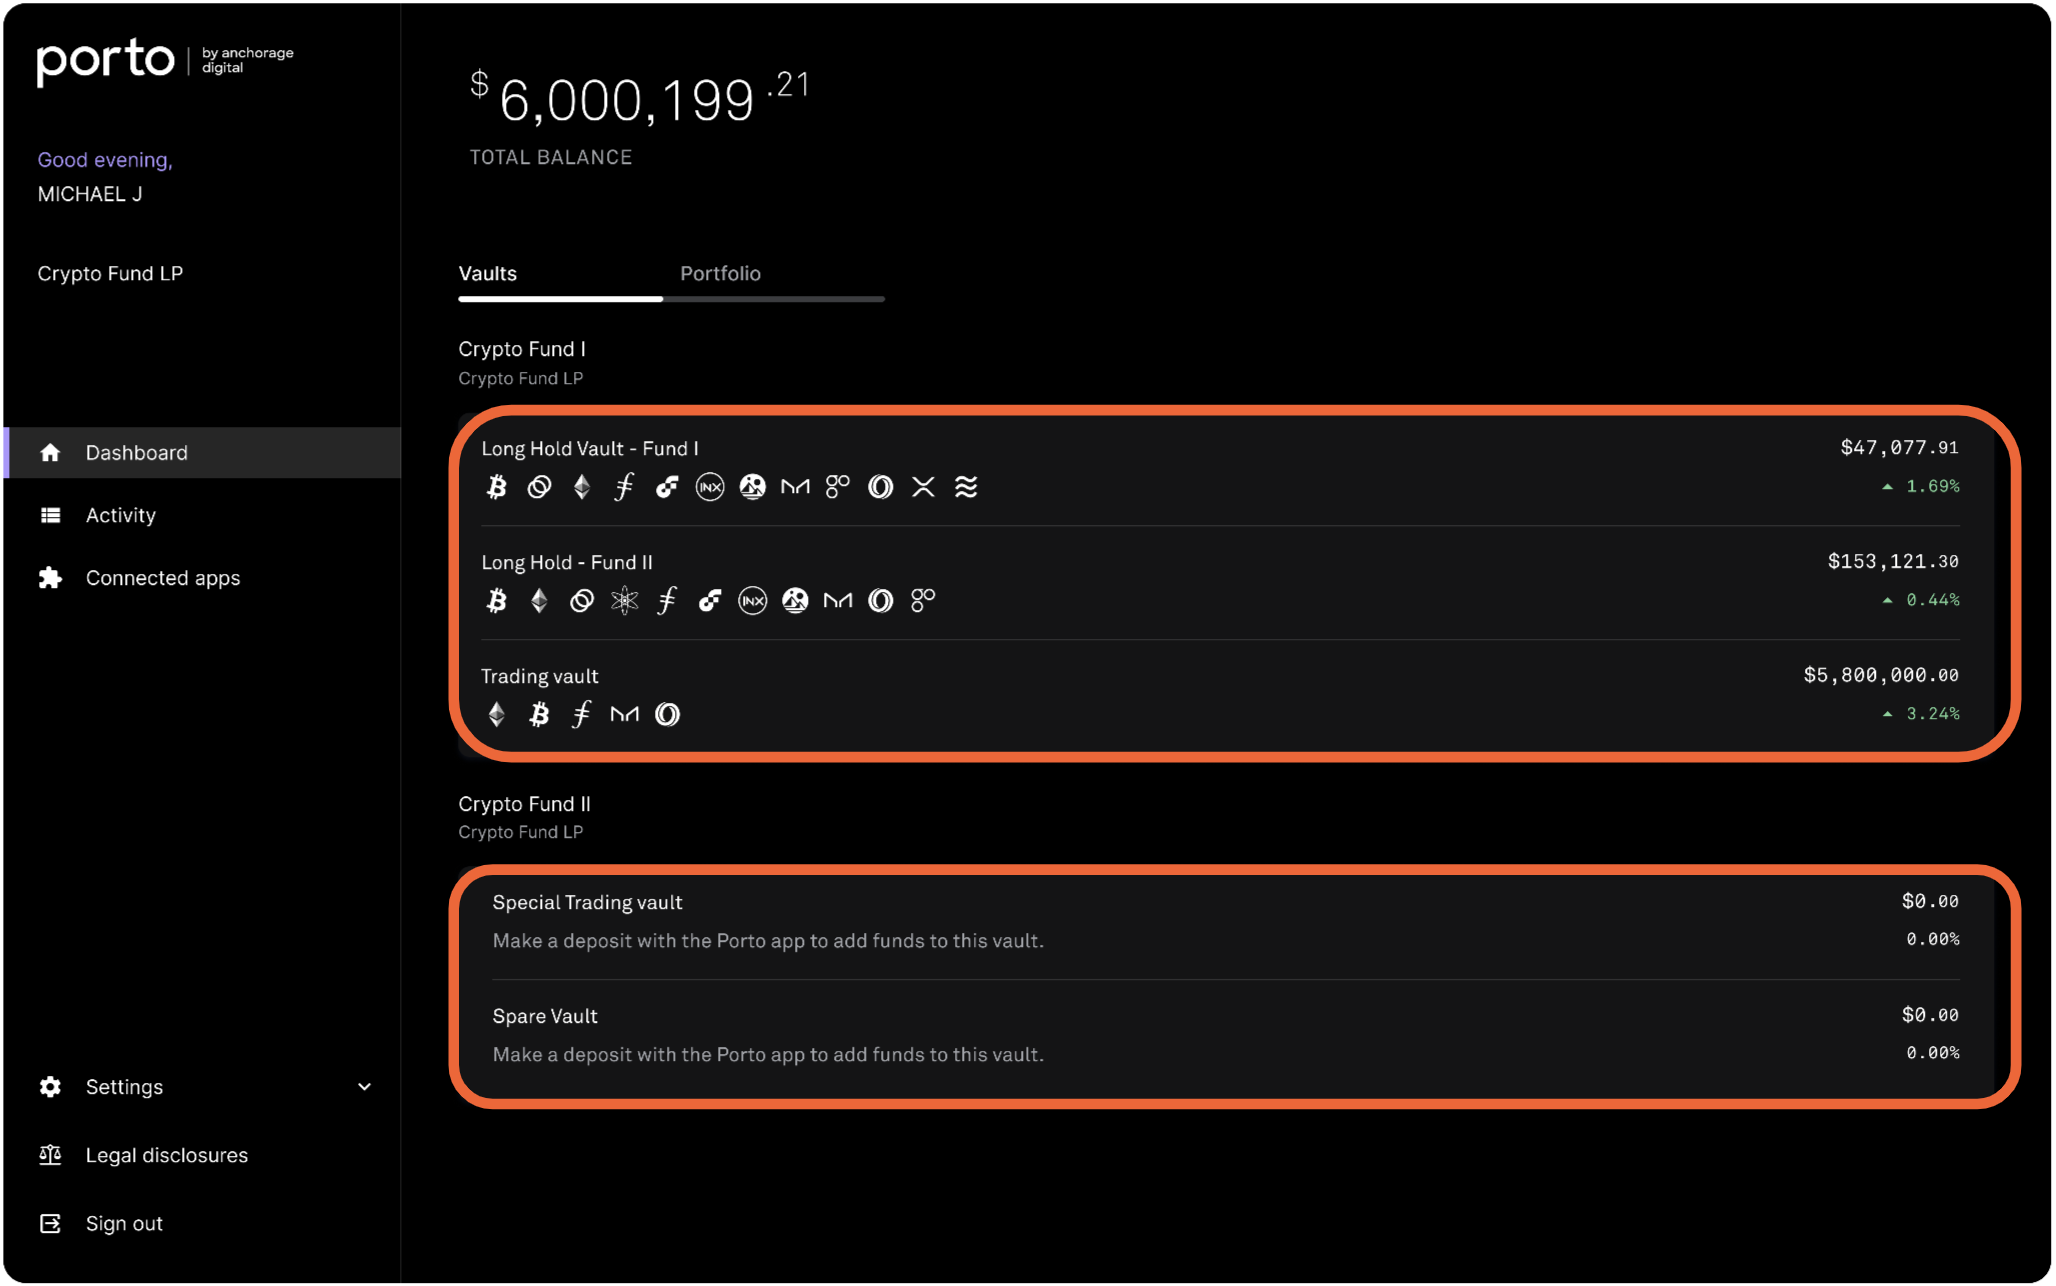
Click Vaults to get an overview of all of the vaults in your account from the web dashboard. Once Vaults is clicked, you will be able to see its portfolio and details, such as wallets and addresses.
Create a deposit address
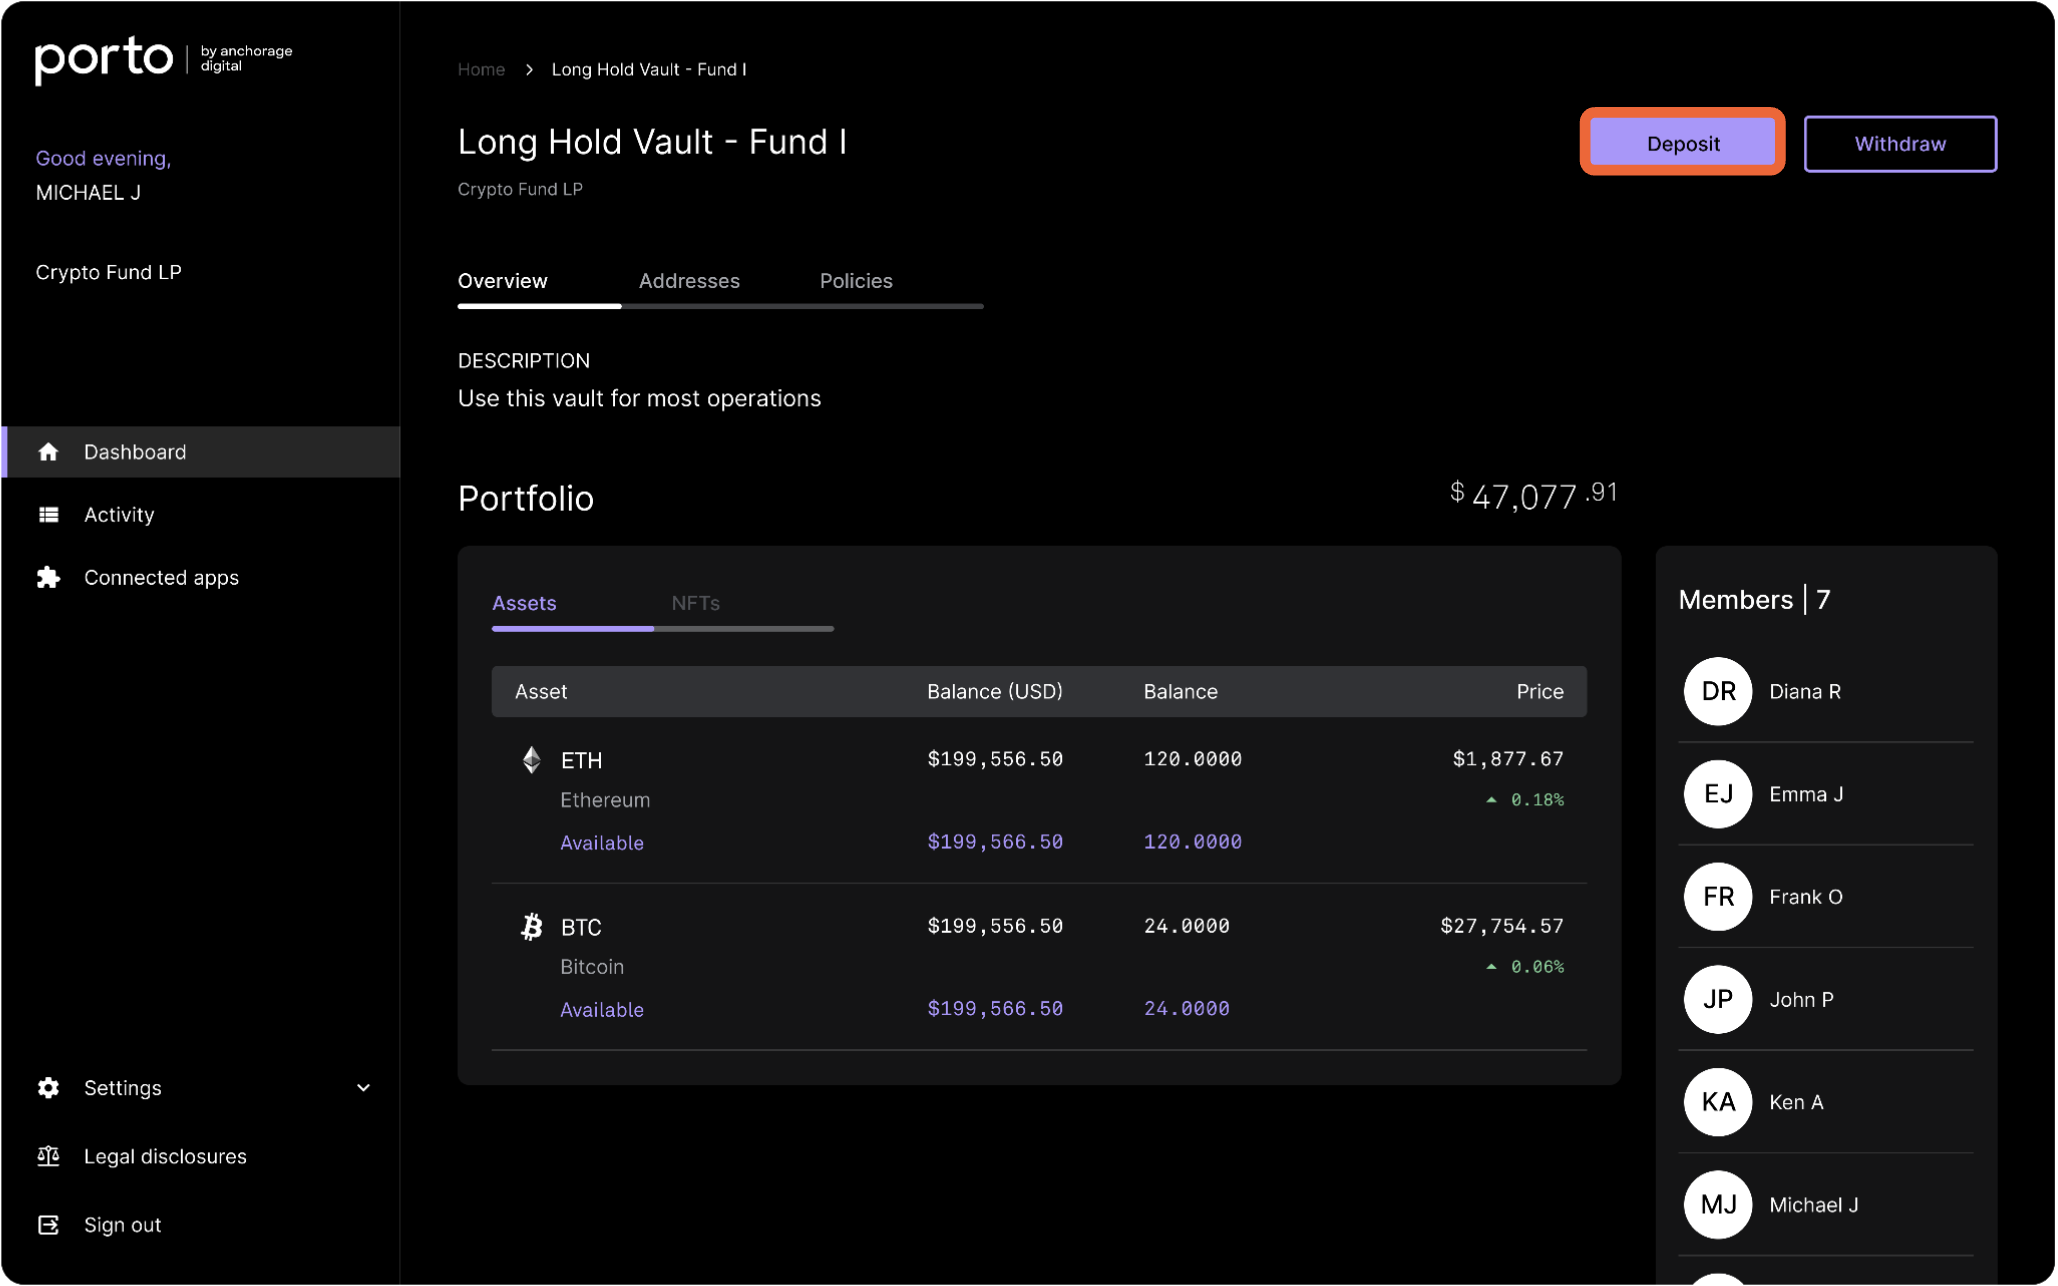
On the vault page, click Deposit to create a new deposit address from the web dashboard.
Note: Deposit addresses can also be created in the iOS app.
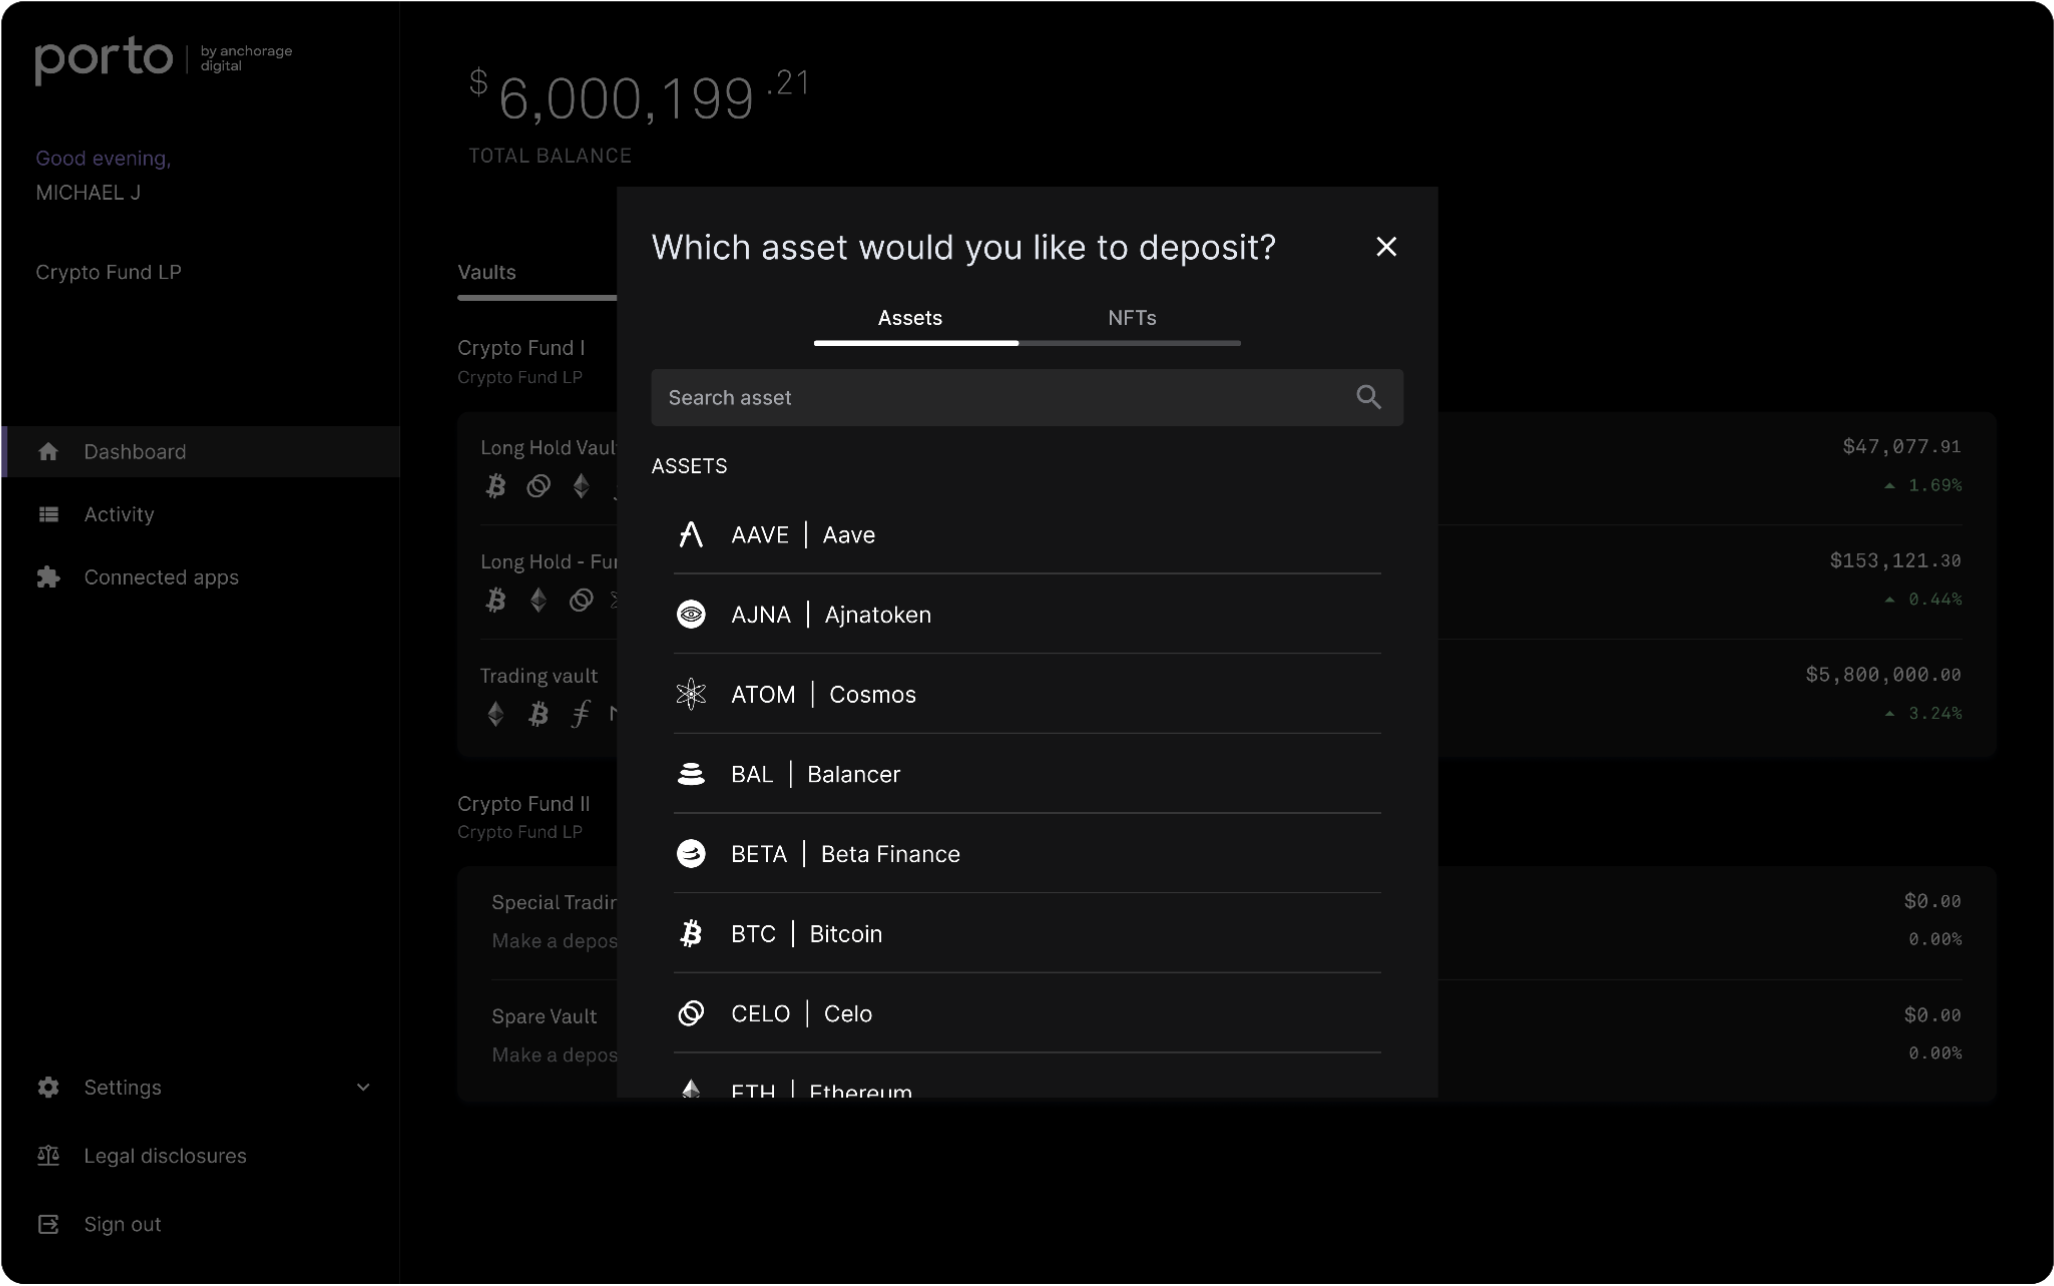
After clicking Deposit, search from the list of assets you would like to deposit and select the asset.
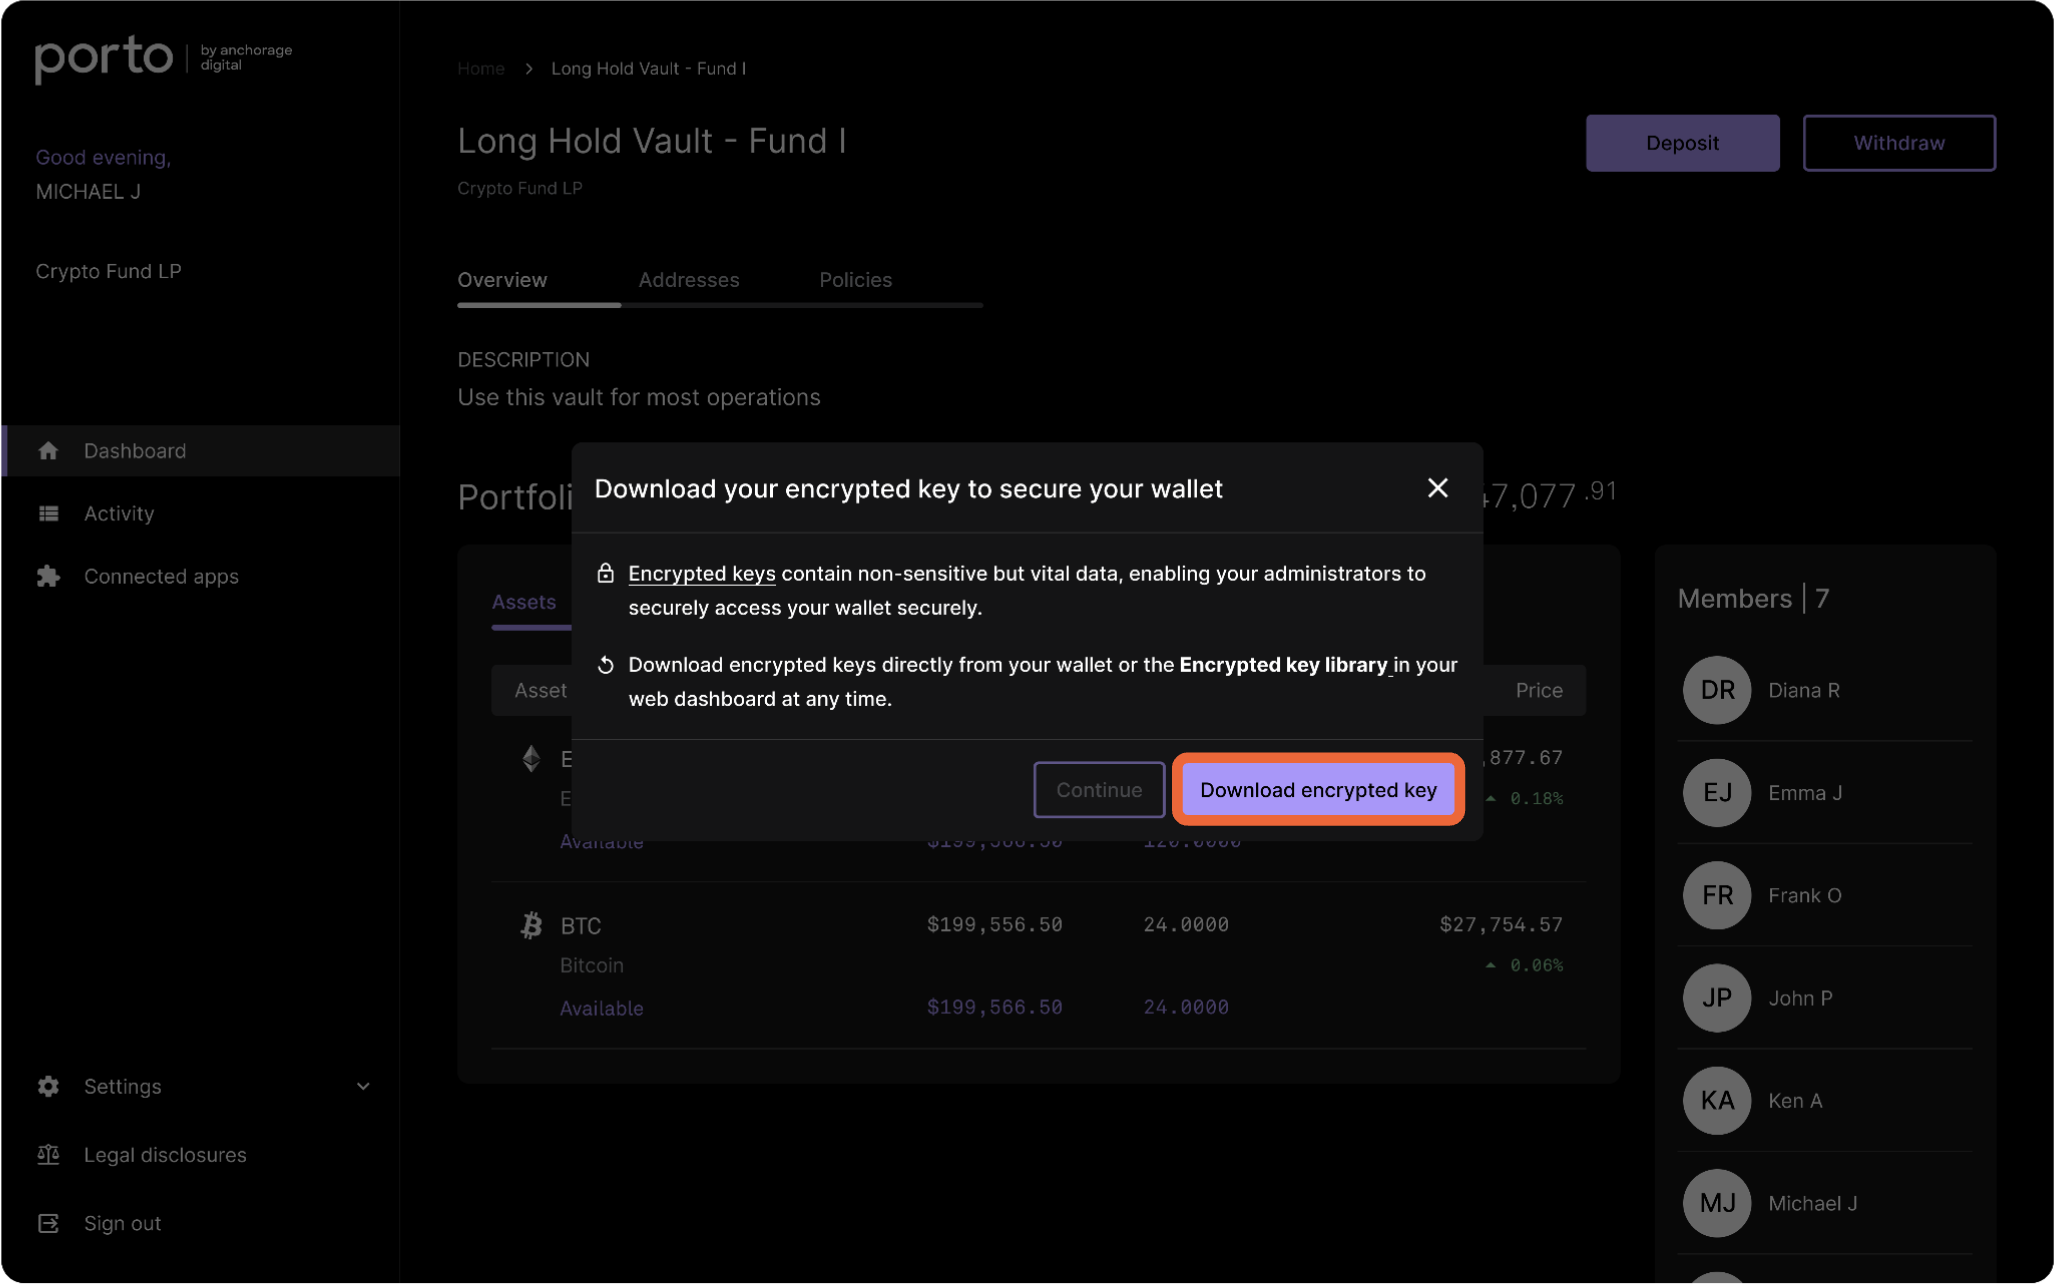
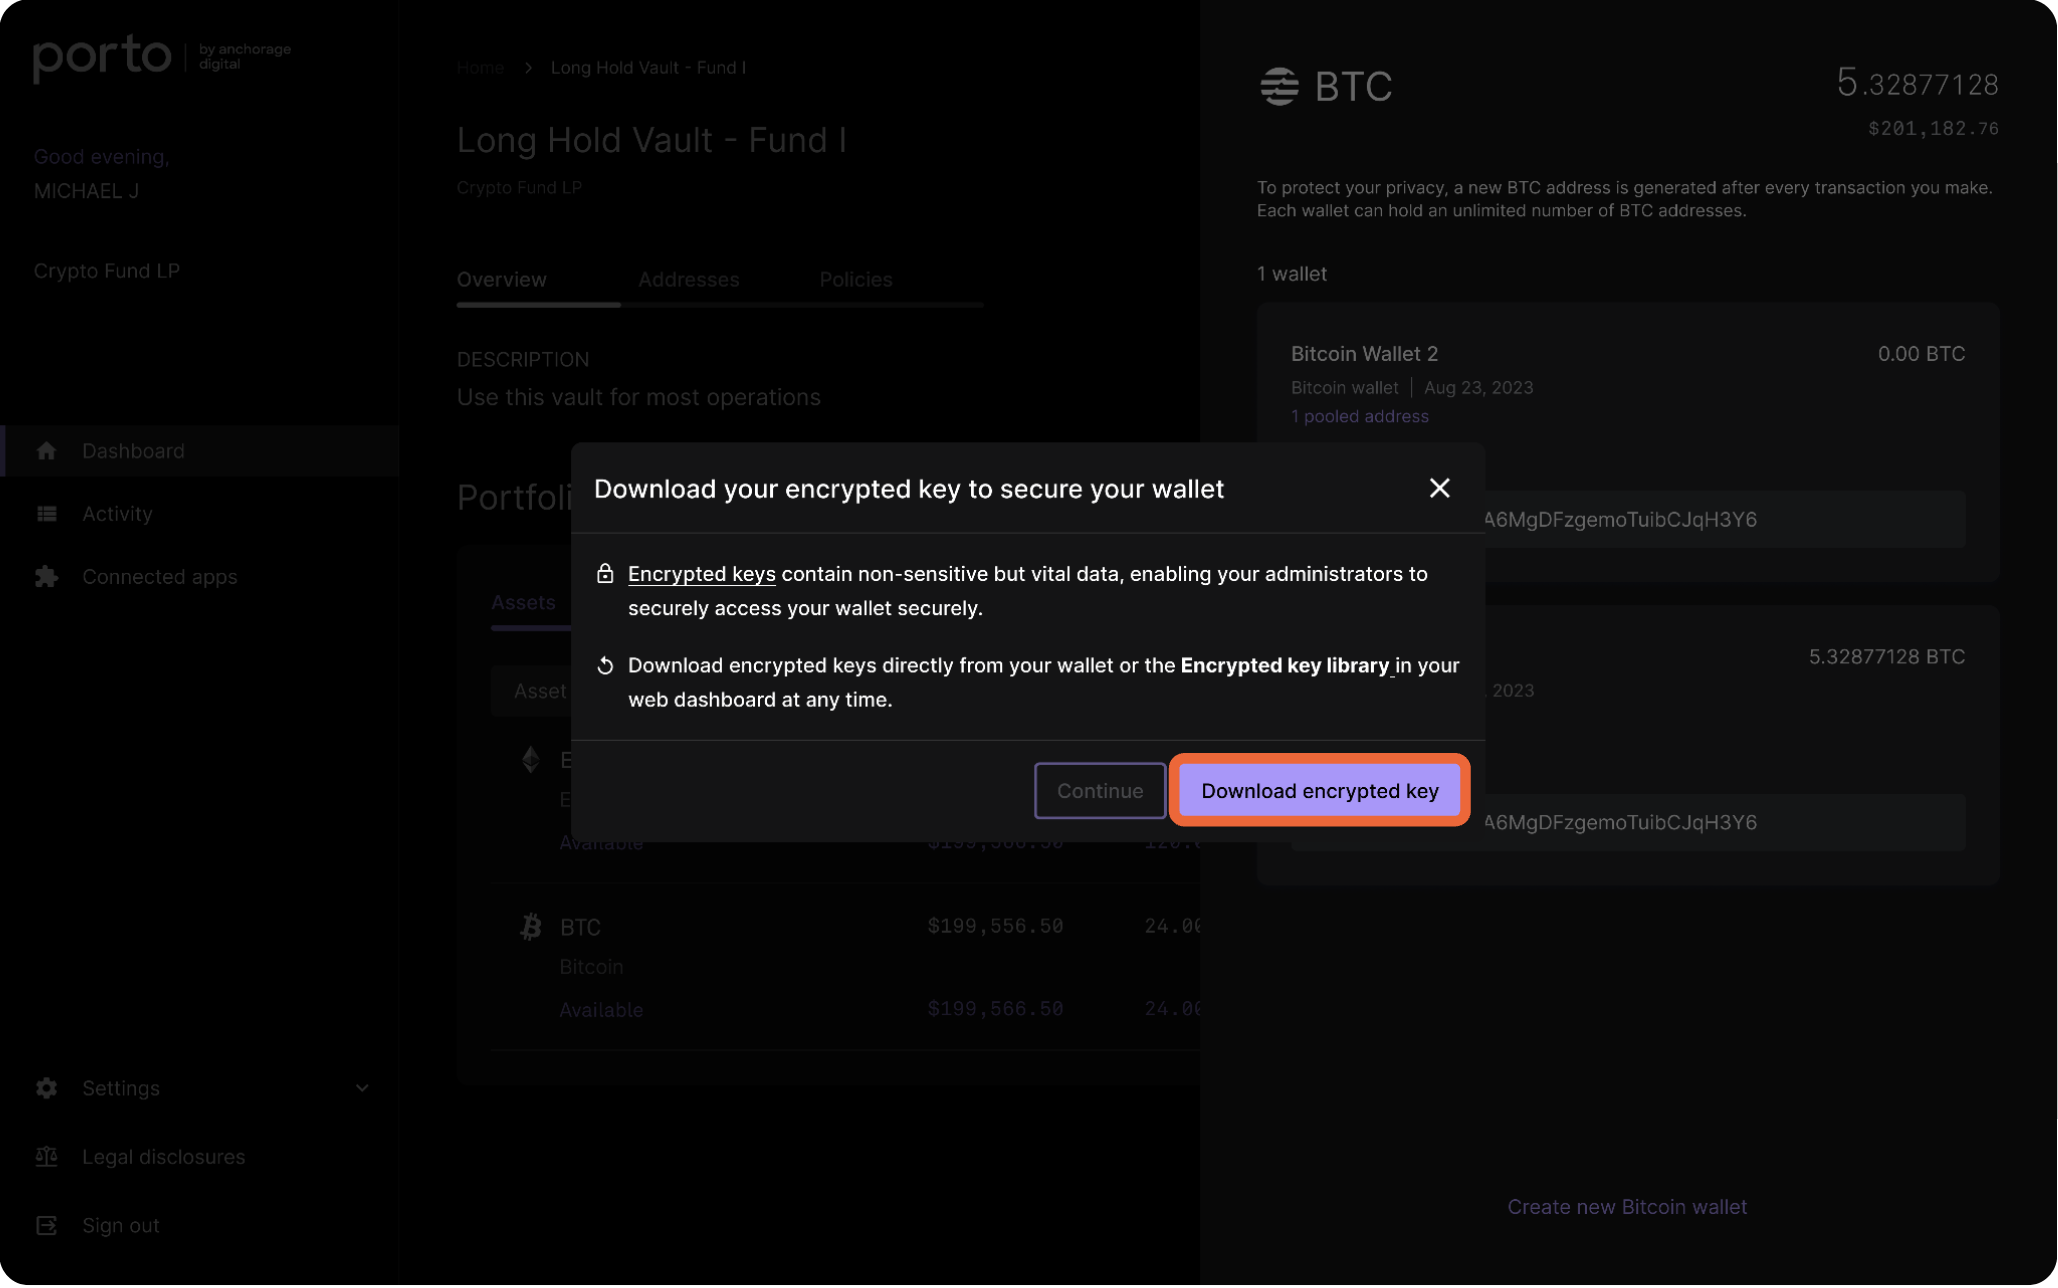
Before sharing the deposit address, click Download encrypted key and store it safely offline.
Once you have downloaded the key, copy and share the address with the counterparty.
Addresses
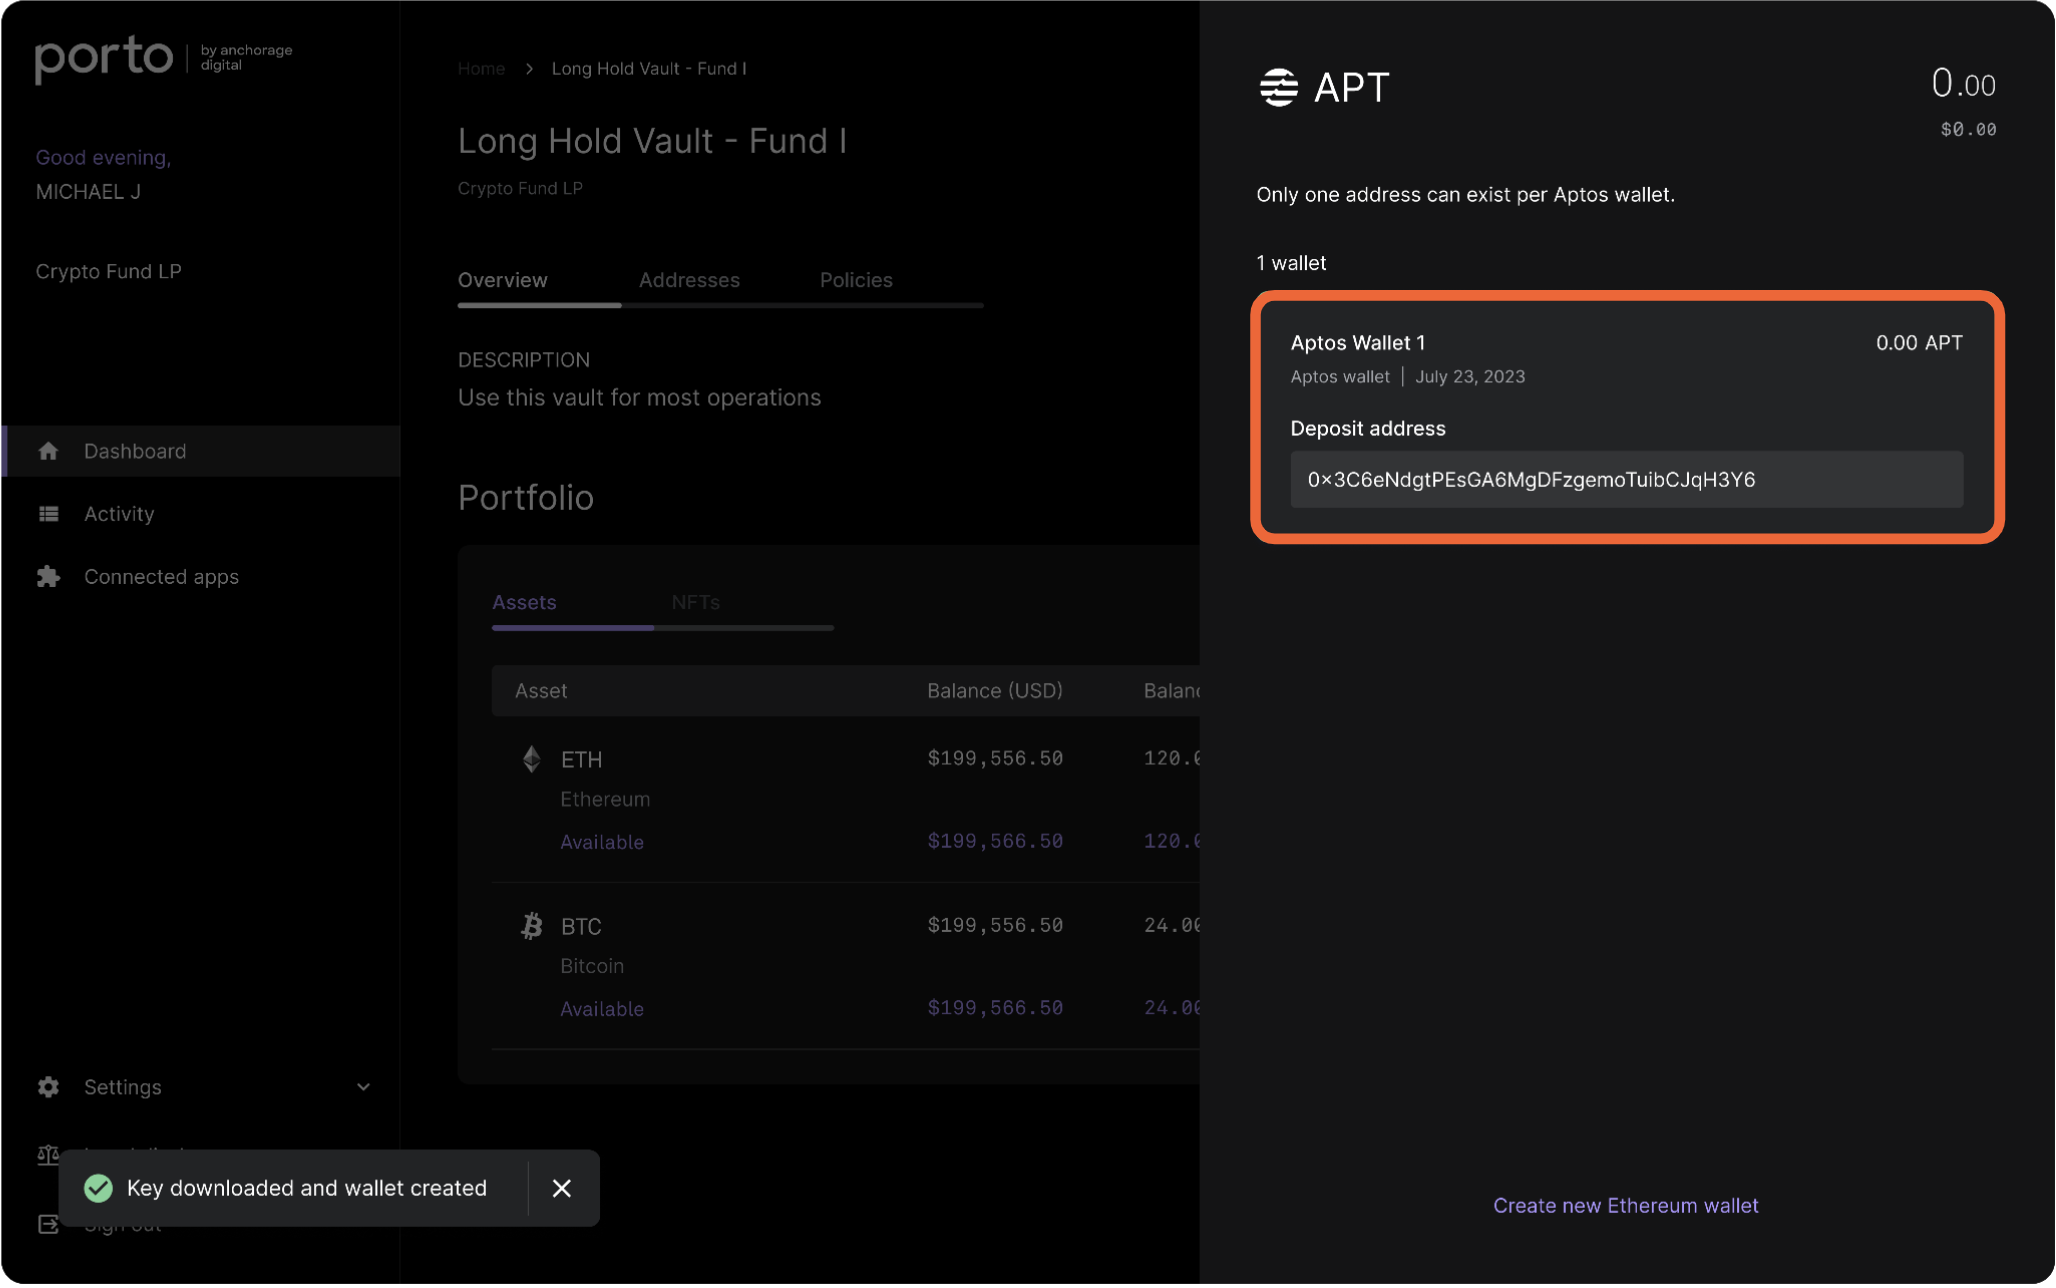
Under Addresses, all addresses associated with the vault are listed. You can search by asset, address, or wallet.
Wallet details
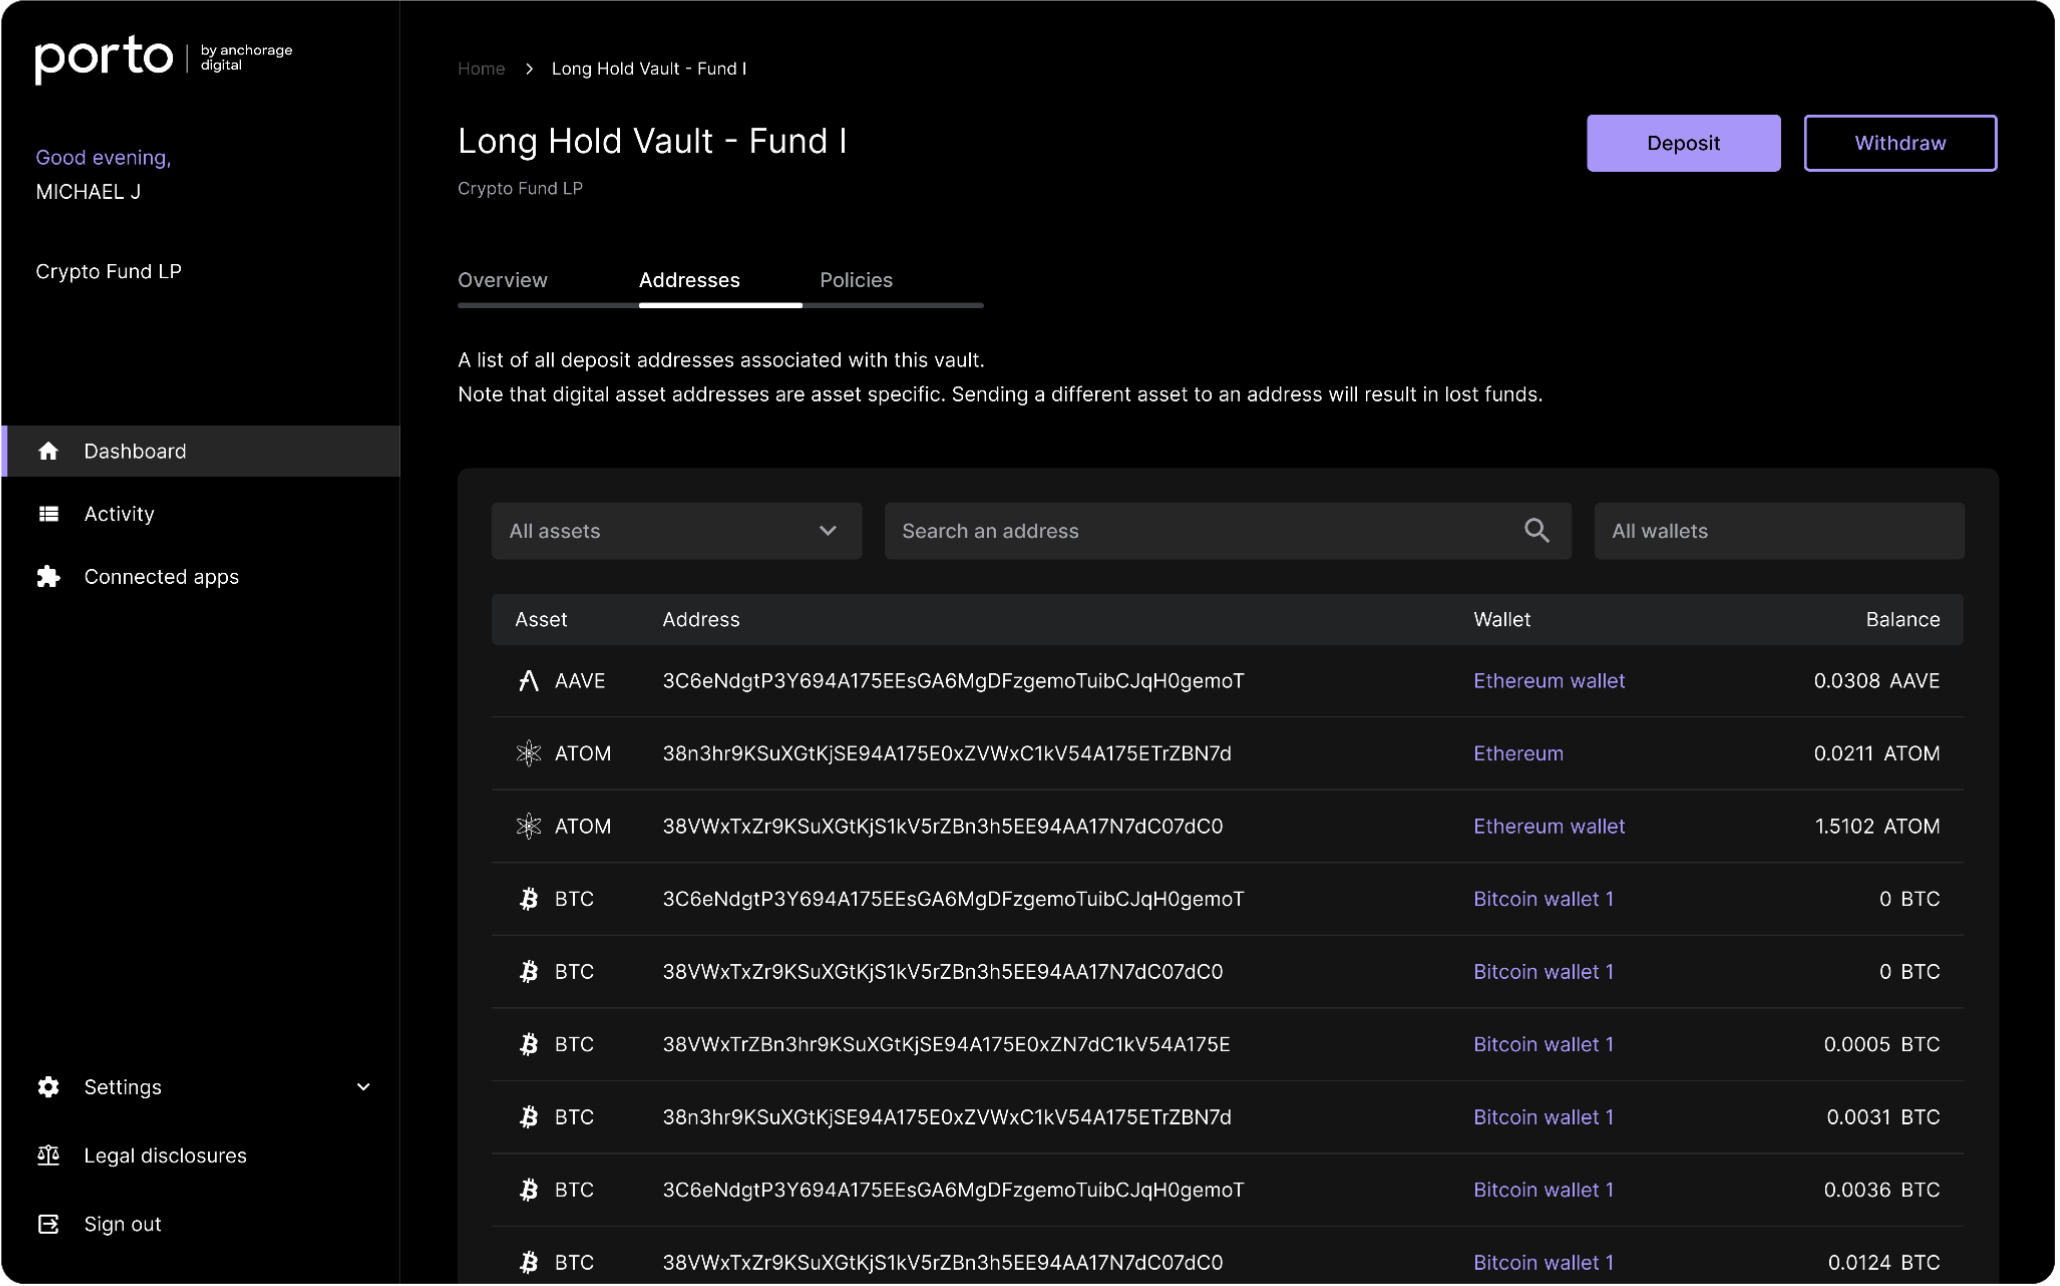
Click on the wallet name to see the details of the associated wallet.
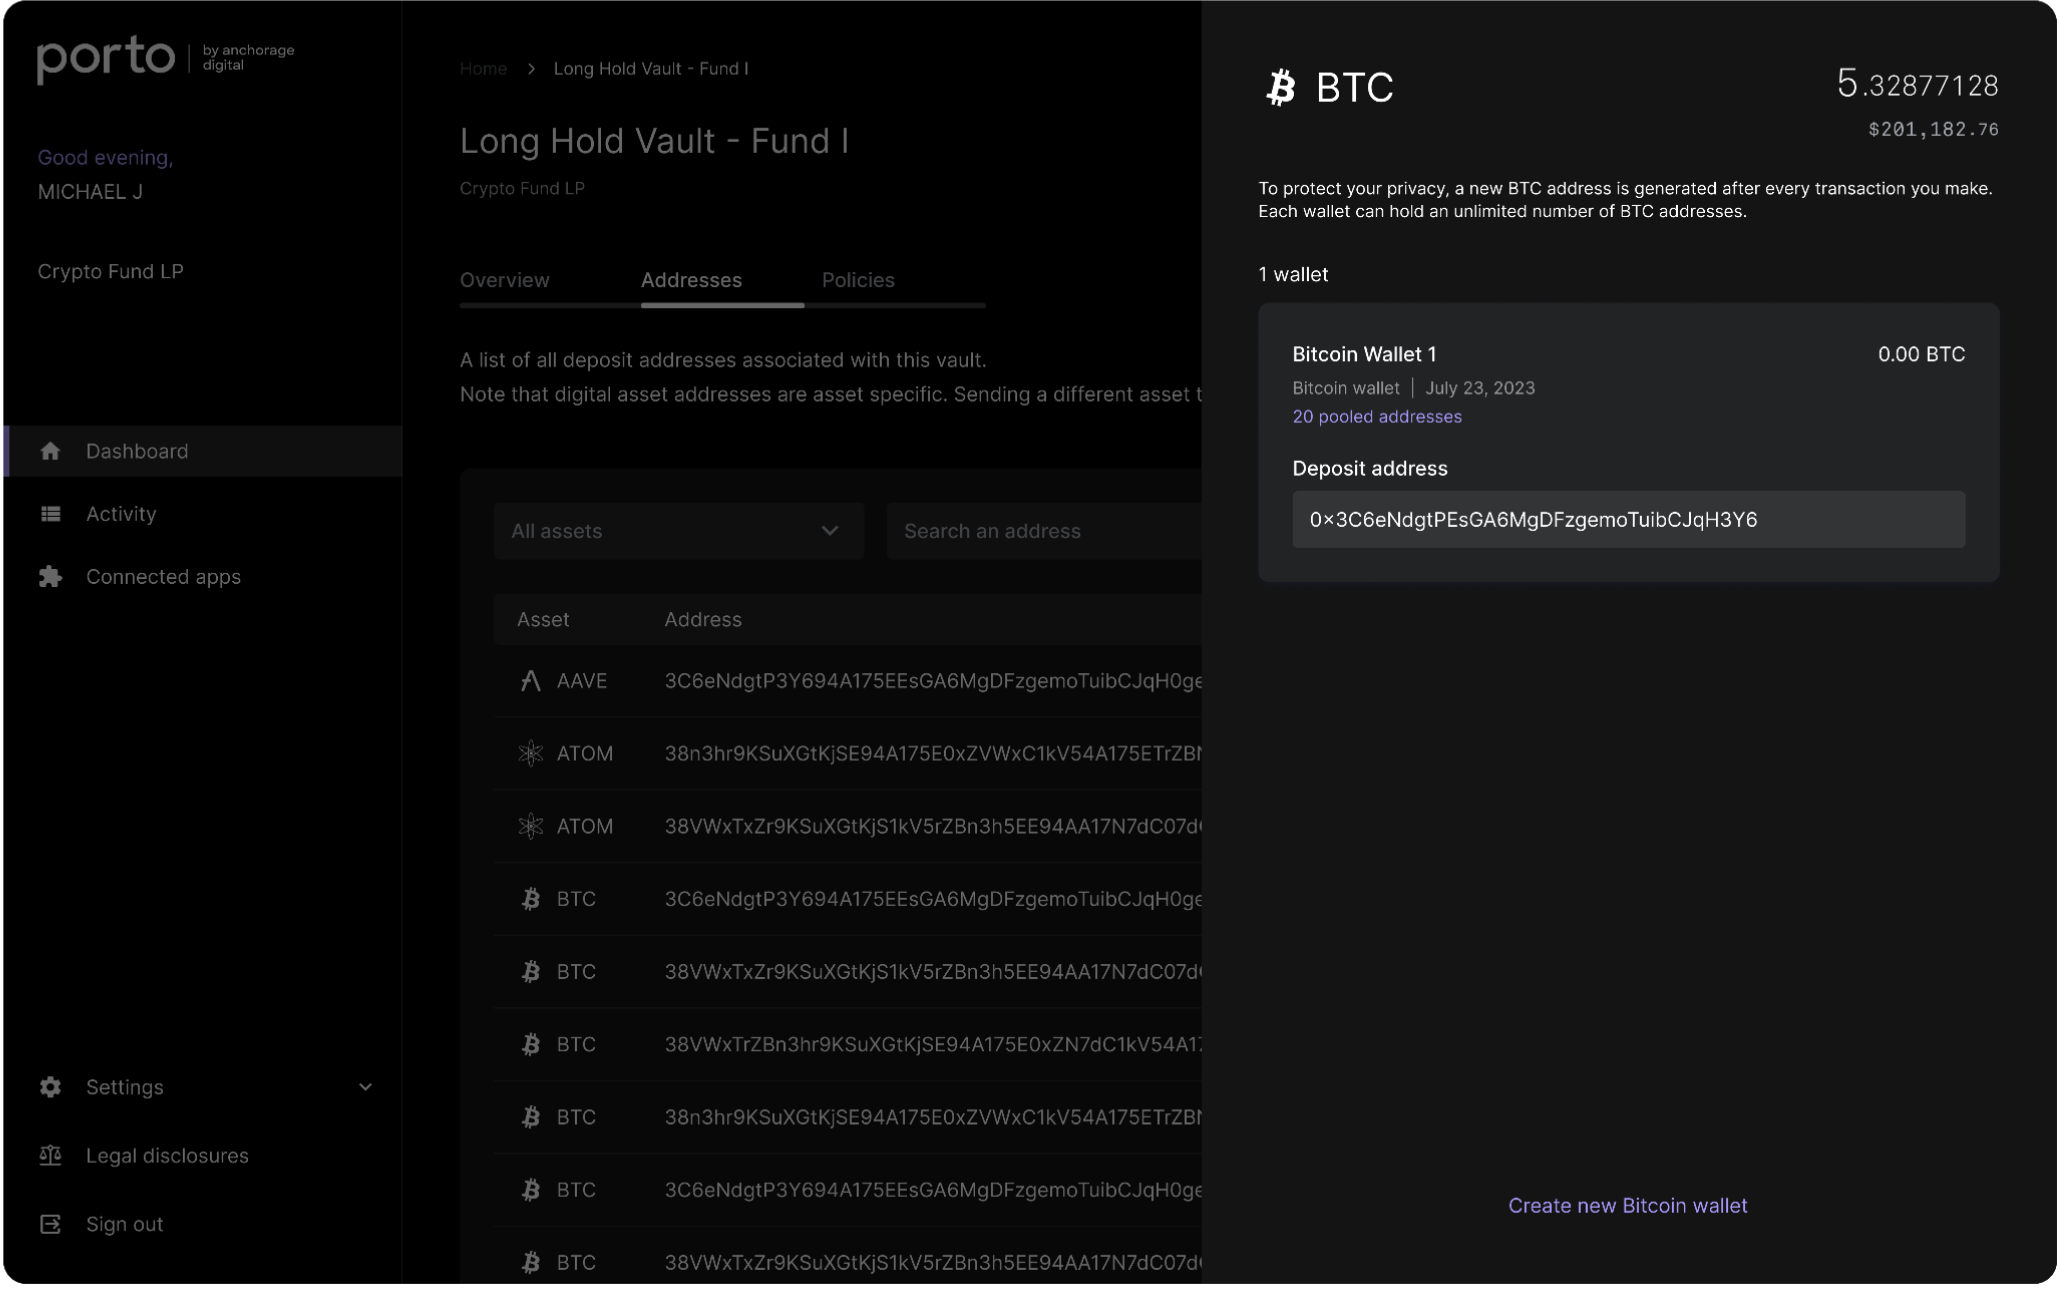
Create a new wallet
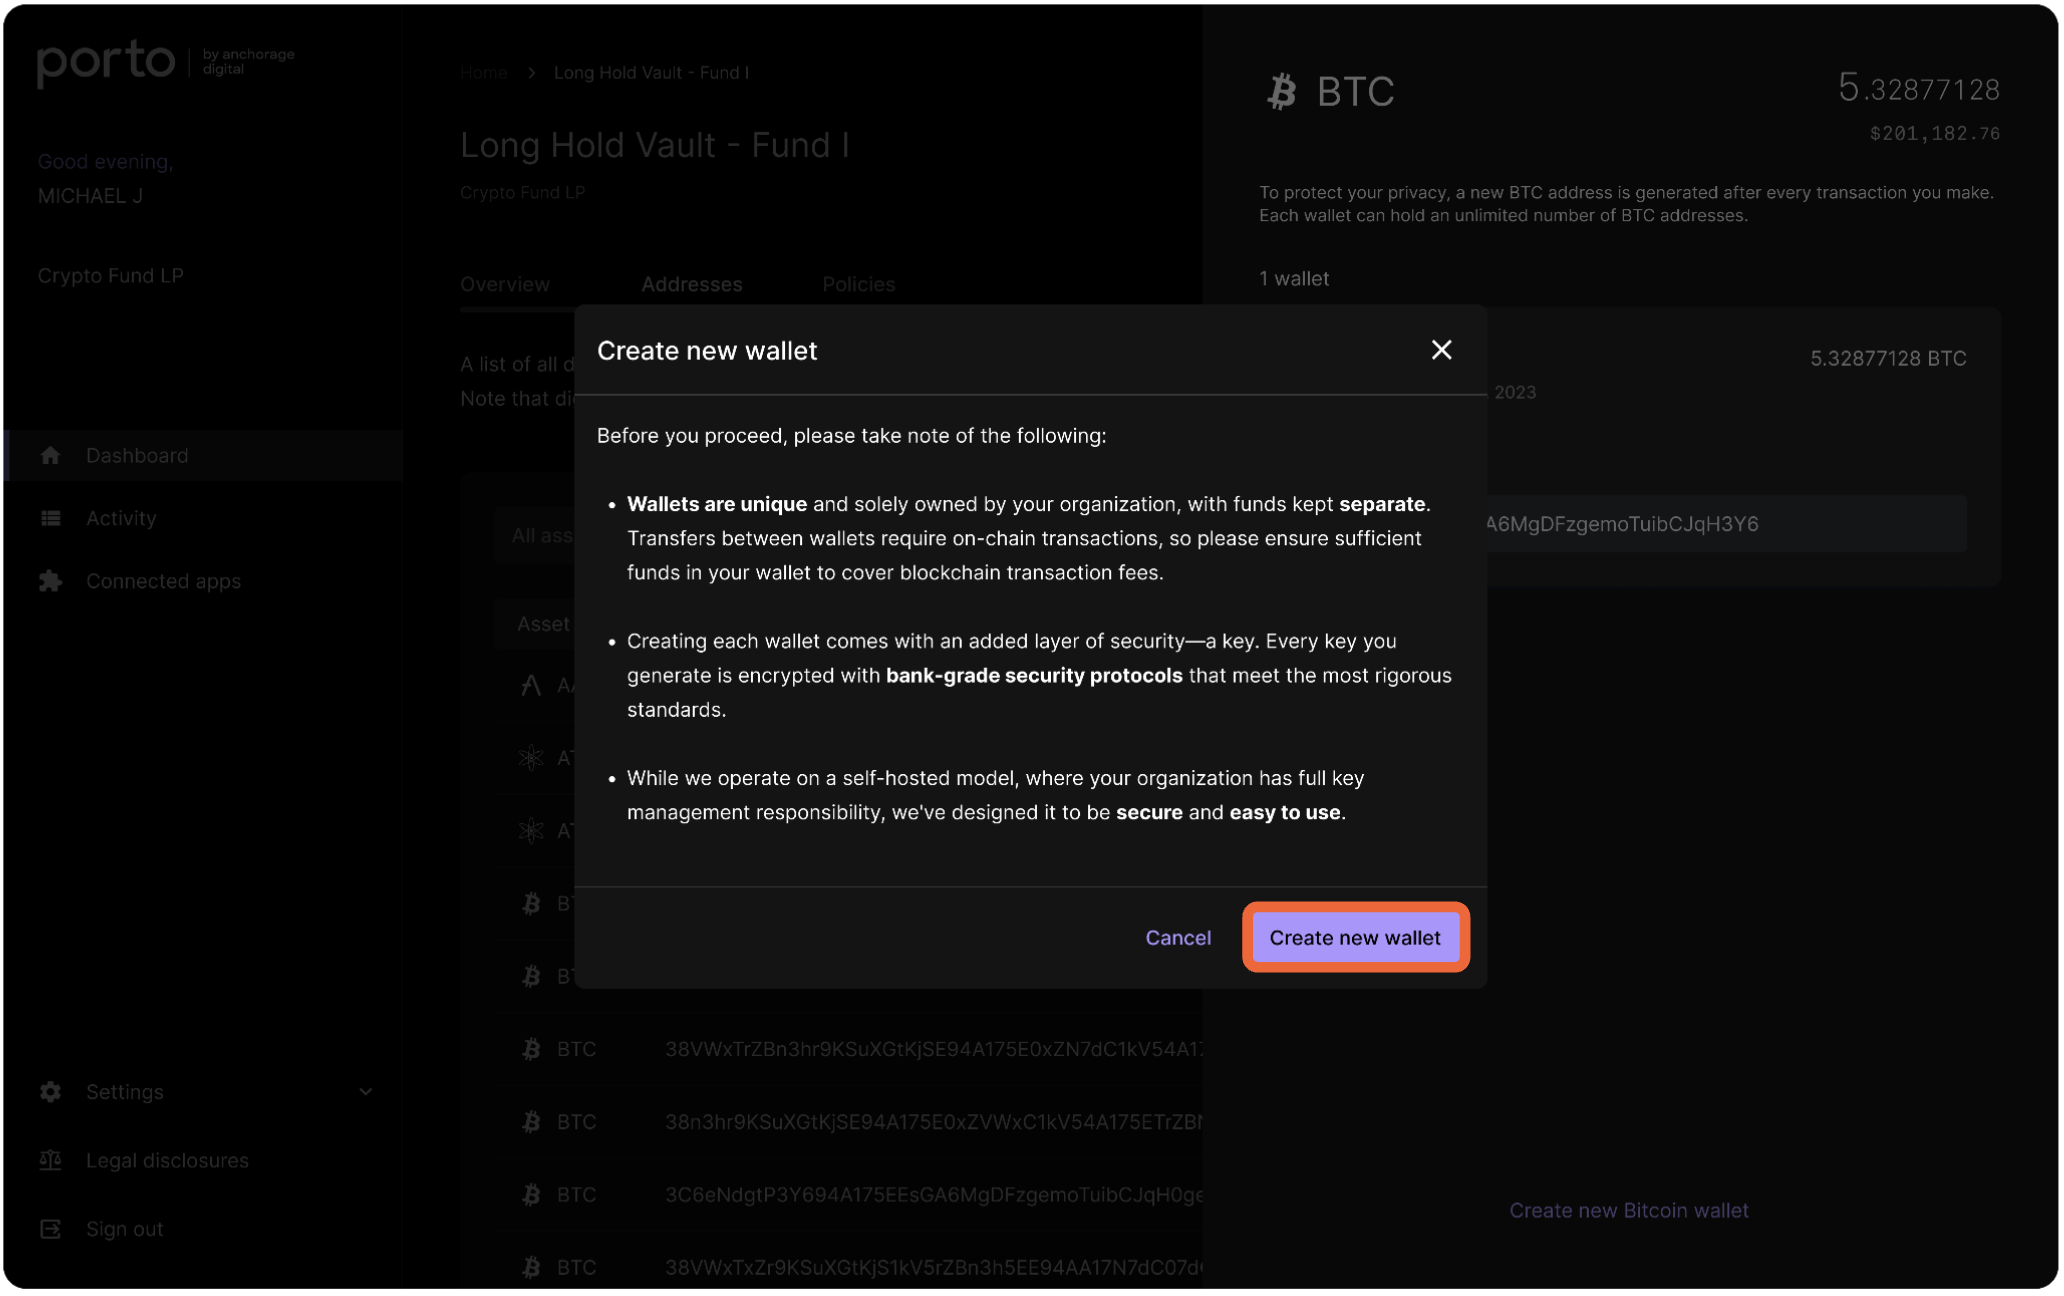
Select the button at the bottom right to create a new wallet. In the BTC example shown here, the user should click on Create new Bitcoin wallet.
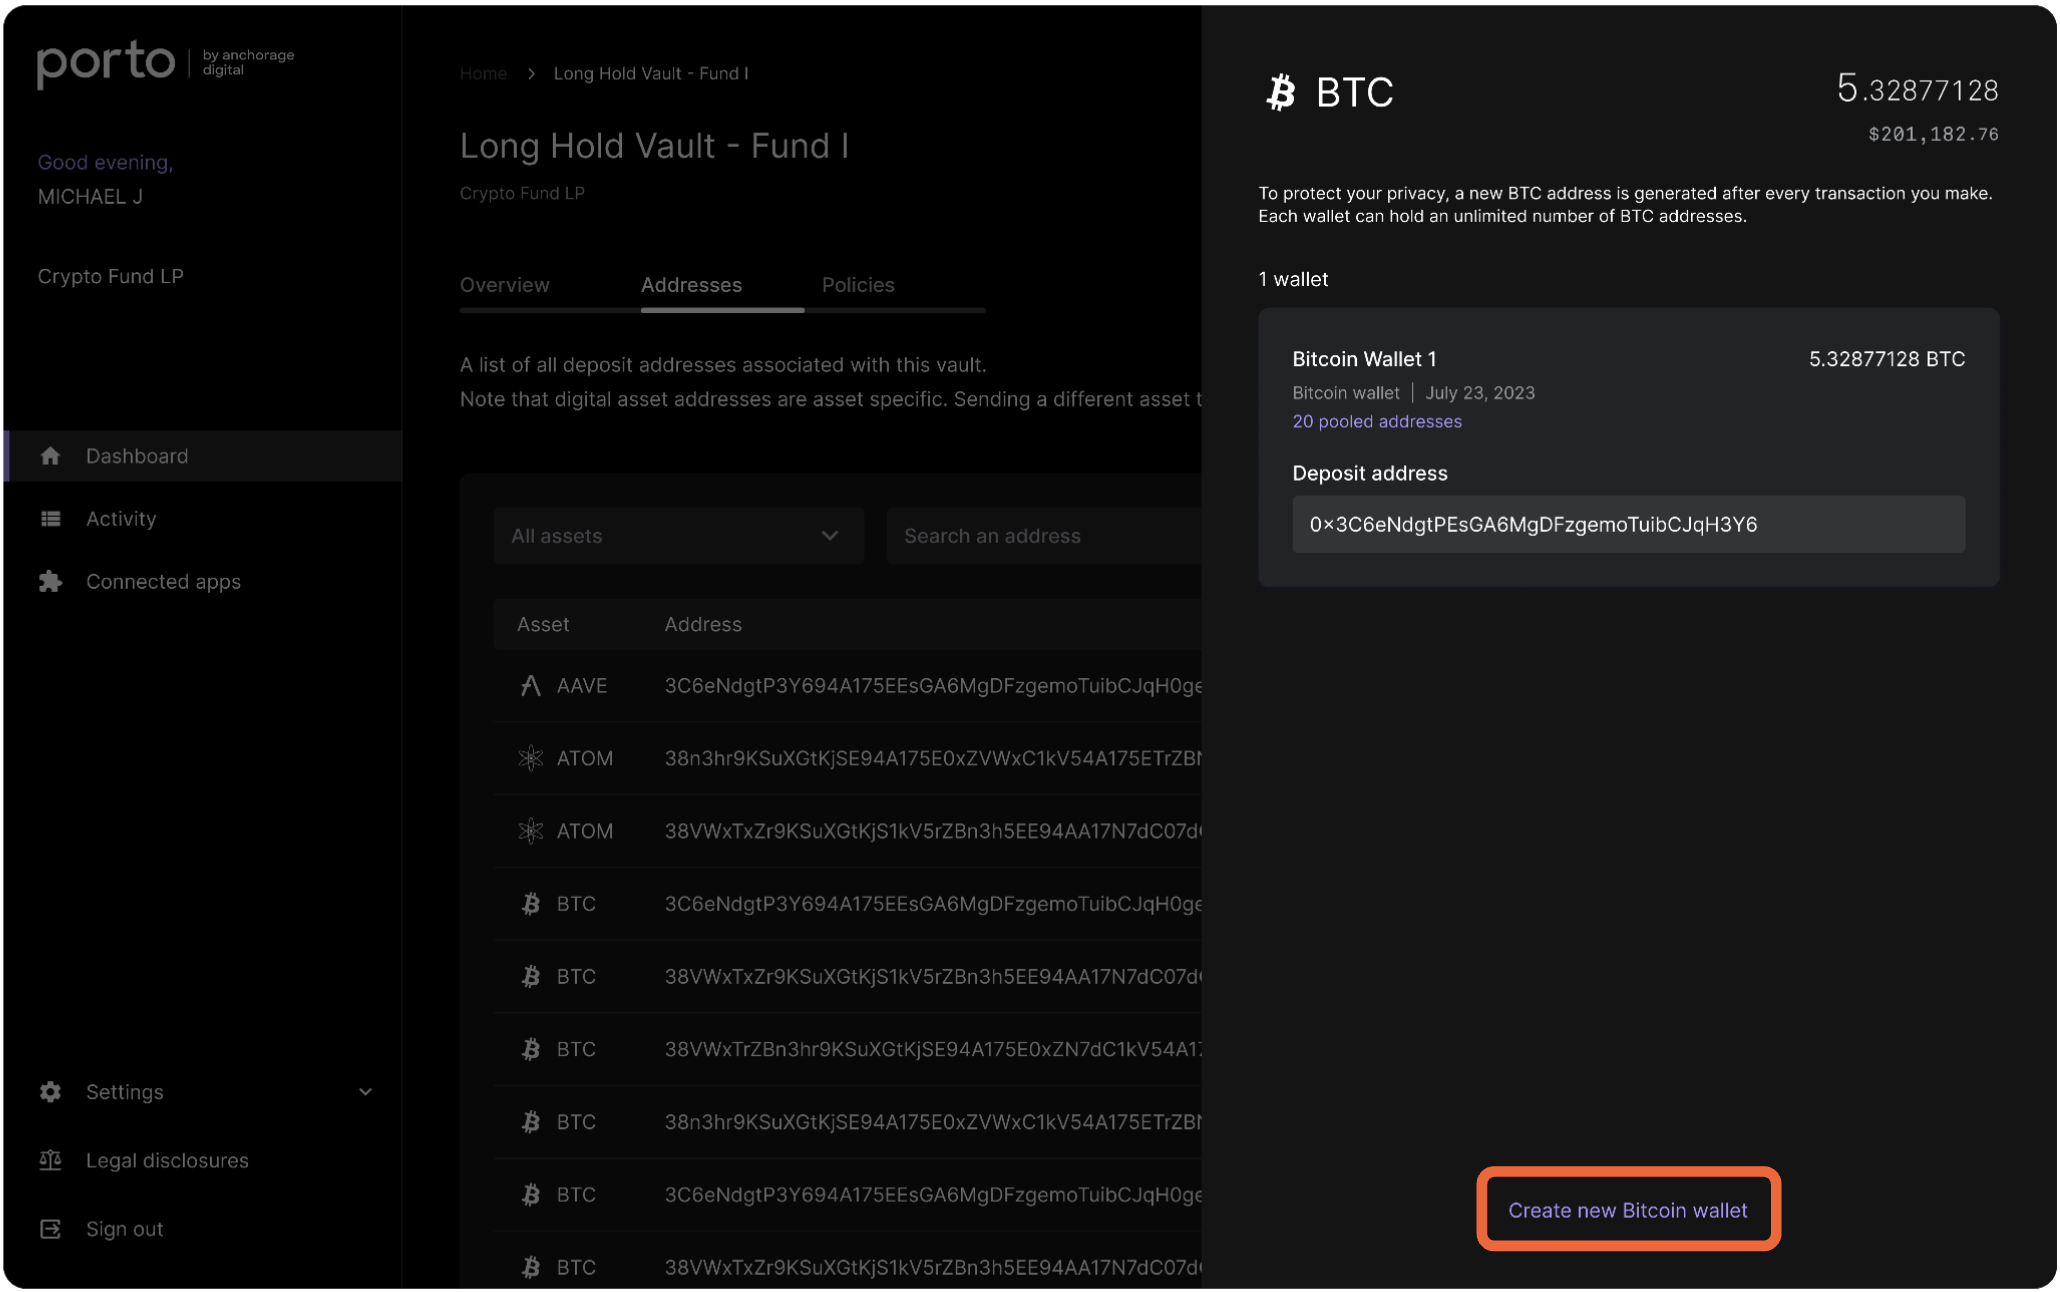
Review the information and confirm by clicking Create new wallet.
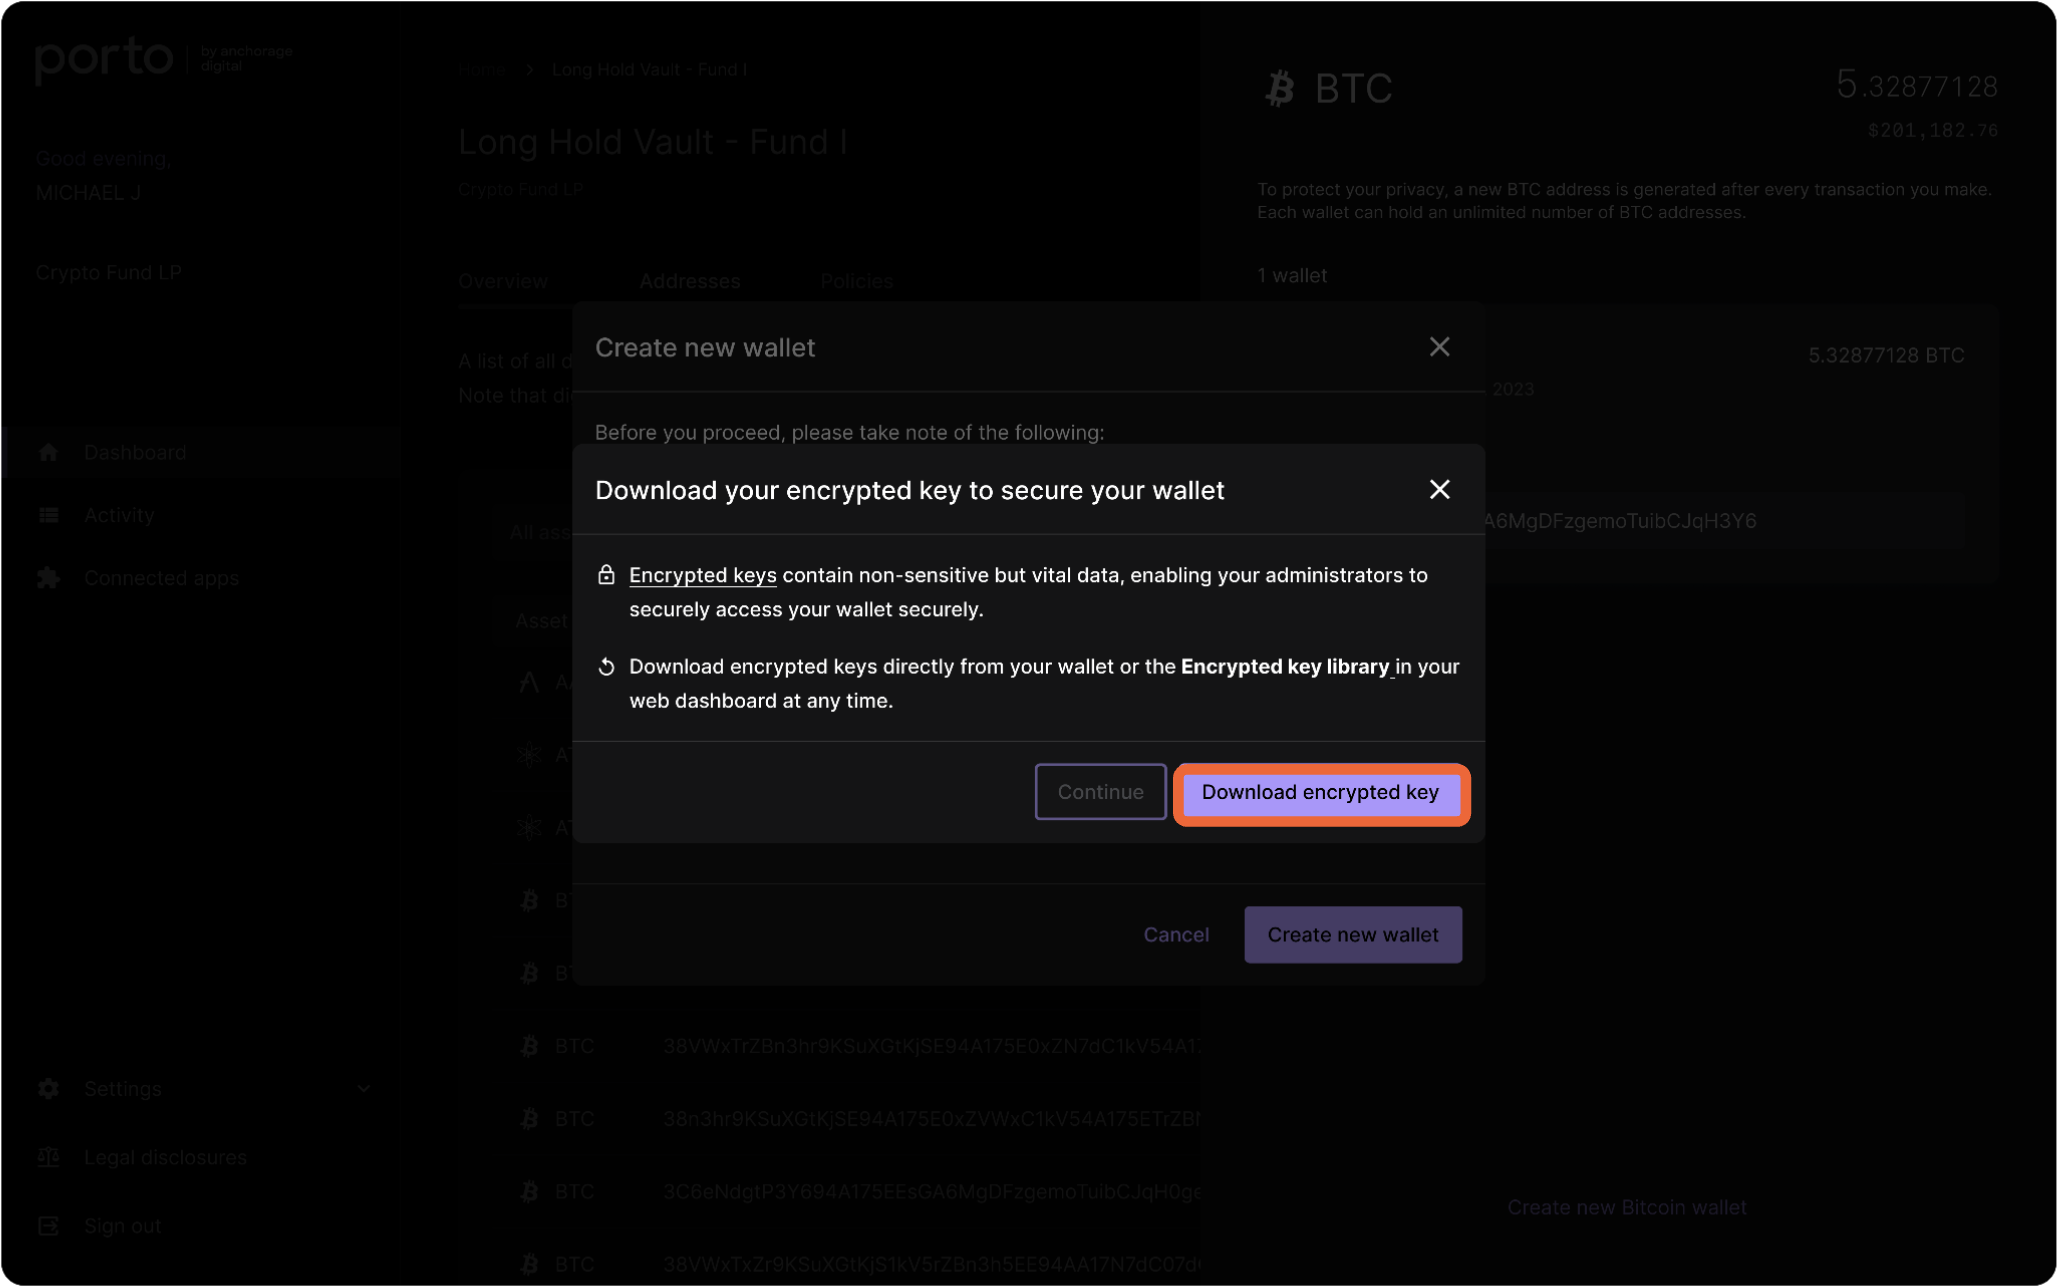
Before confirming your new wallet, click Download encrypted key and store it safely offline.
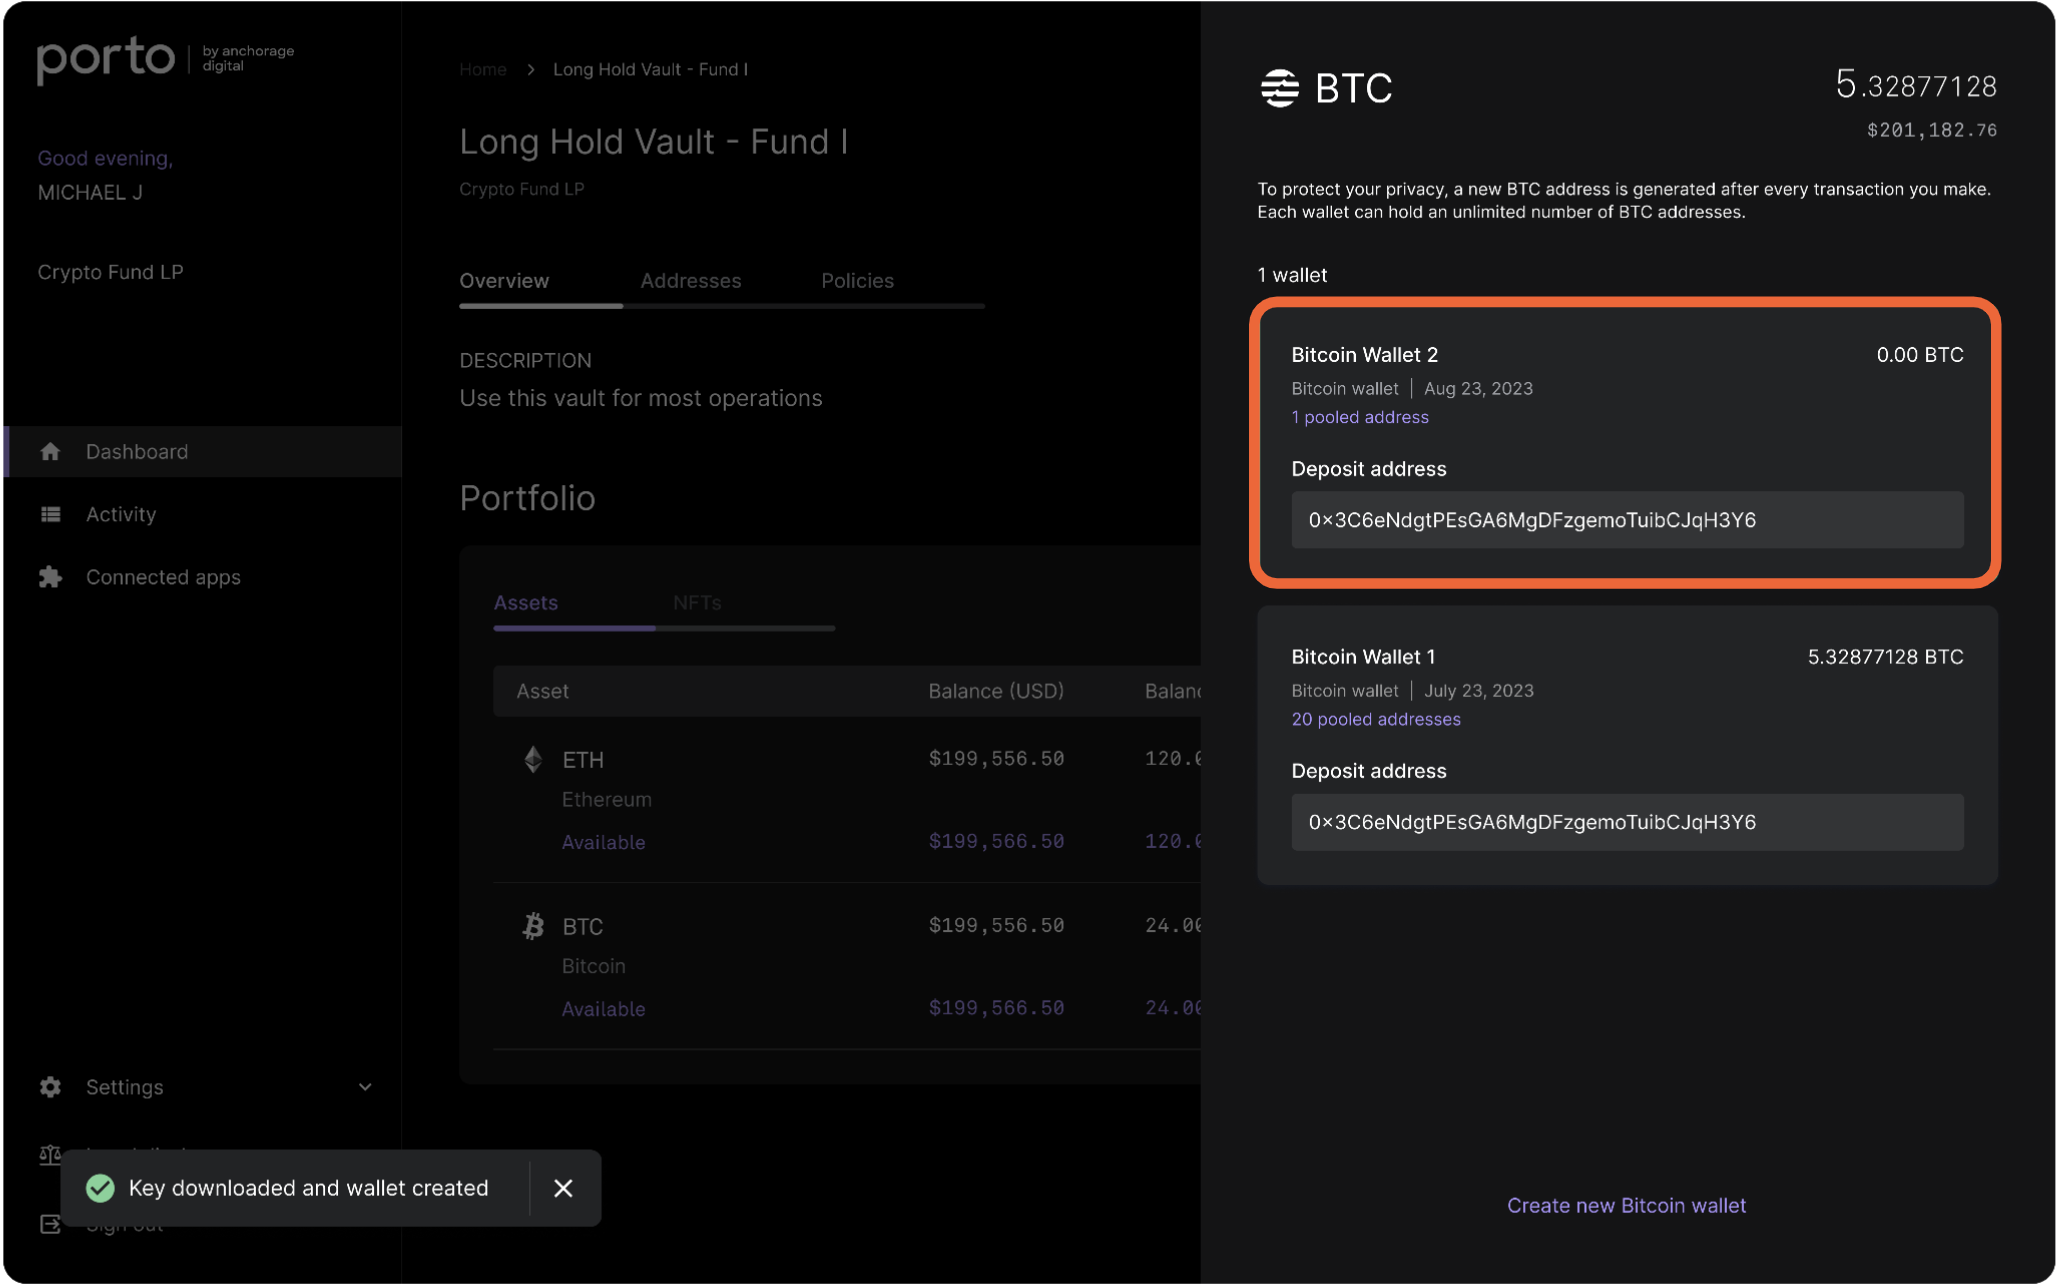
Once confirmed, you will see that a new wallet has now been created.
Create a new address for a given wallet
Click on the icon—shown on the right—to generate a new wallet address.
Note: Additional or pooled wallet addresses are only available on UTXO-based networks.
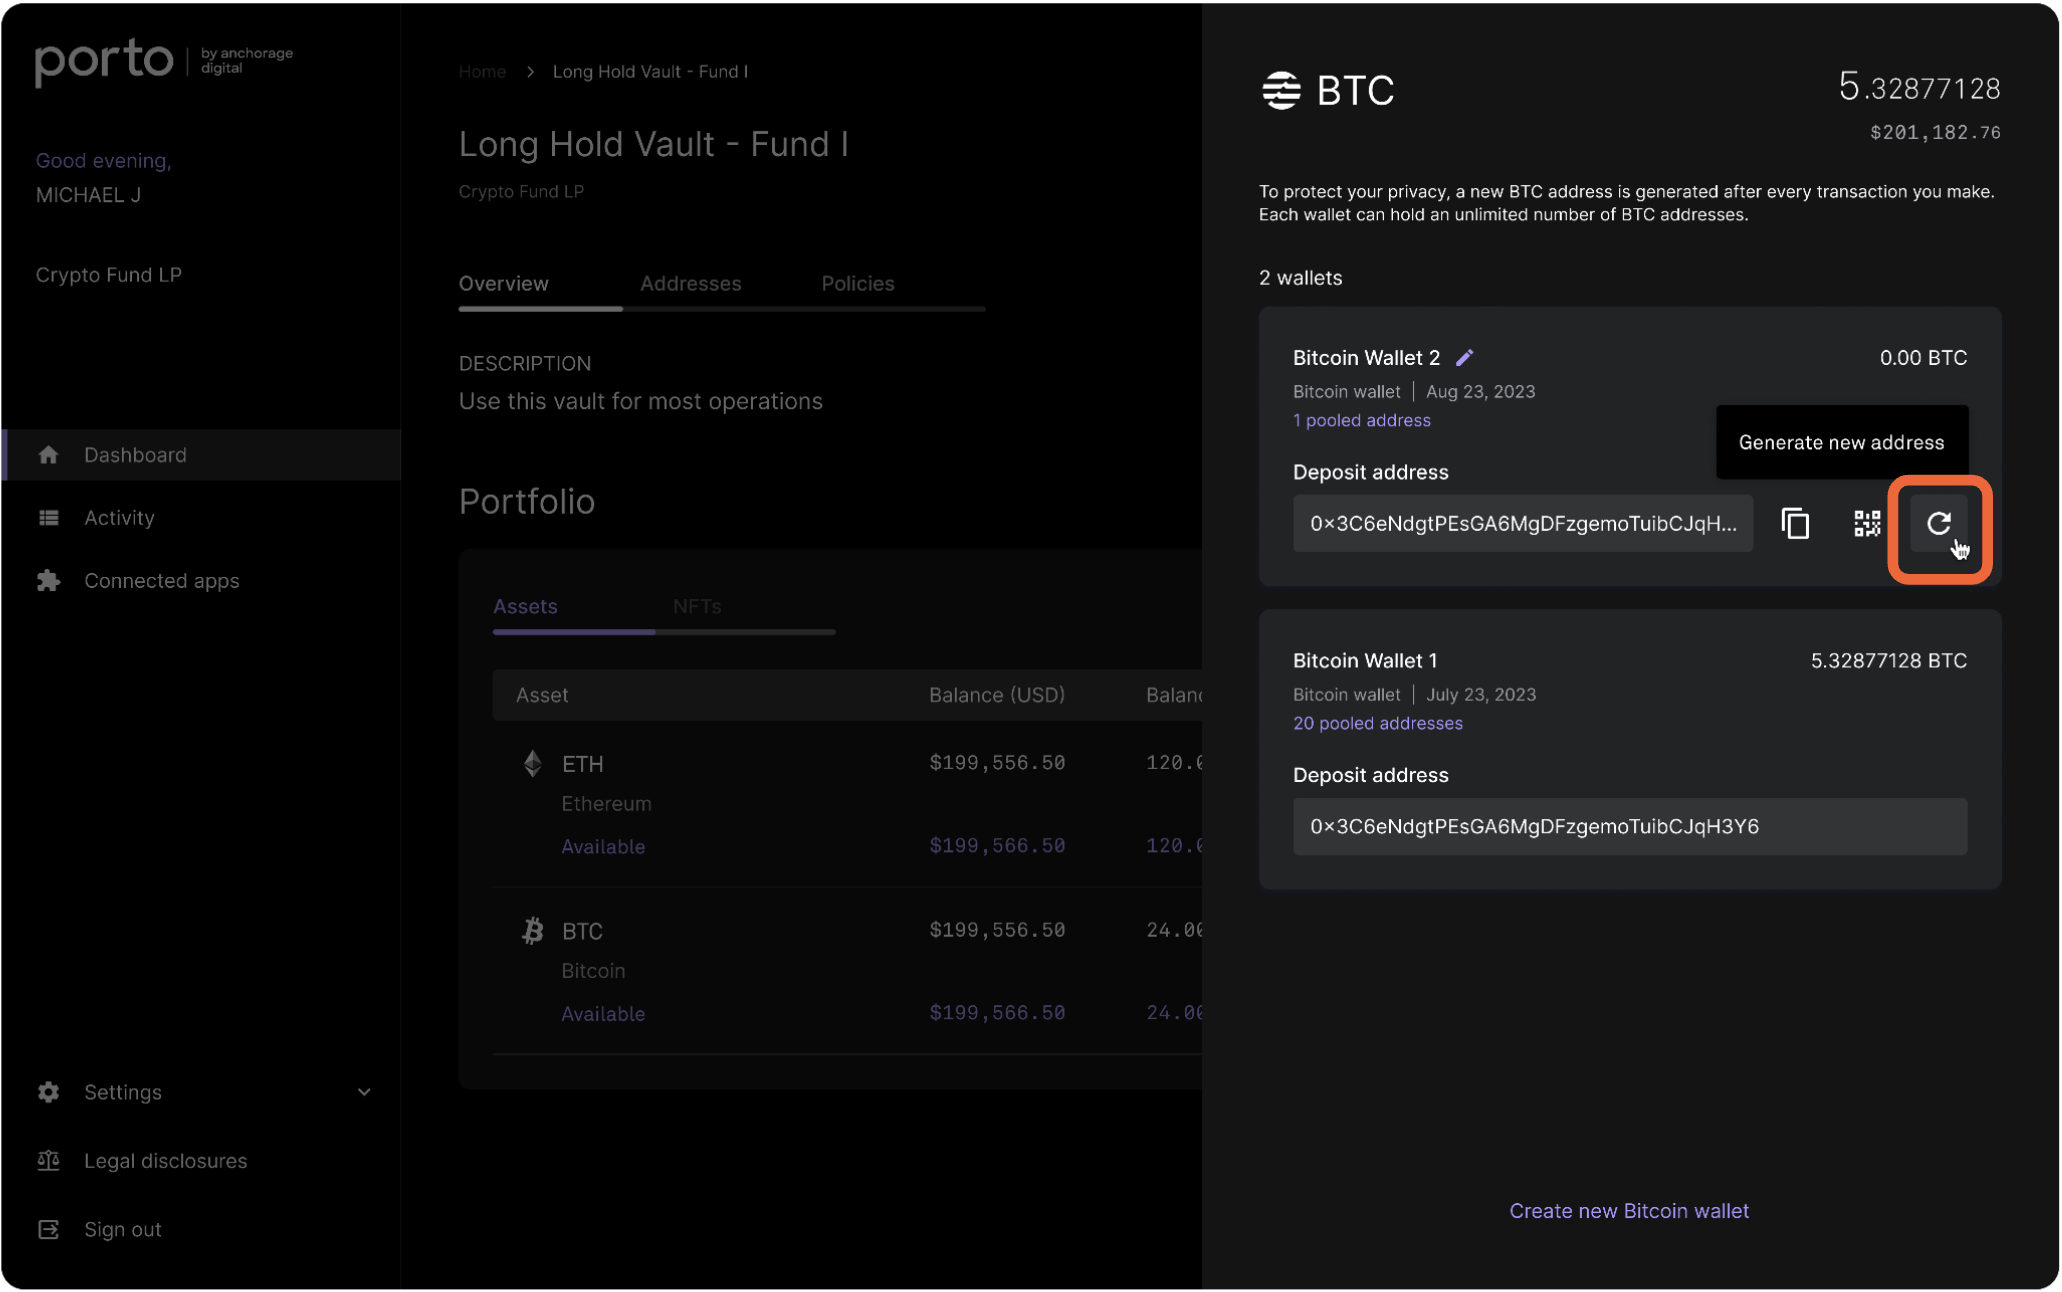
Before confirming the new address, click Download encrypted key and store it safely offline. This will need to be done for each new address created.
Withdraw assets
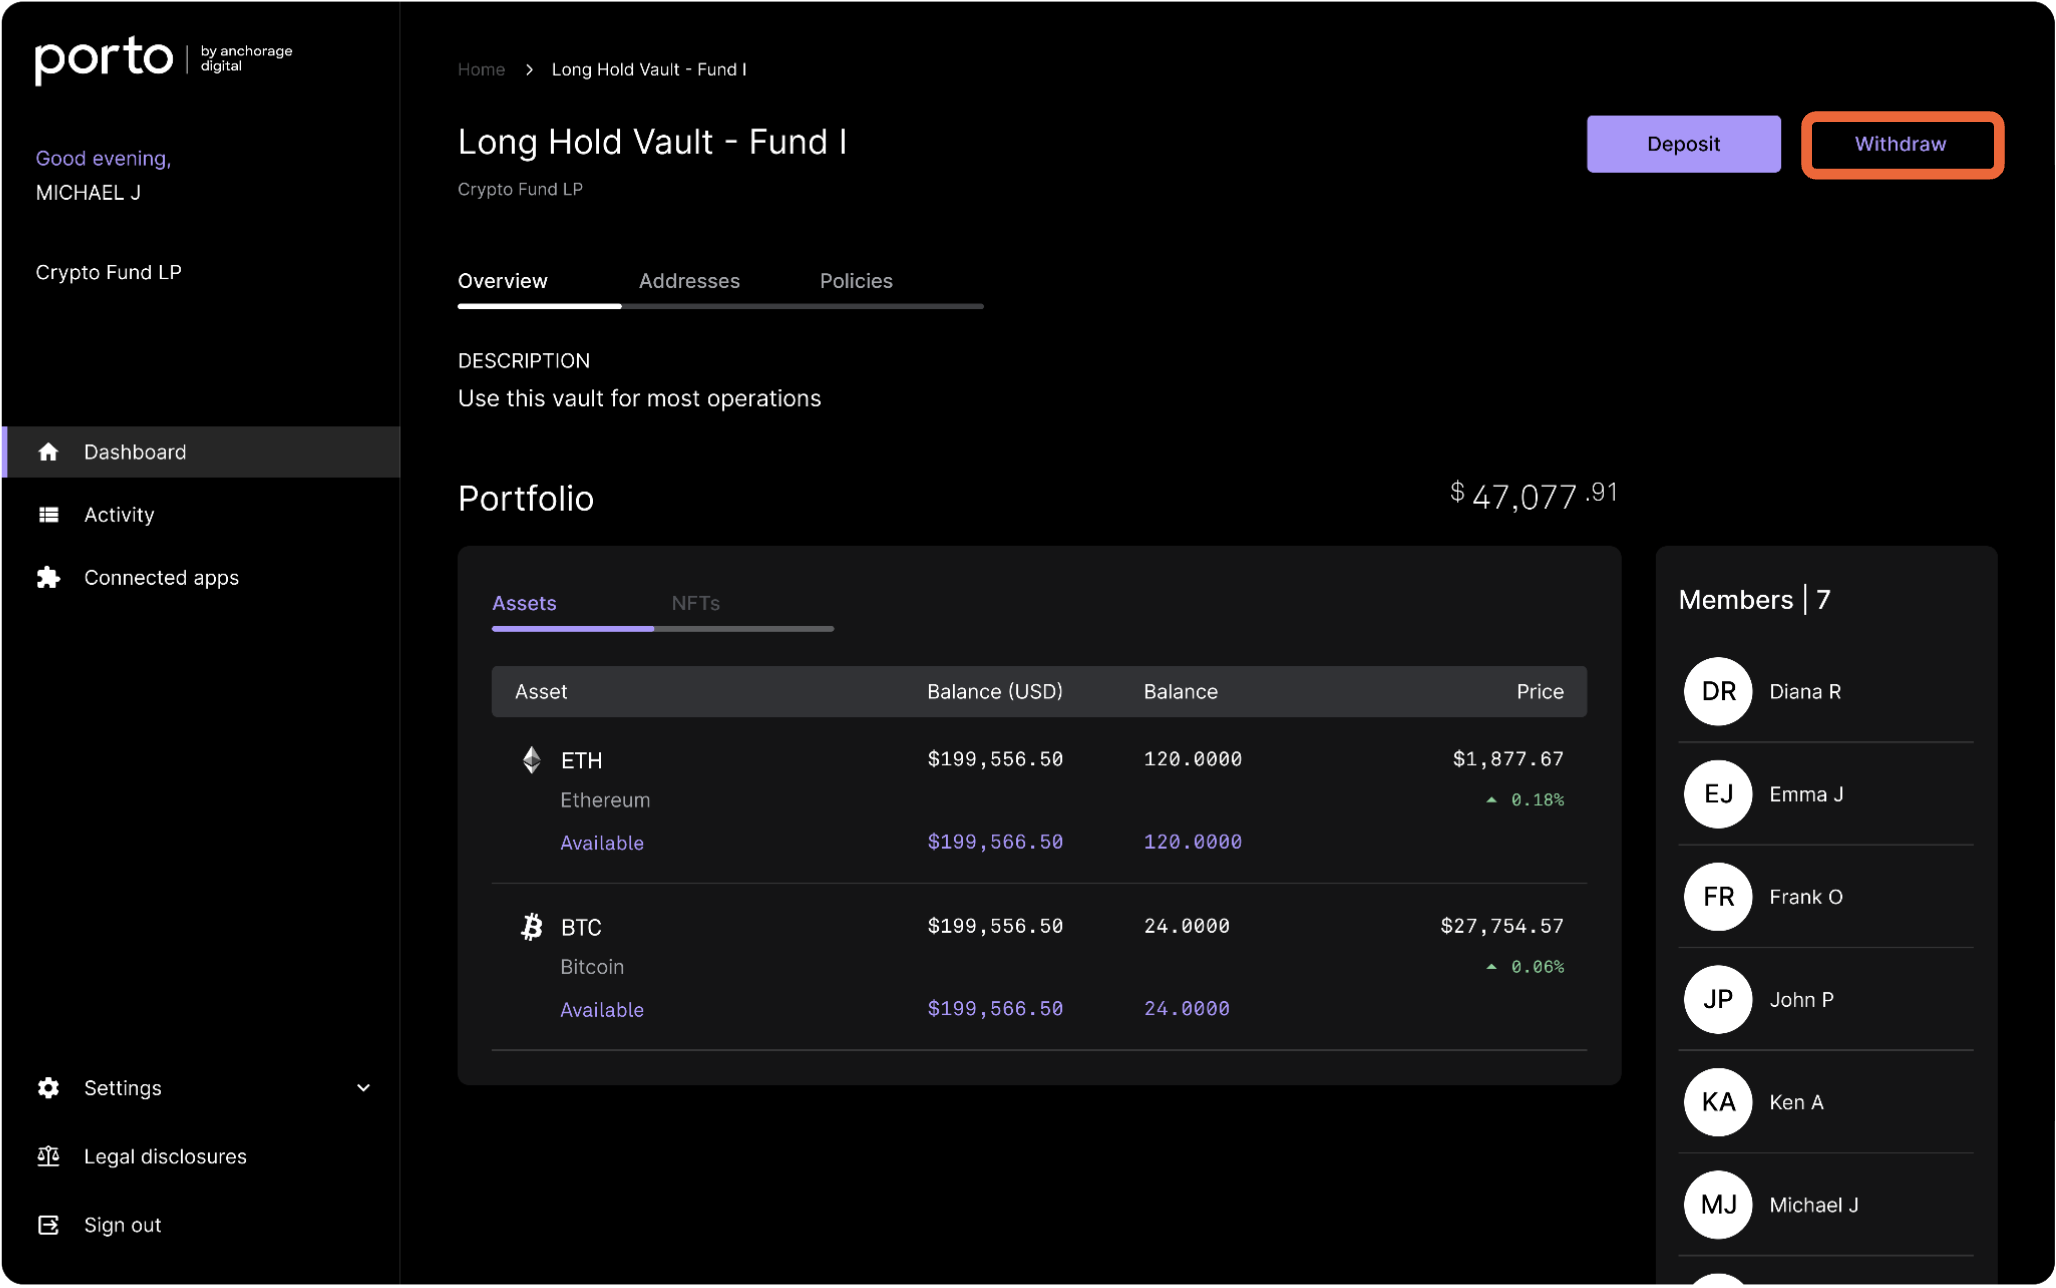
To begin withdrawing your assets, navigate to the vault details page and click Withdraw.
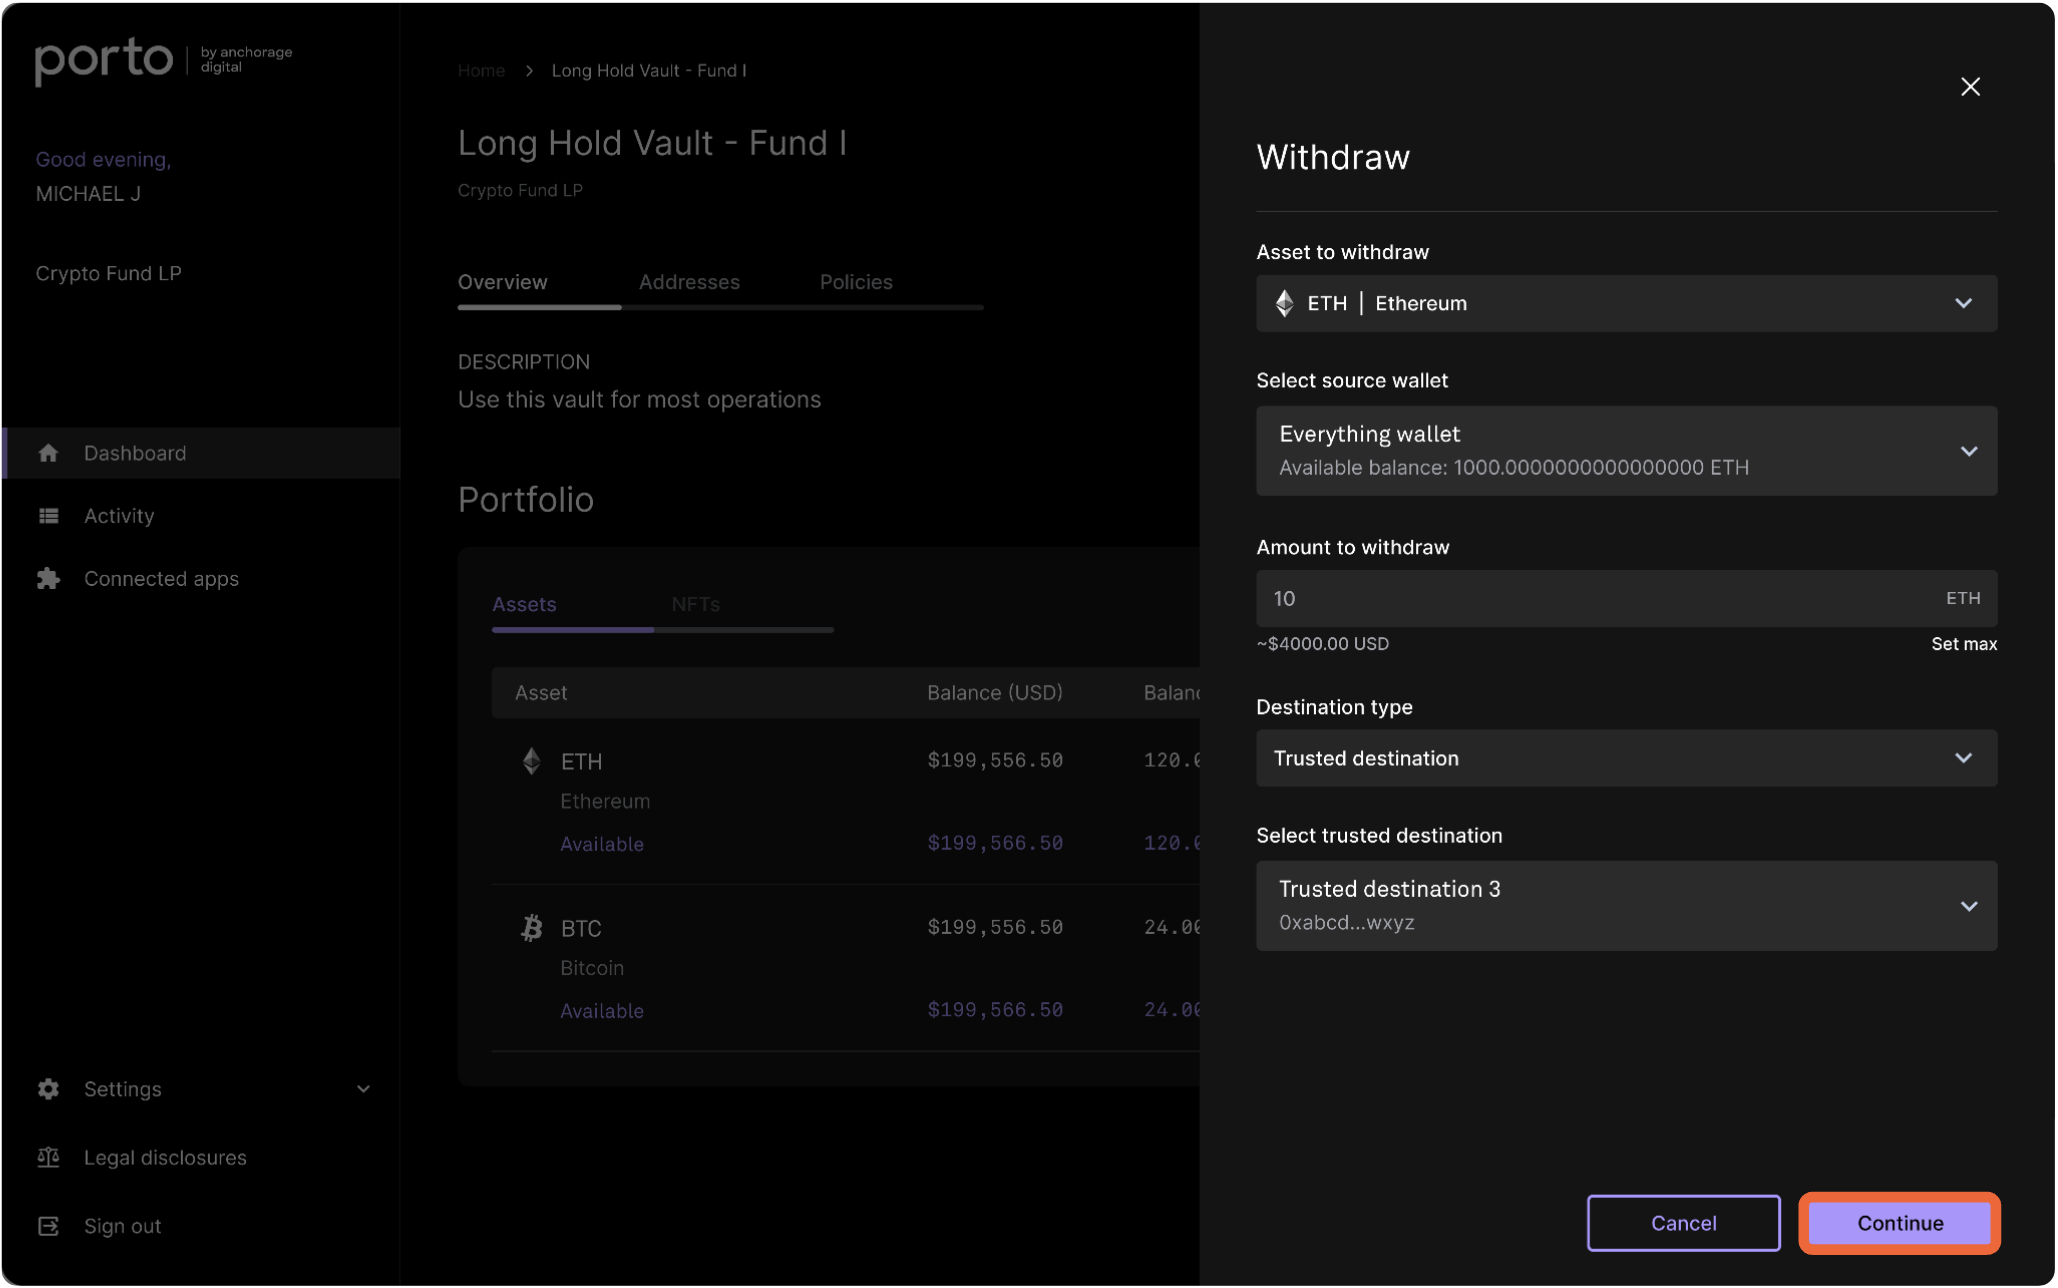
Select the asset you’d like to withdraw, the wallet to withdraw from, the amount to withdraw, and the destination type. If you select a trusted destination, select the appropriate address. Click Continue to proceed.
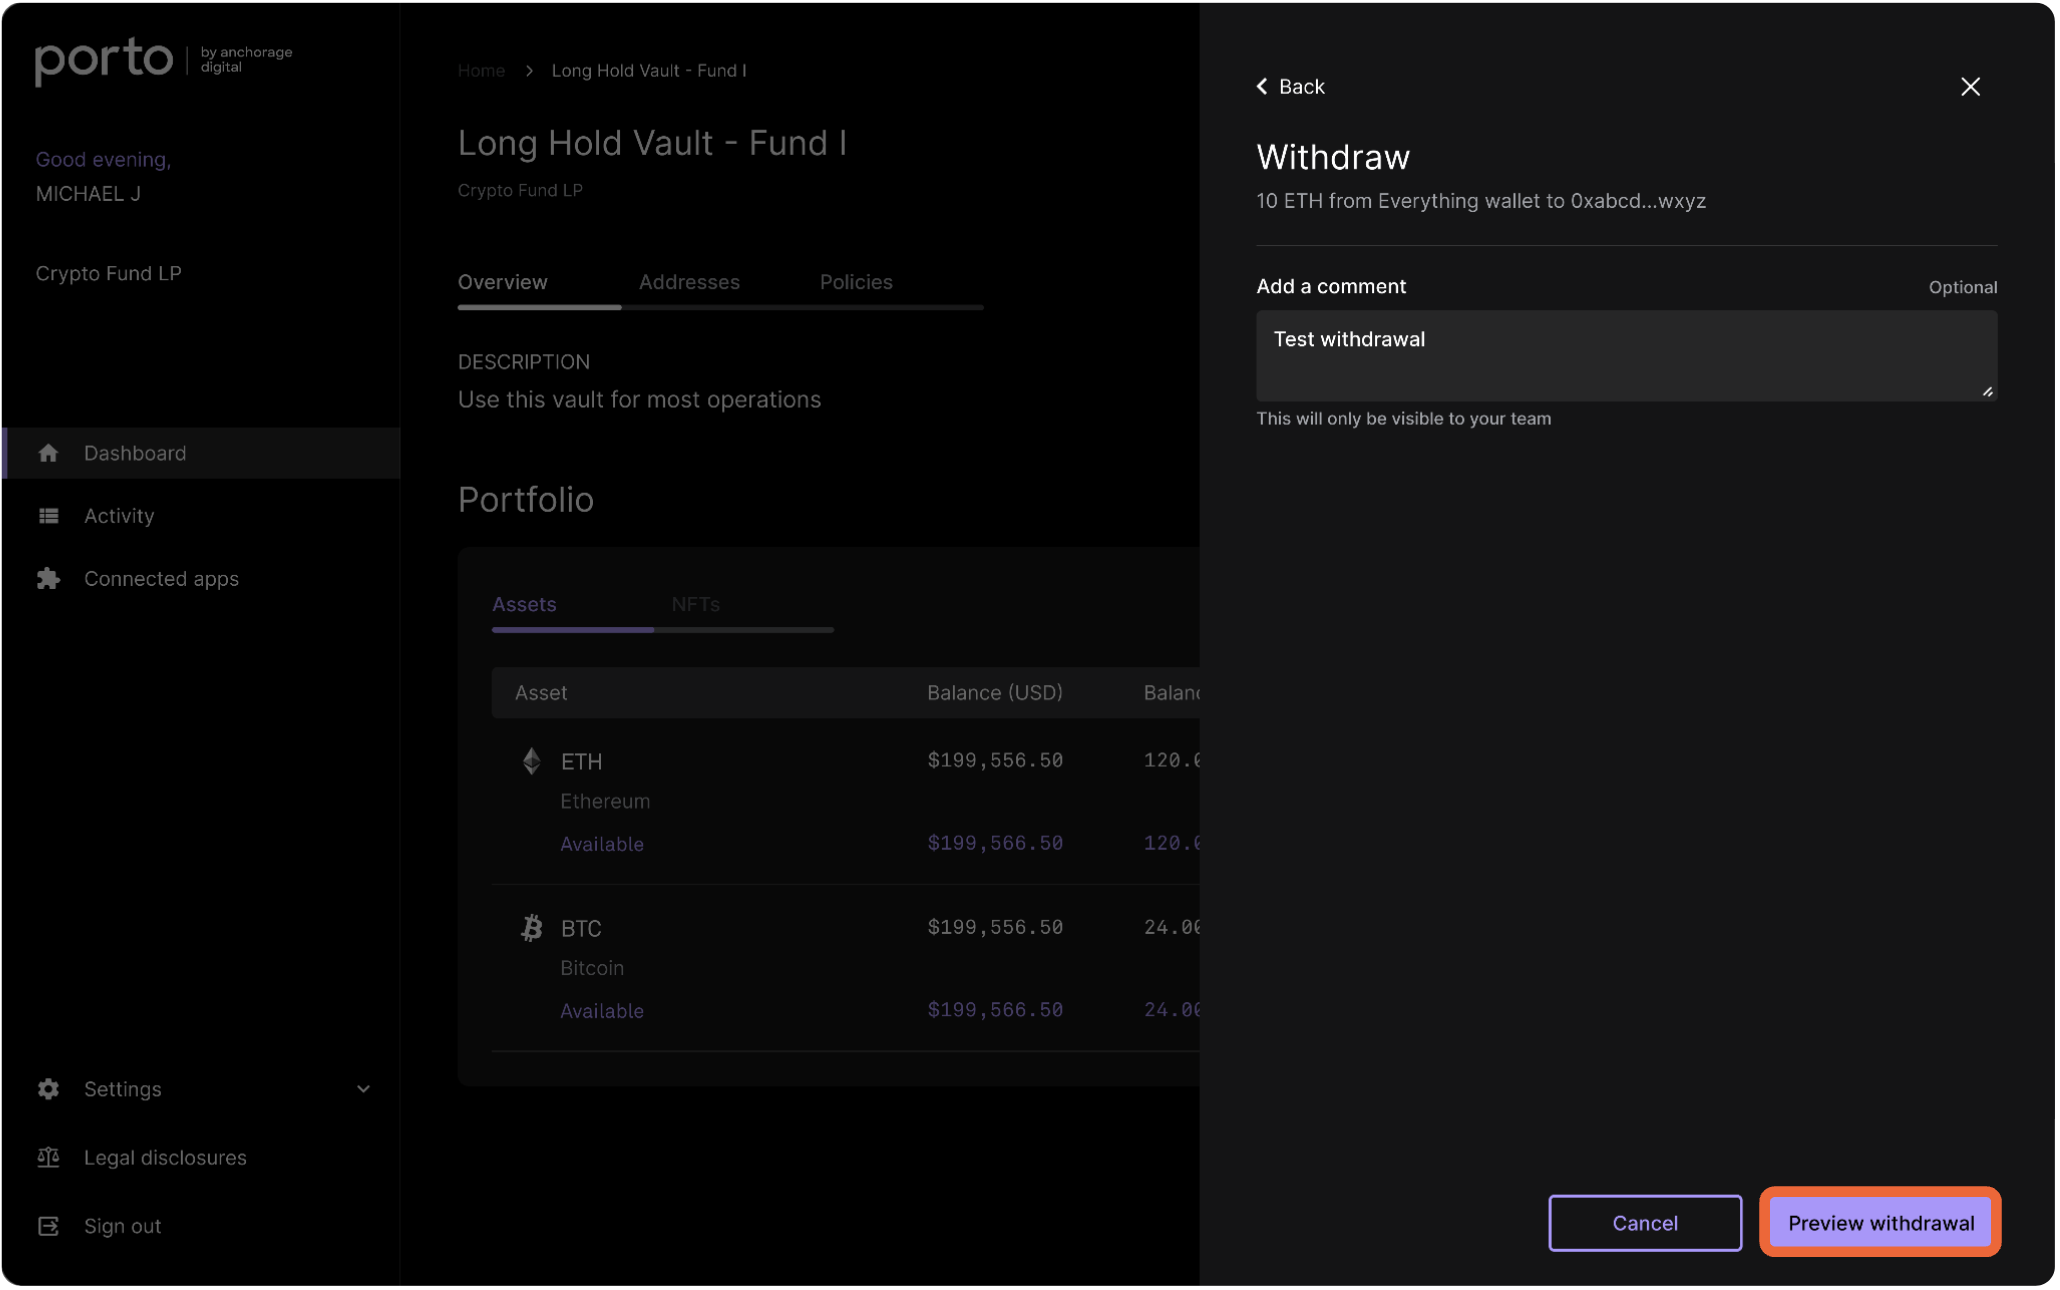
Add a comment (optional) for your withdrawal request and click Preview withdrawal to proceed.
Review the operation details and click Preview withdrawal to submit biometric approval. Next, you will be prompted to complete the endorsement process from your Porto iOS app.
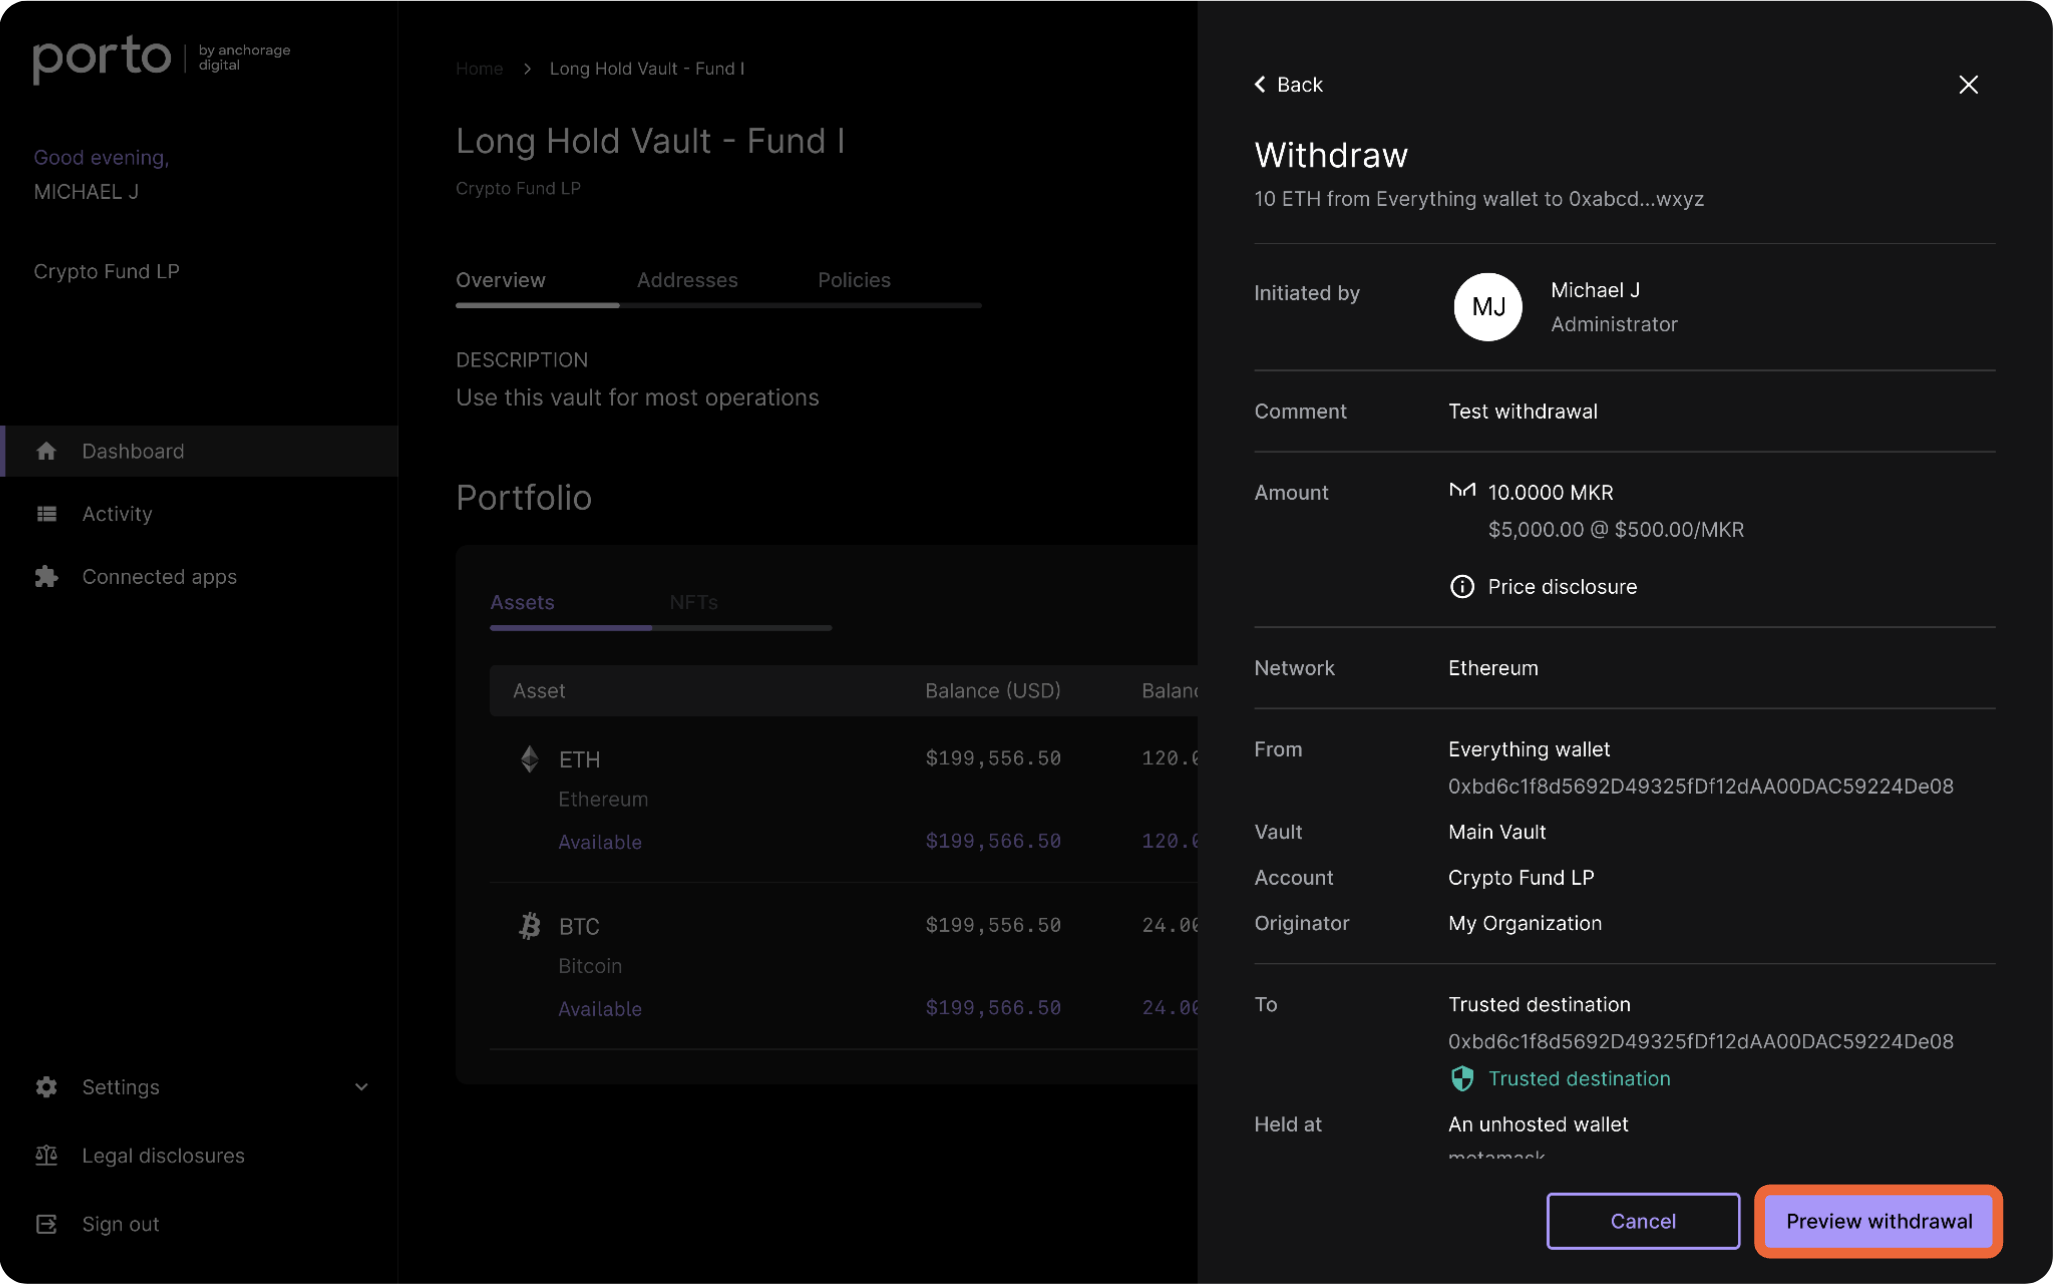
Next, you will be prompted to complete the endorsement process from your Porto iOS app.
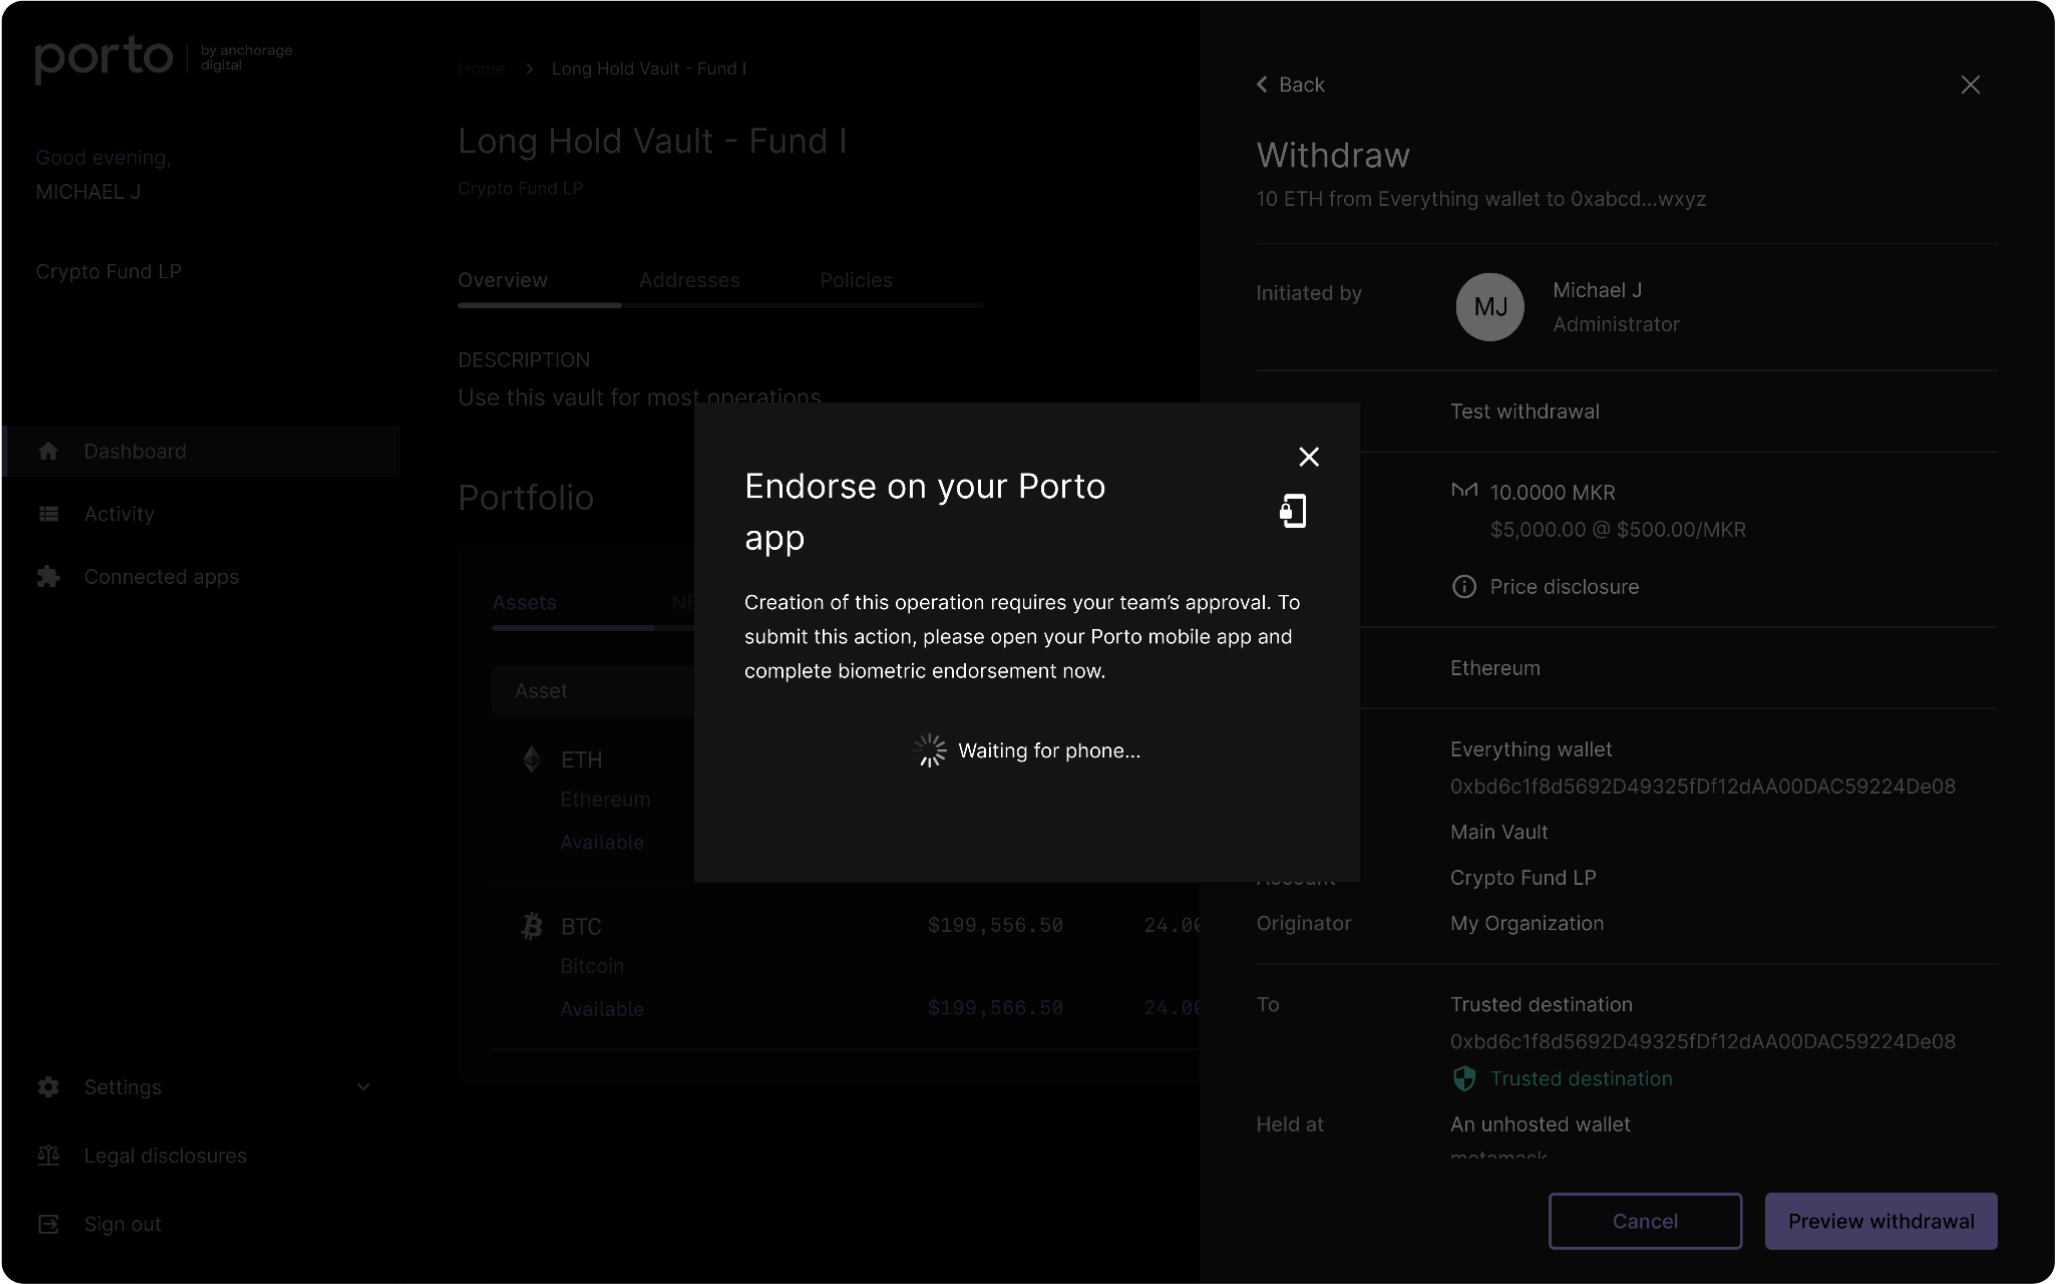
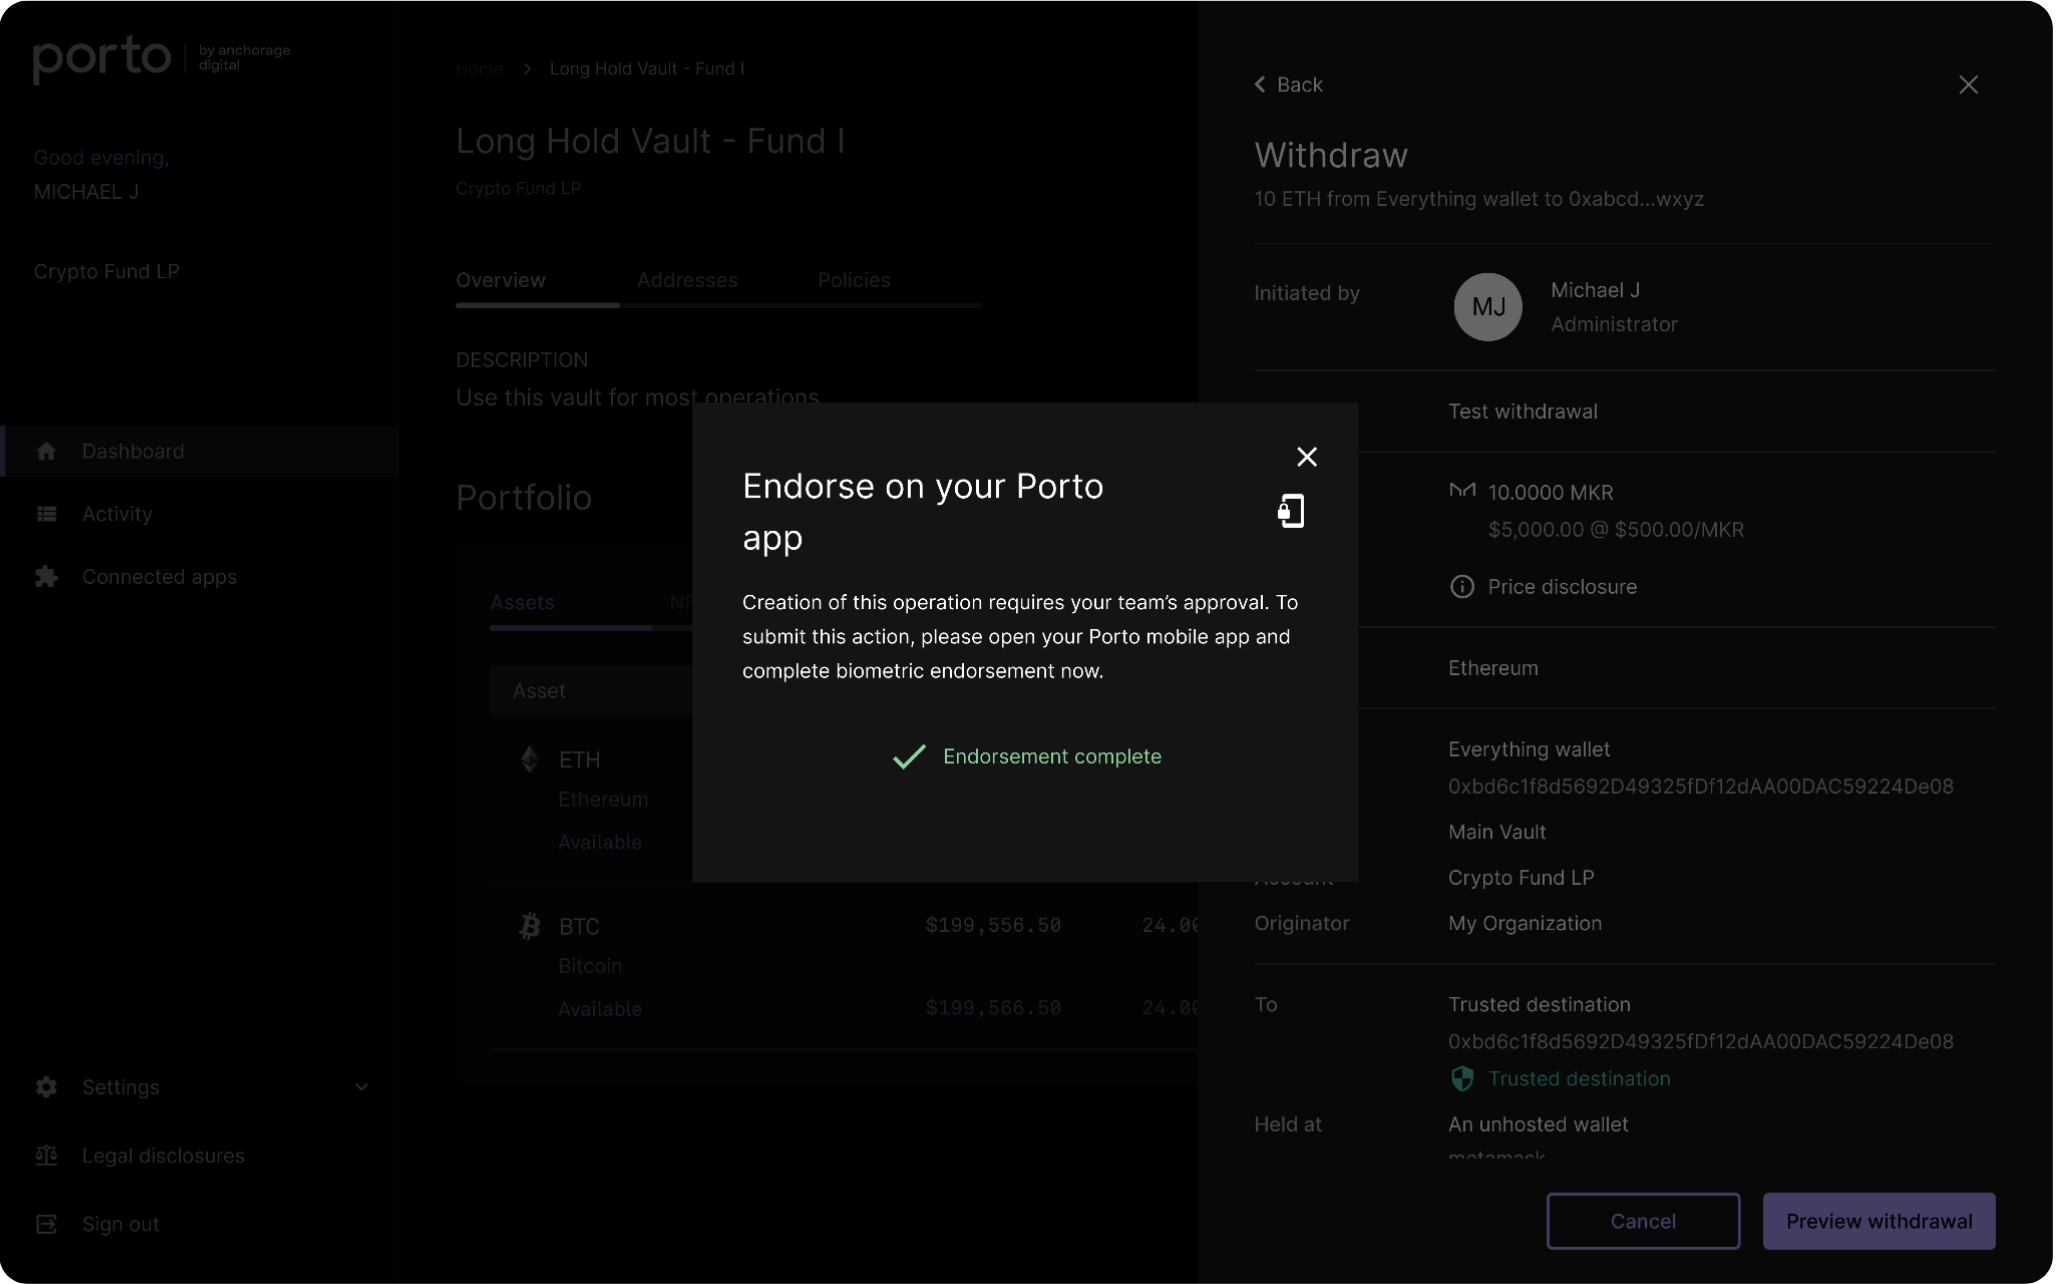
Once this quorum is met, the withdrawal operation is complete.
Add multiple trusted destinations
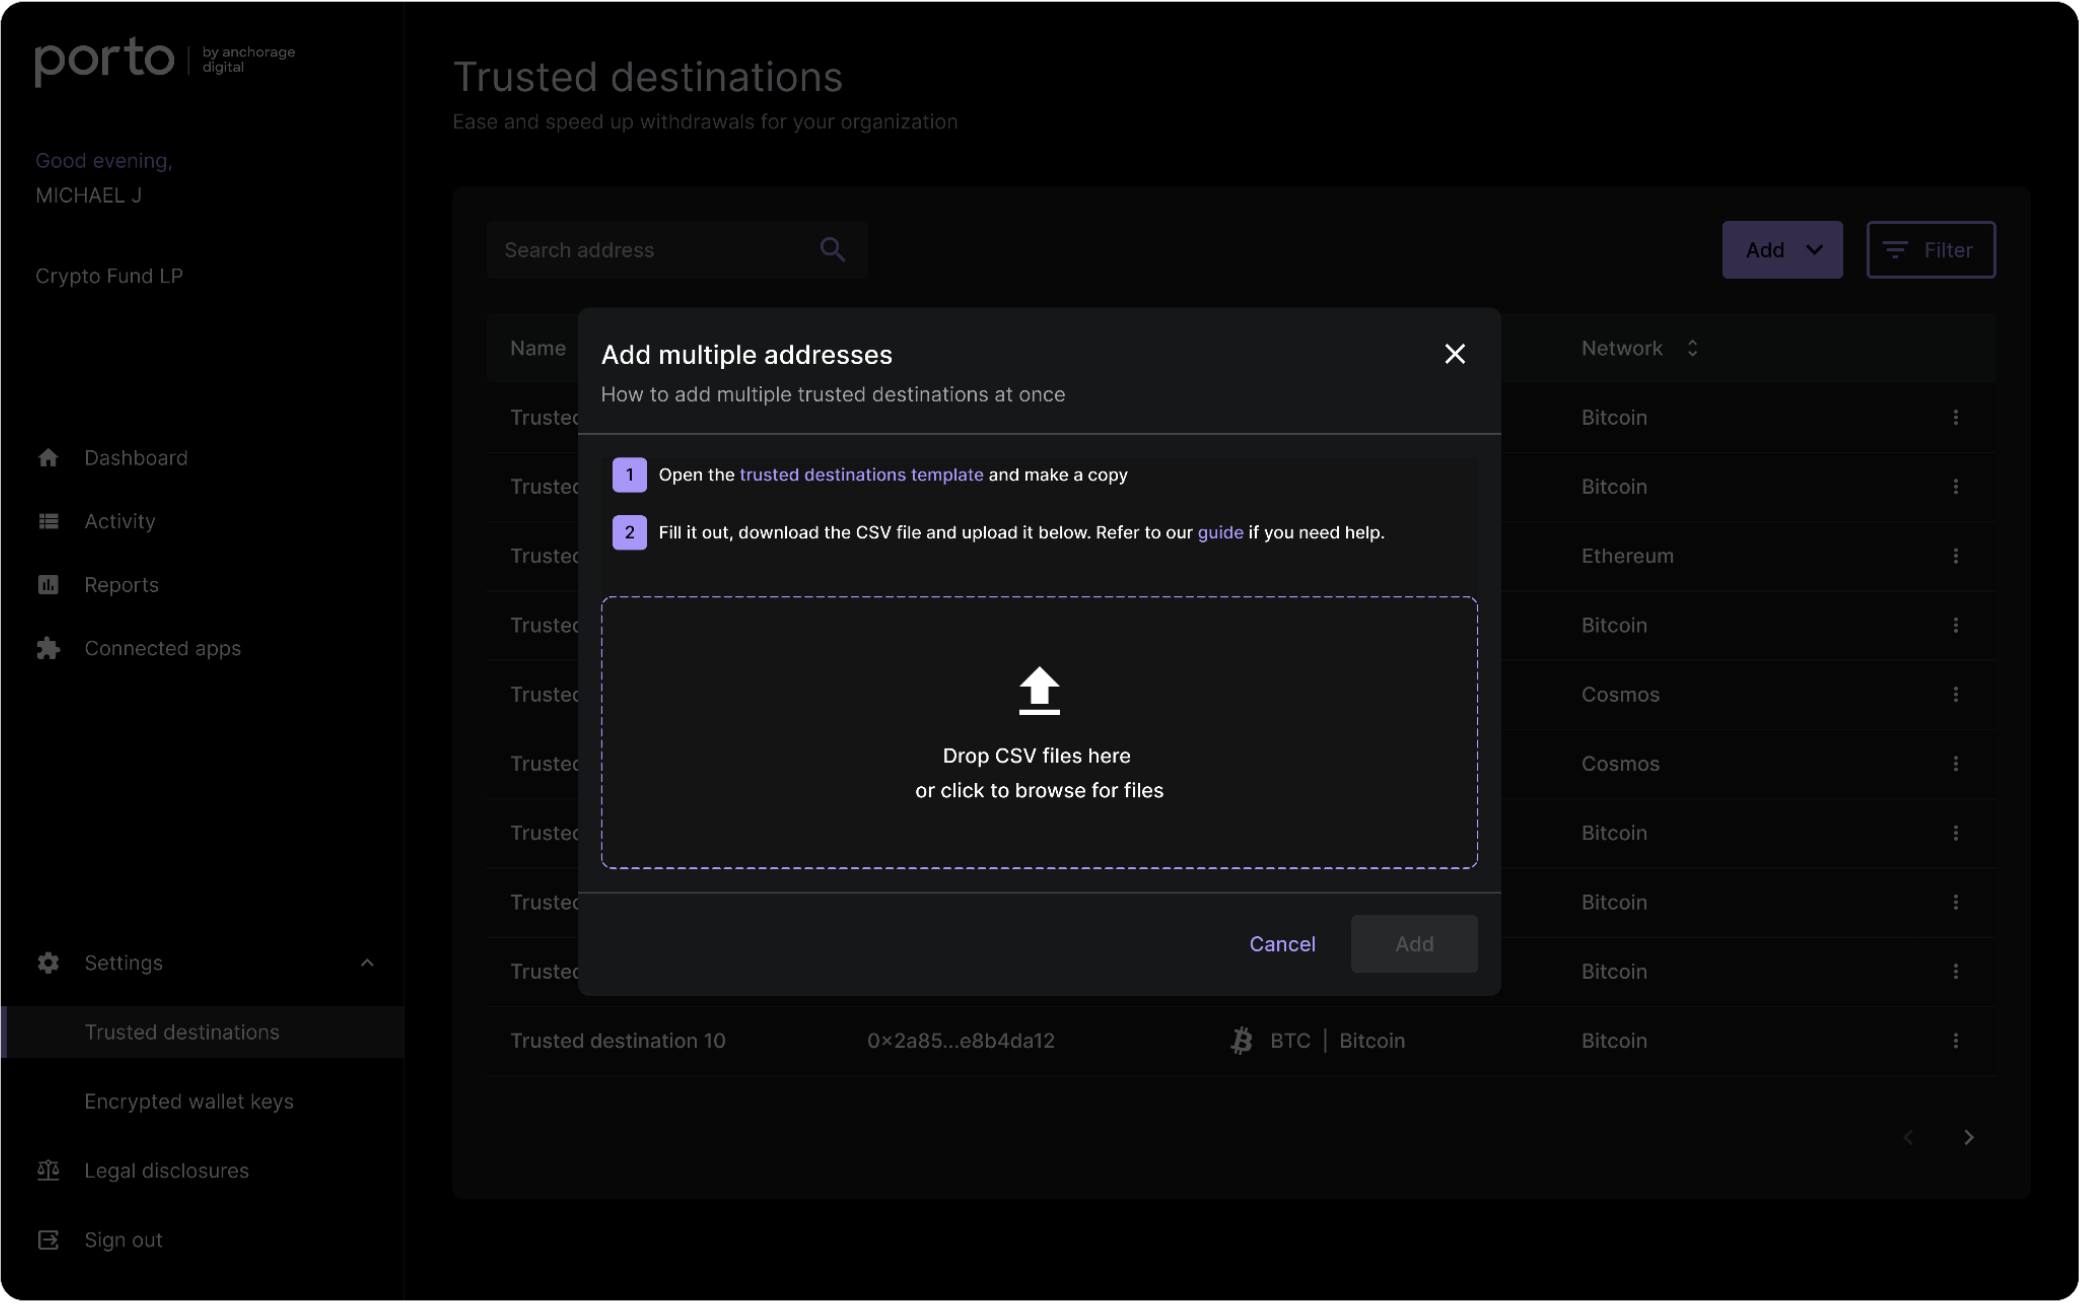
From the Settings menu, navigate to Trusted destinations and click Add. Click Upload multiple from file to initiate the operation to add multiple addresses as trusted destinations at once.
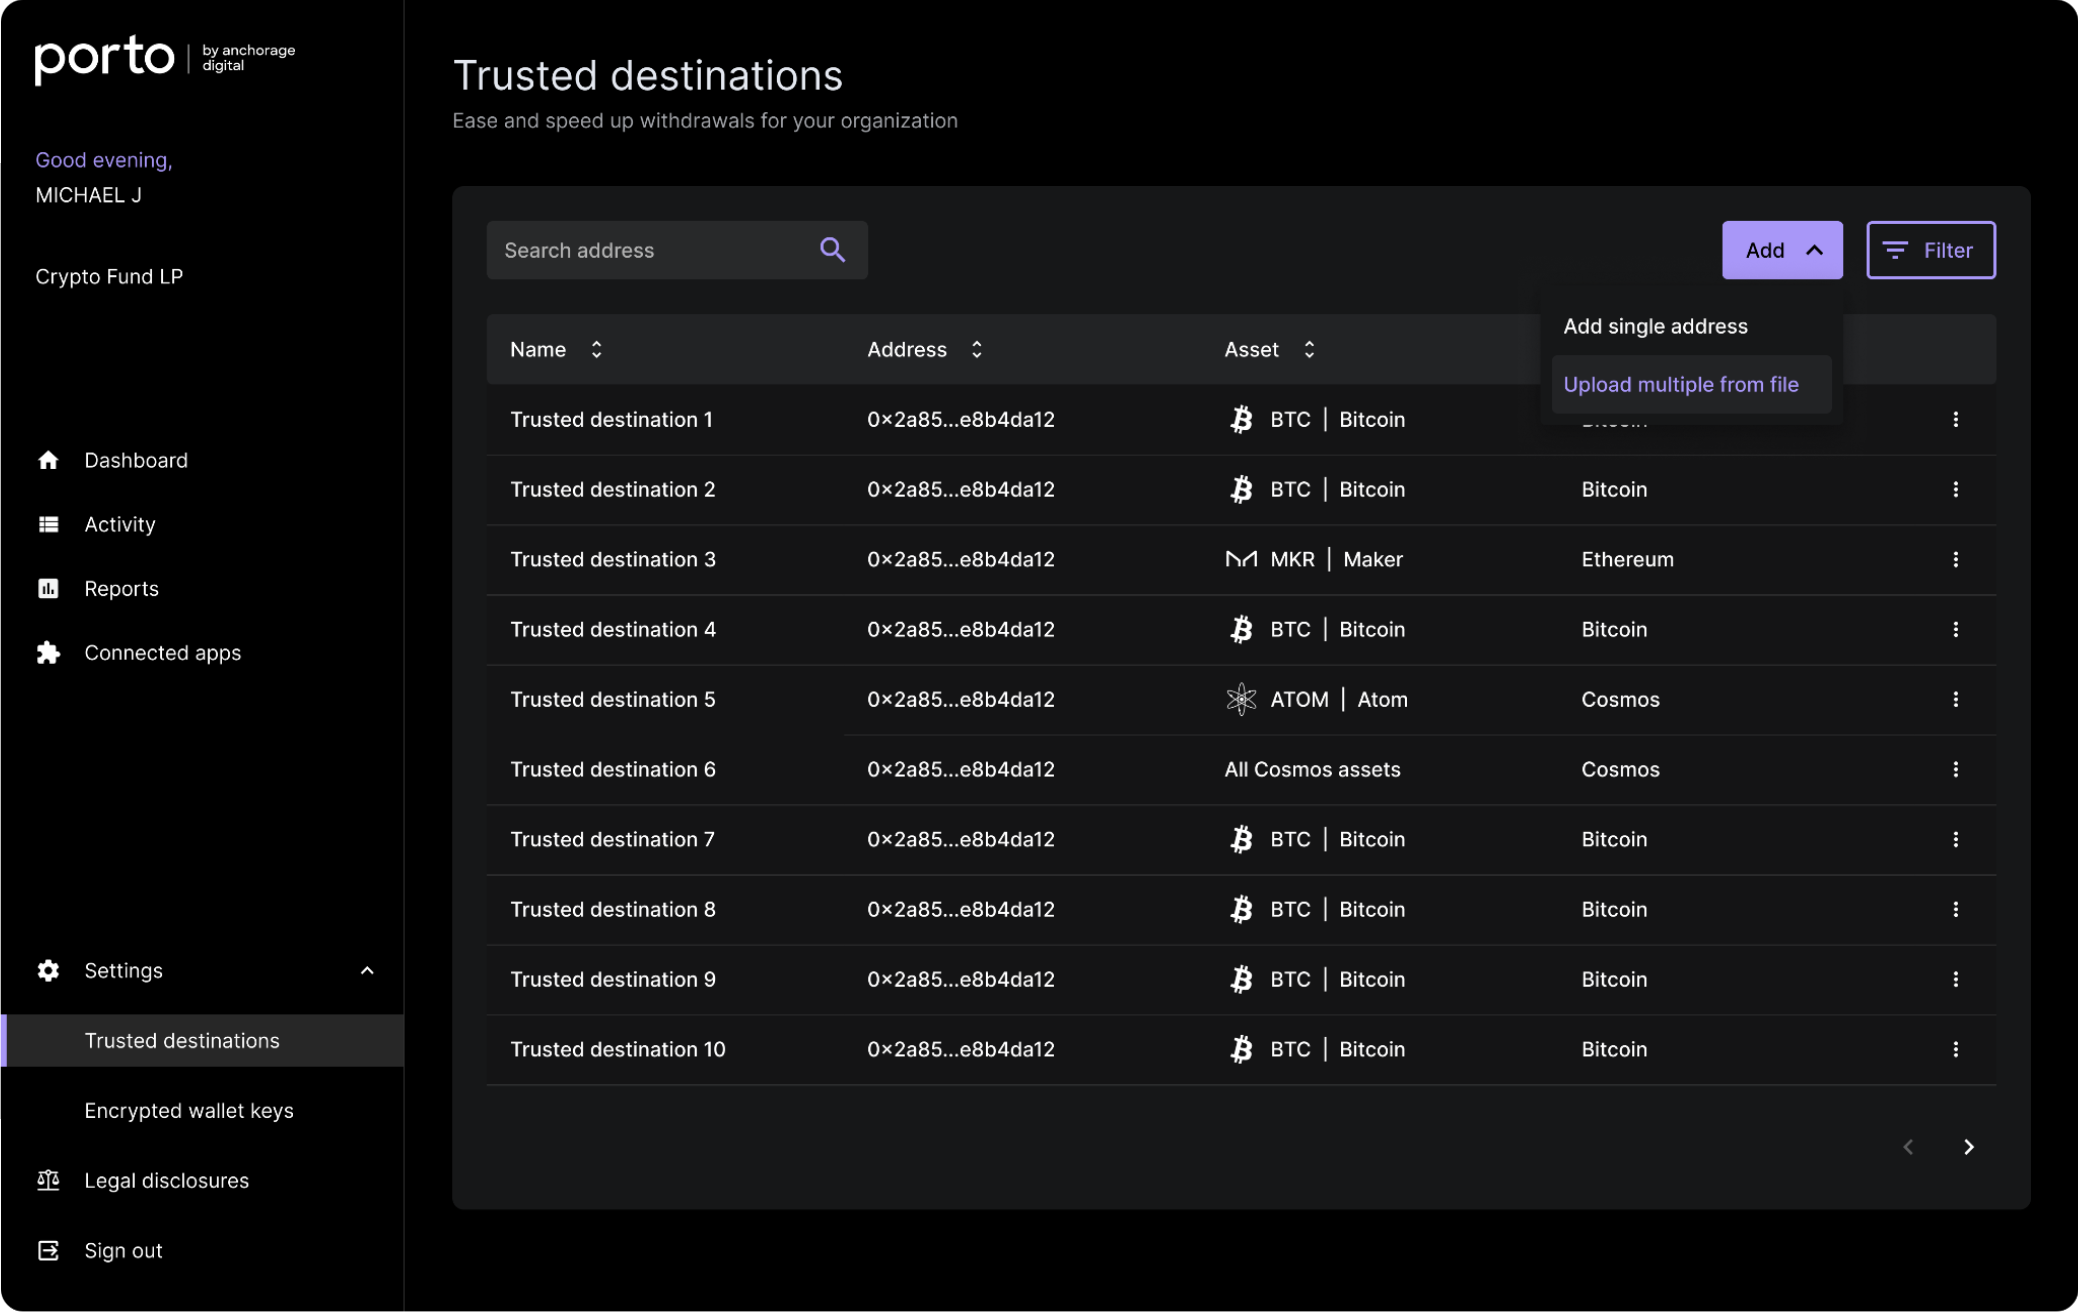
Download the template file, make a copy, and fill it out. Save the completed template in CSV format and upload it to the portal.
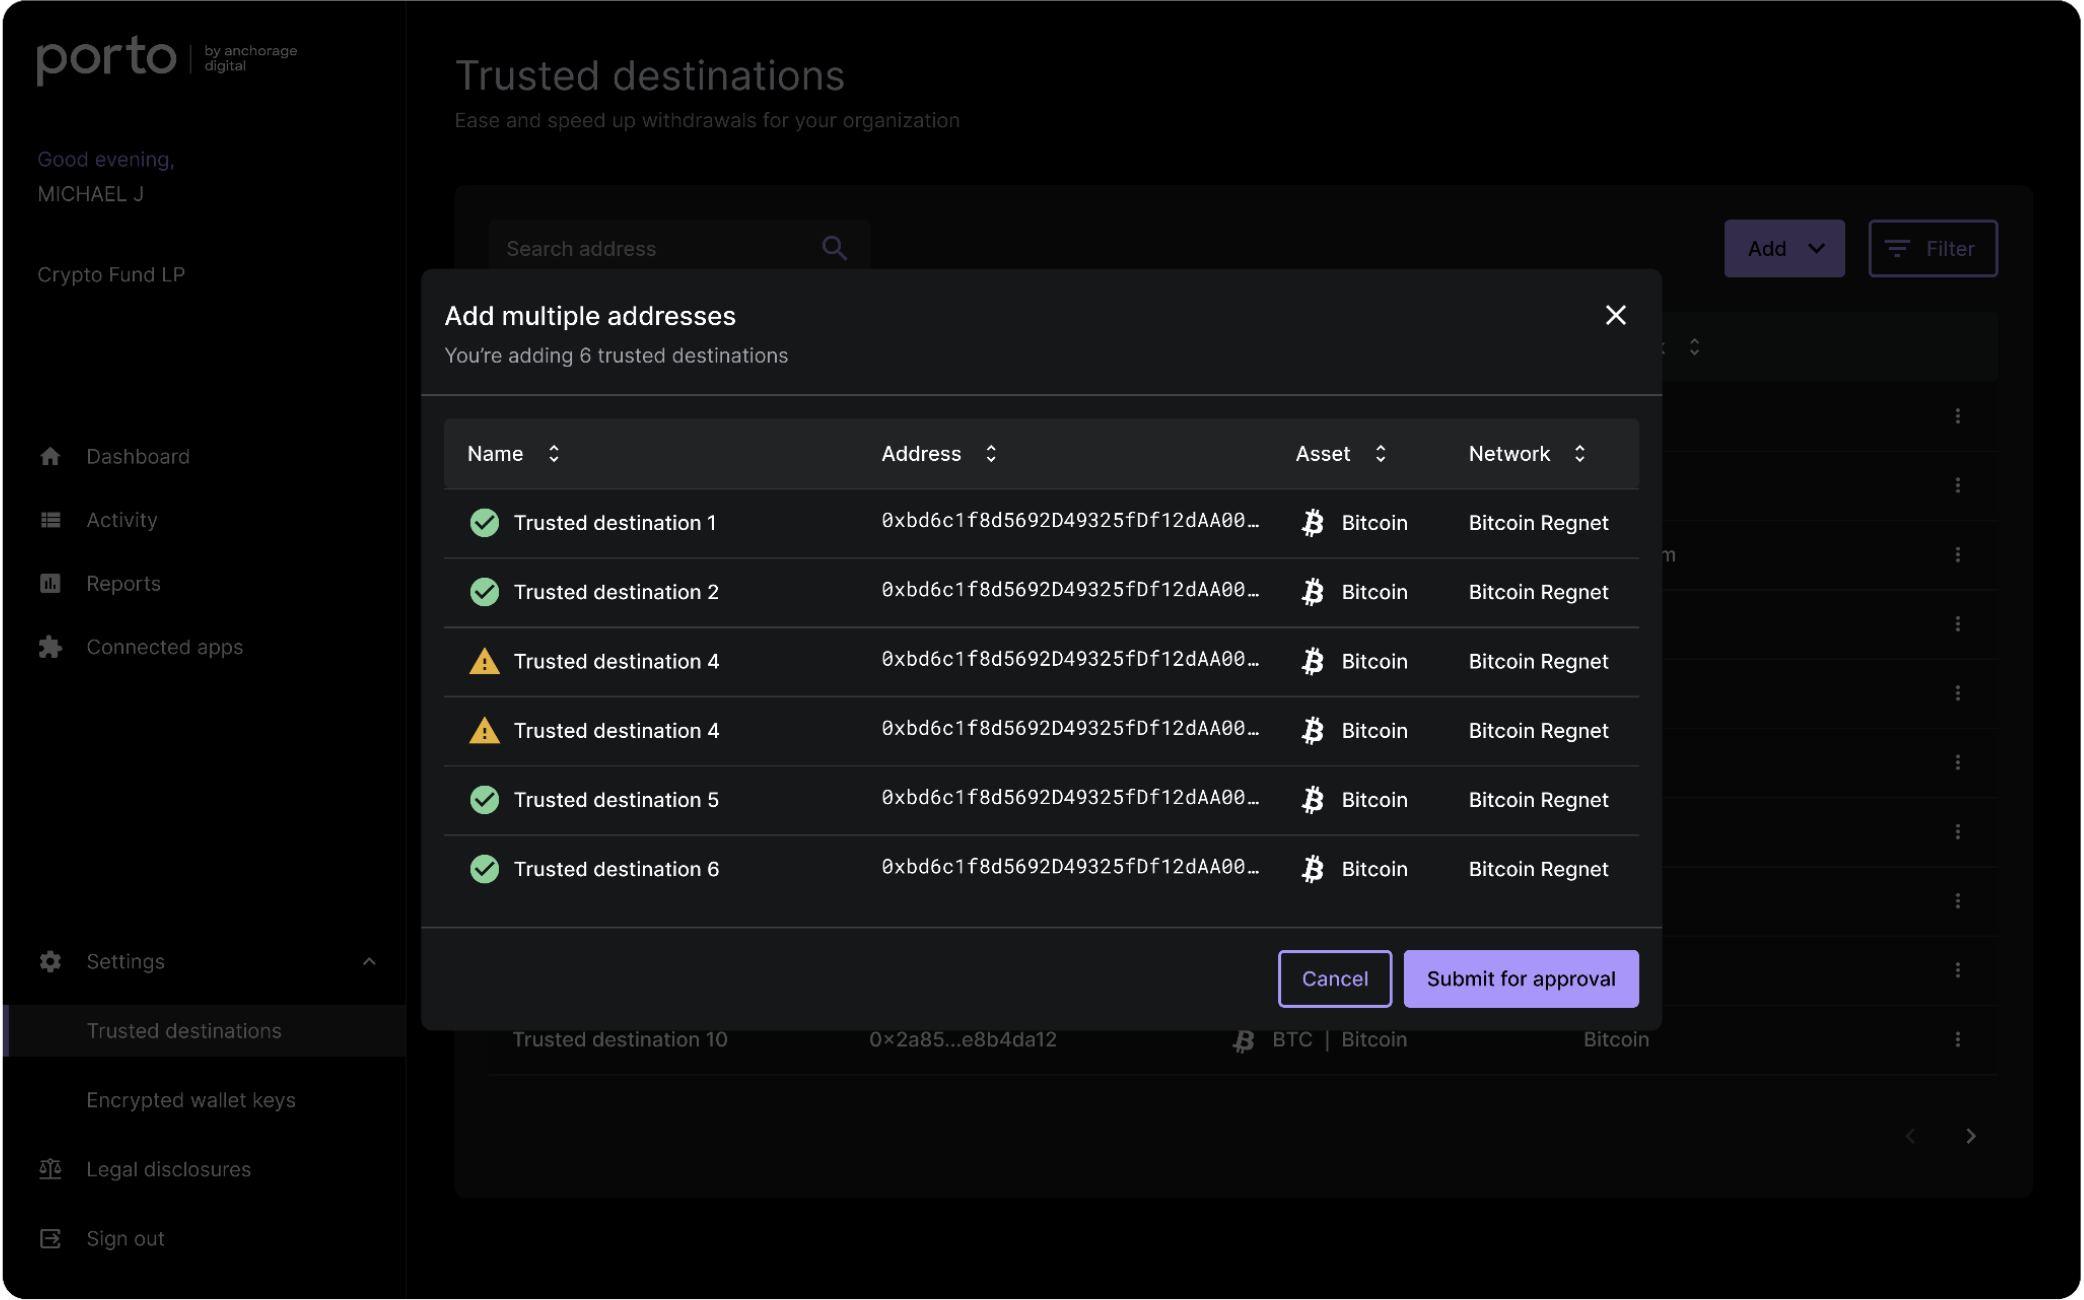
Review the list of trusted destinations, make any necessary adjustments, and submit for approval when ready.
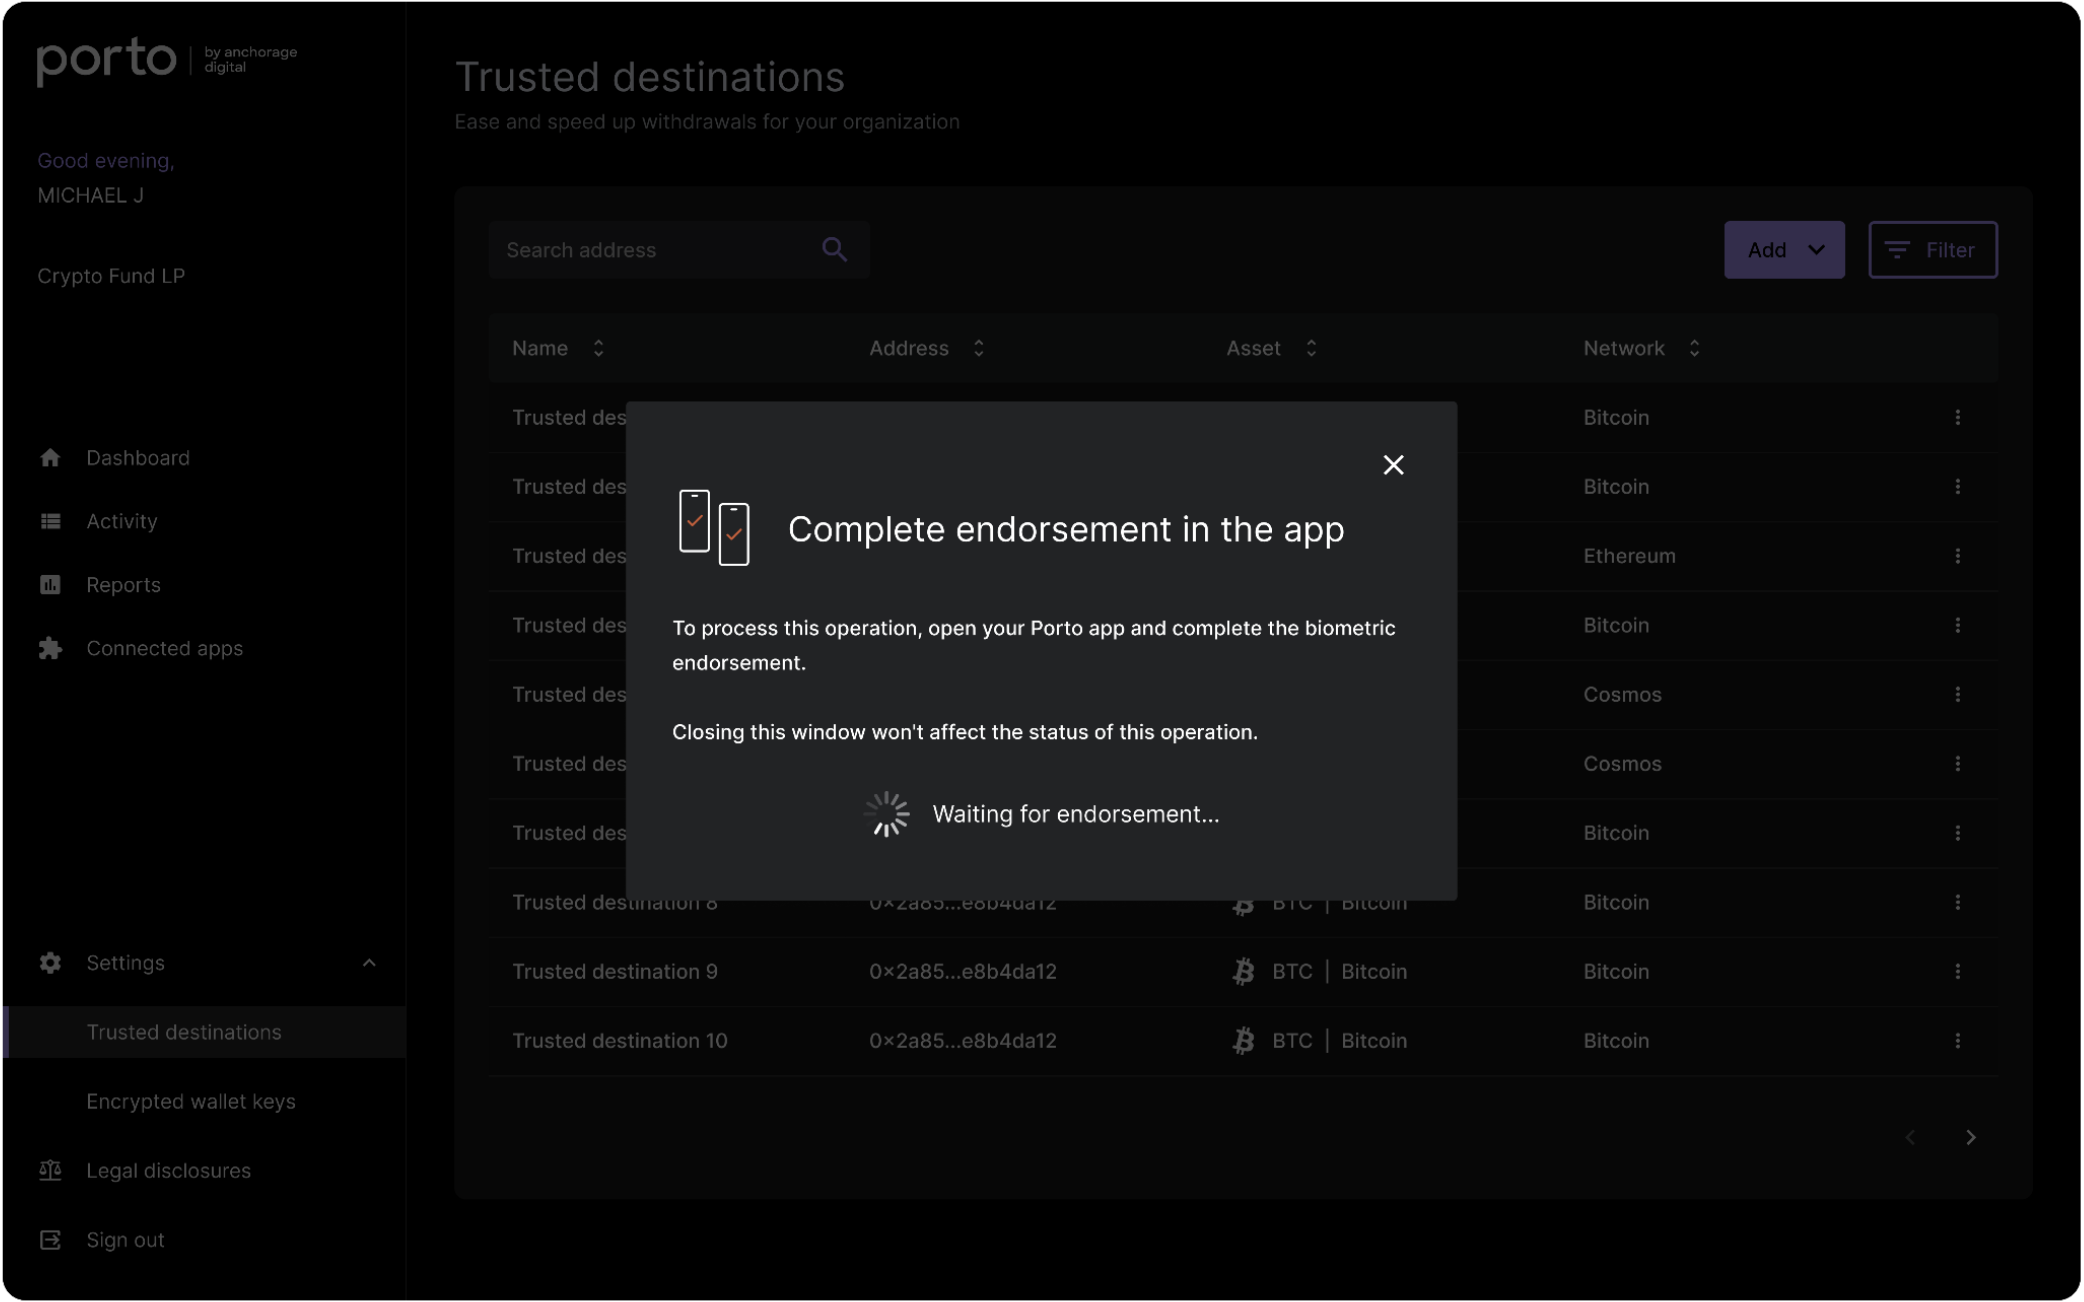
Complete the endorsement process from your Porto app. Once this quorum is met, the Porto team will review the operation for approval.
Remove trusted destinations
Administrators with trusted destination management permissions are the only users who can remove trusted destinations.
Removing trusted destinations requires quorum and Porto approval.
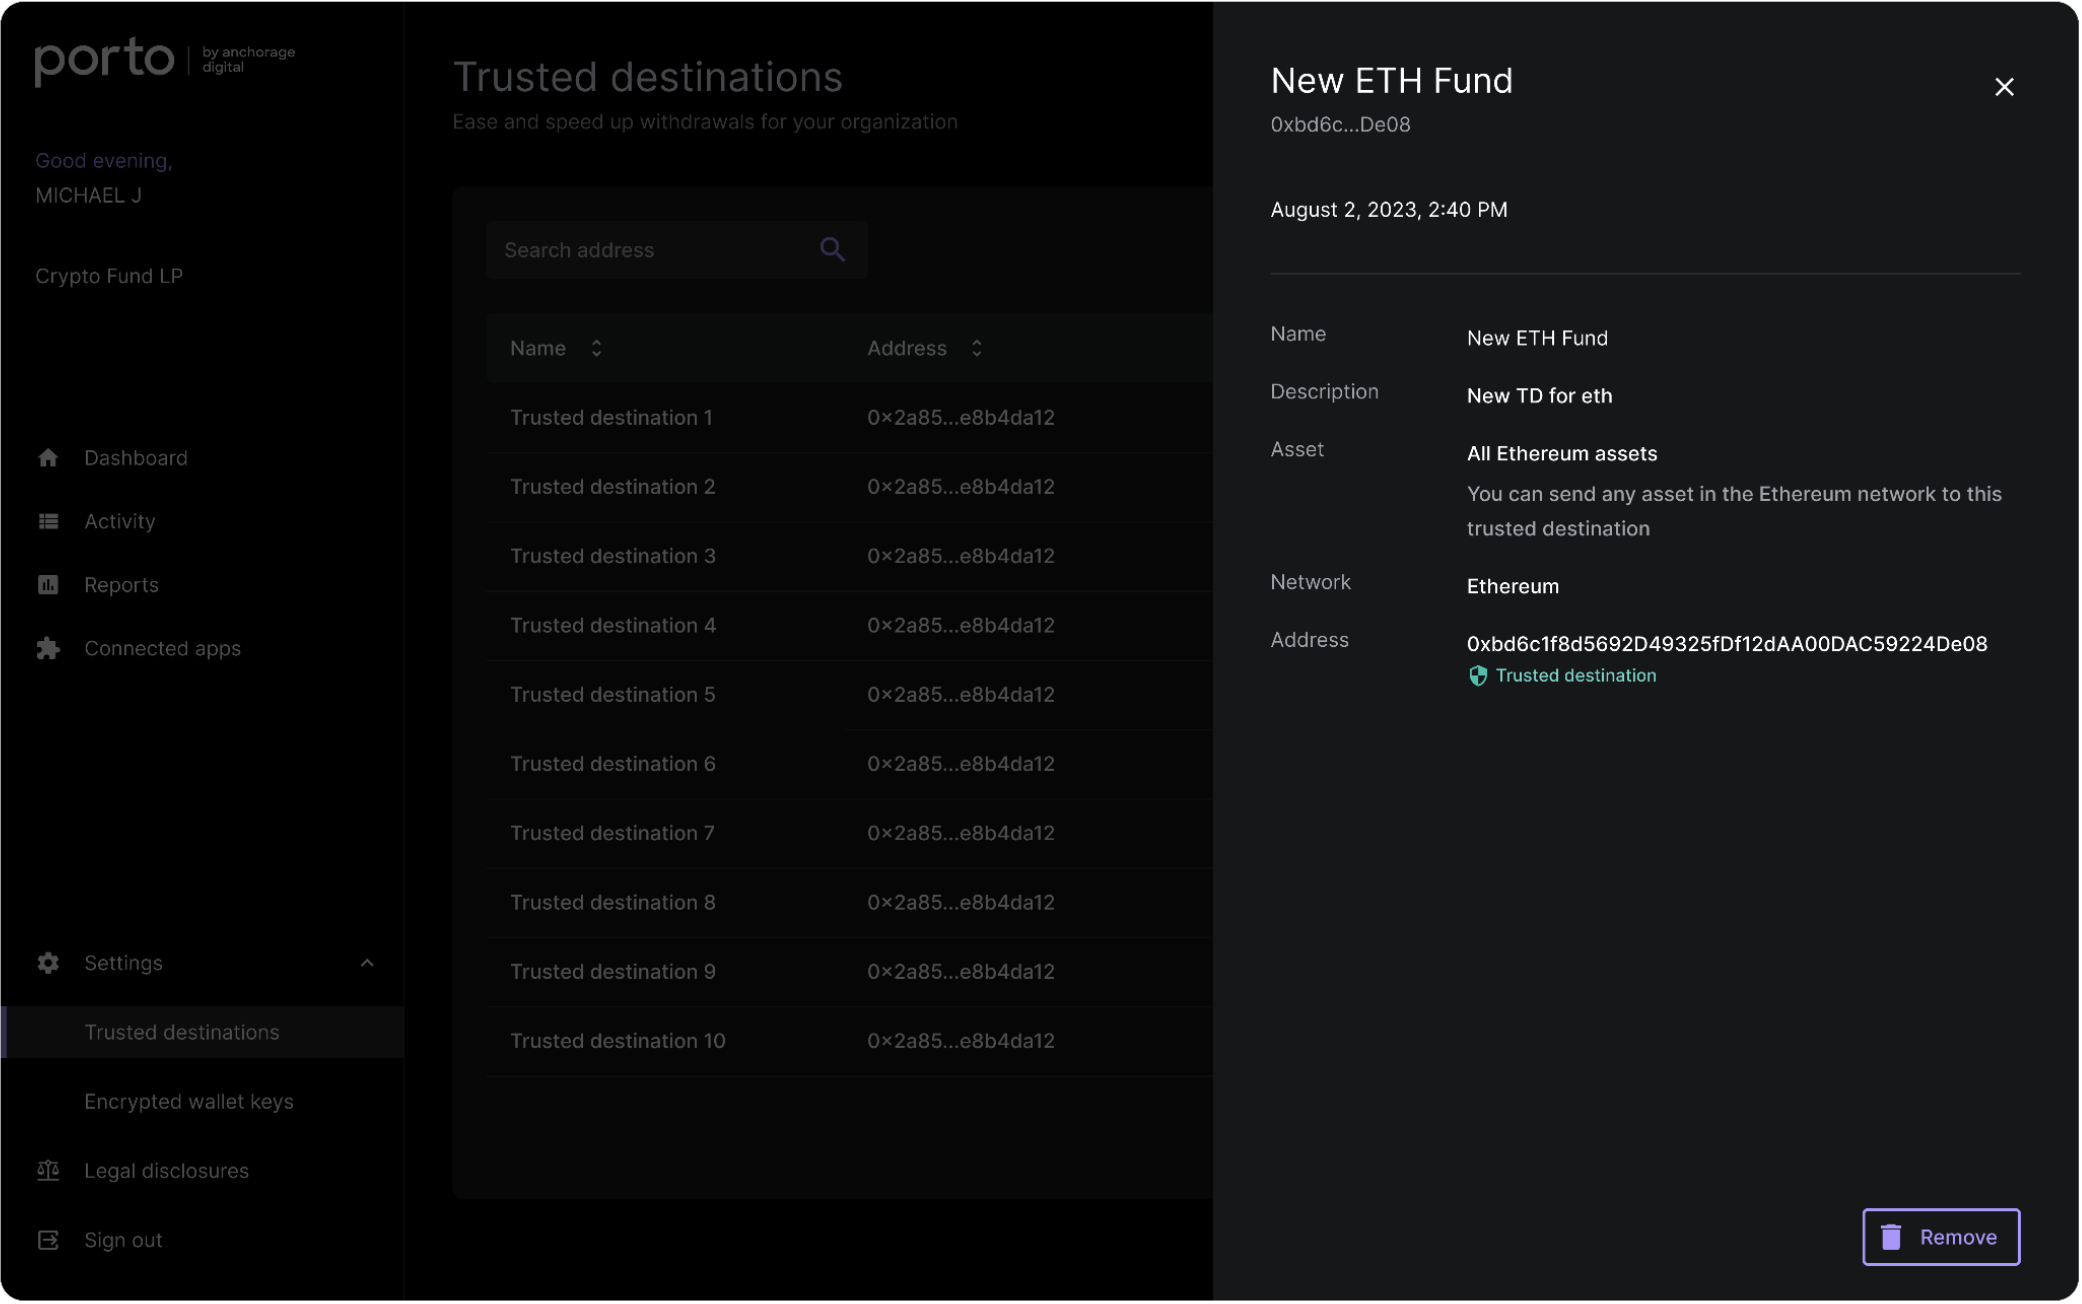
Navigate to Trusted destinations in Settings and click the three dots next to the trusted destination that you want to remove.
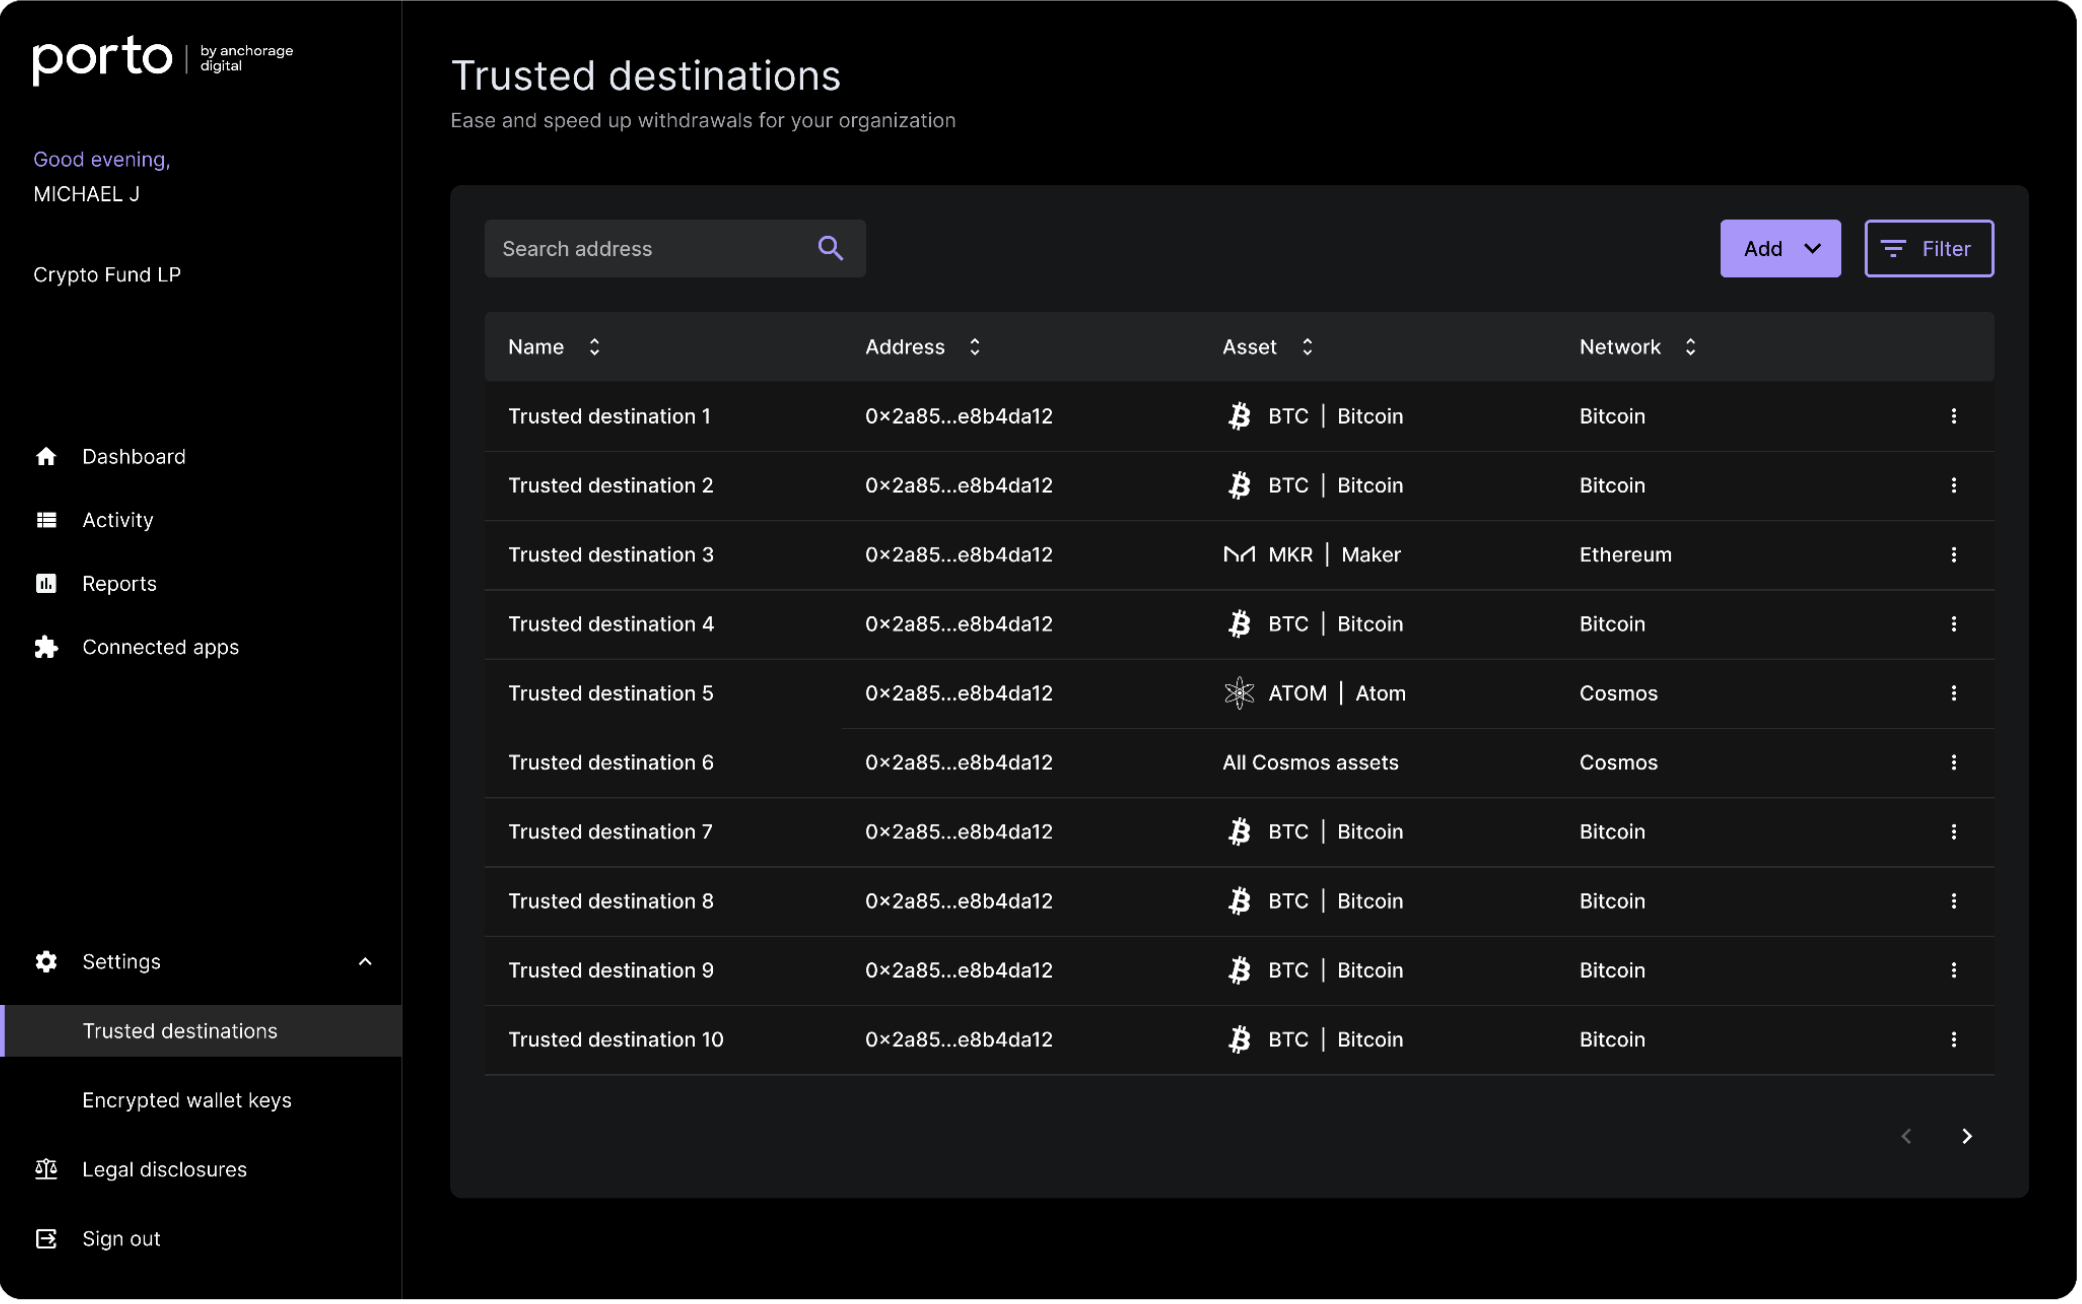
Click Remove to remove the trusted destination. Biometric approval in the iOS app is required. Once this quorum is met, the Porto team will review the operation.
Updated about 1 year ago