
Creating a vault
Creating a vault on iOS
Administrators can create as many vaults as needed for the organization. Follow these steps to create a new vault on the iOS app.
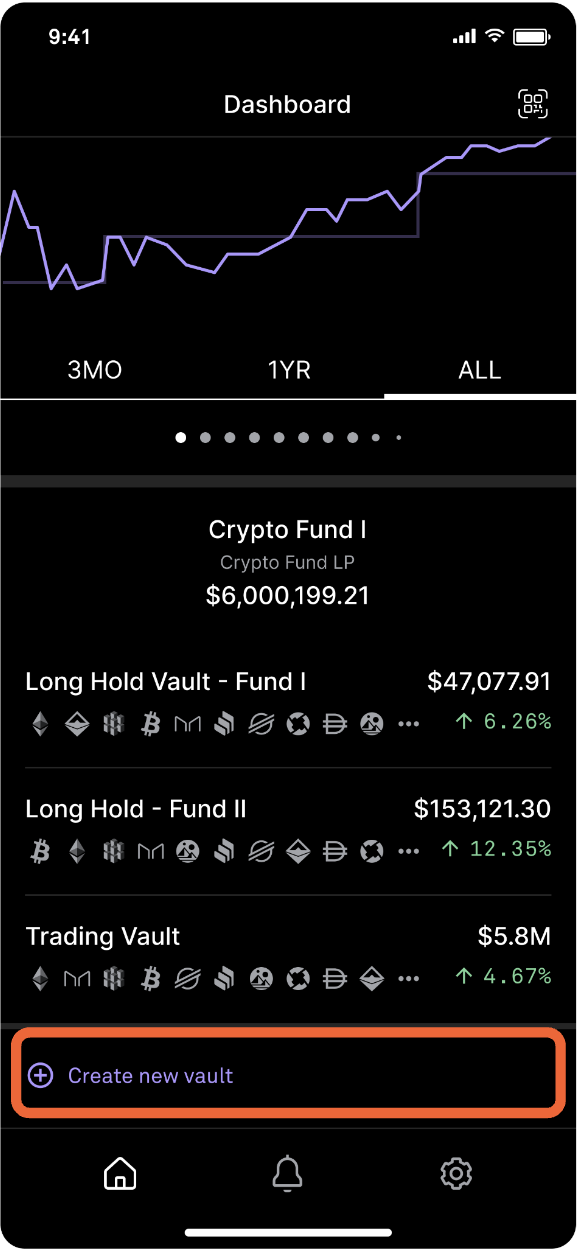
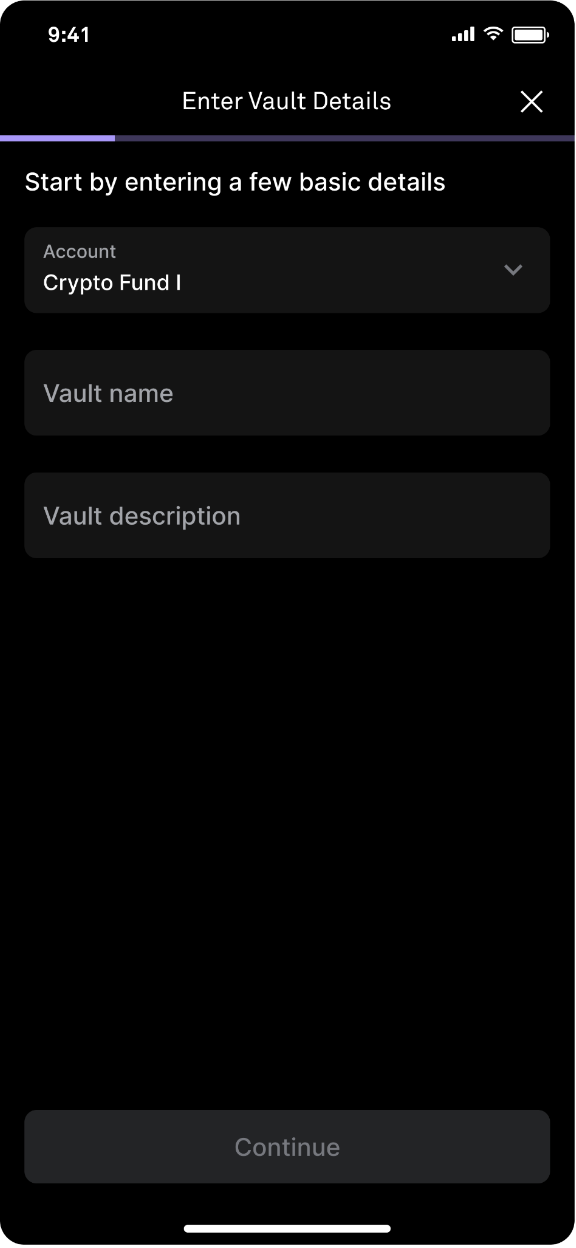
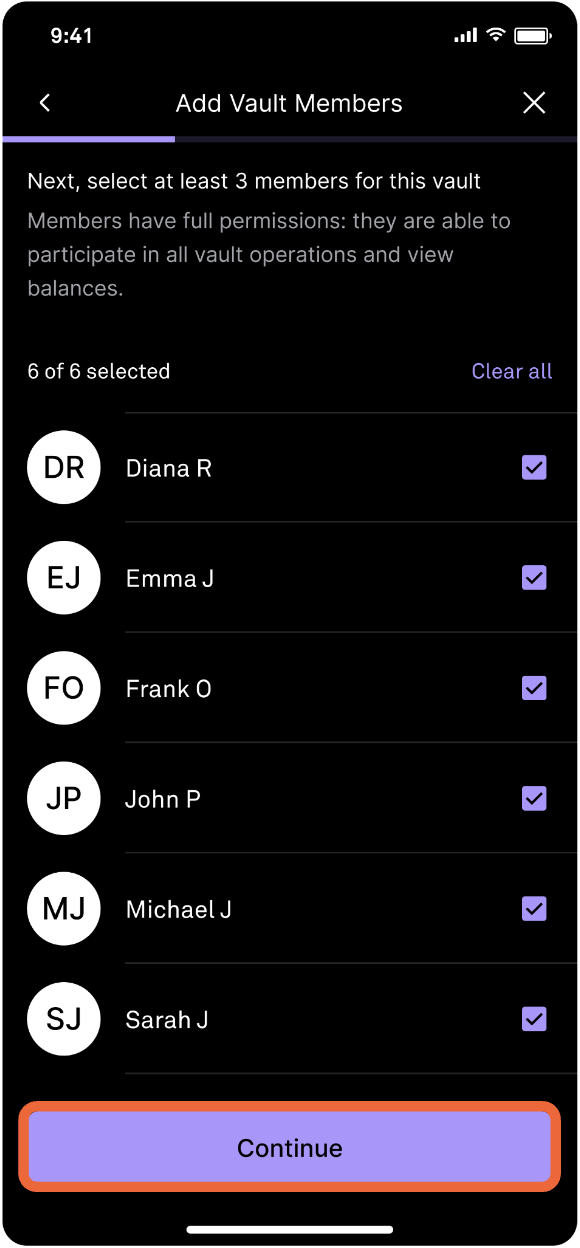
Scroll down and tap Create new vault. Enter the vault name and description, select the account, then tap Continue.
Select approvers and vault members (minimum of 3), then tap Continue again.
Set vault quorum and sub-quorums
In a vault, operations requiring quorum will follow the default policy’s quorum and sub-quorum(s), unless you set custom ones for specific operation types.
Quorums: A group of users with permission to initiate and approve operations, such as default, governance, staking, or withdrawal.
Sub-quorums: Additional approval layers, ensuring operations cannot proceed without a set number of approvals from the members. Policies may have as many sub-quorums as needed.
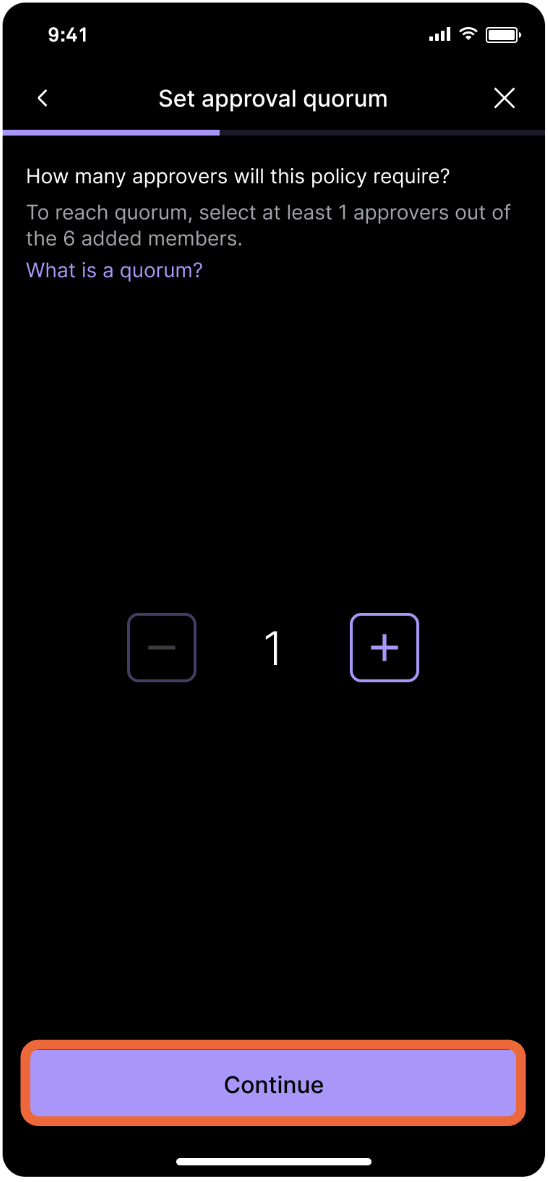
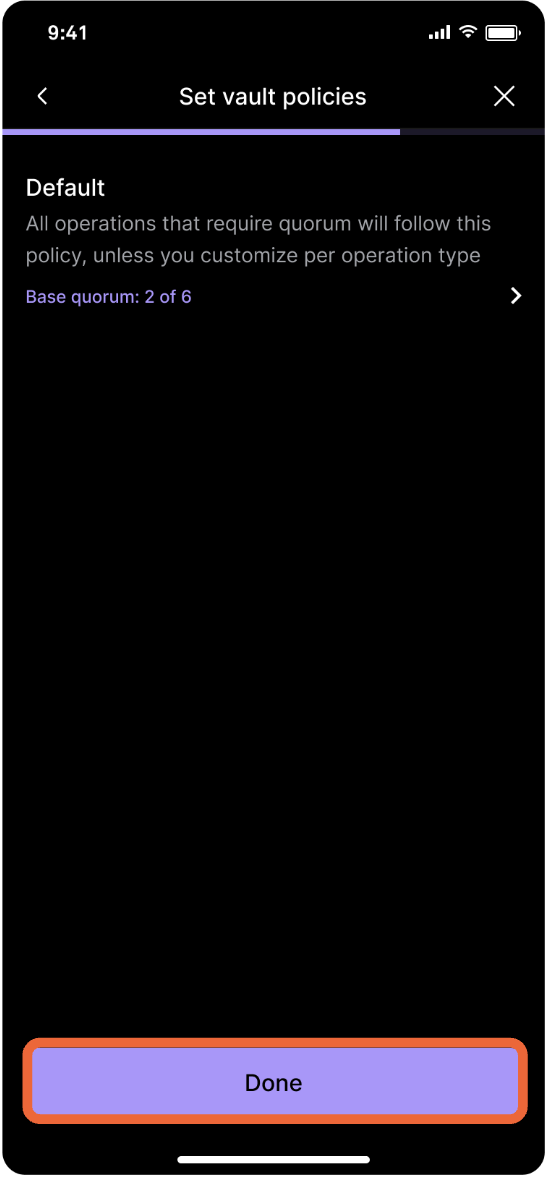
Select the number of approvers.
Select any required approvers (optional) and tap Continue. Next, set the number of requires approvers from those selected, then tap Continue.
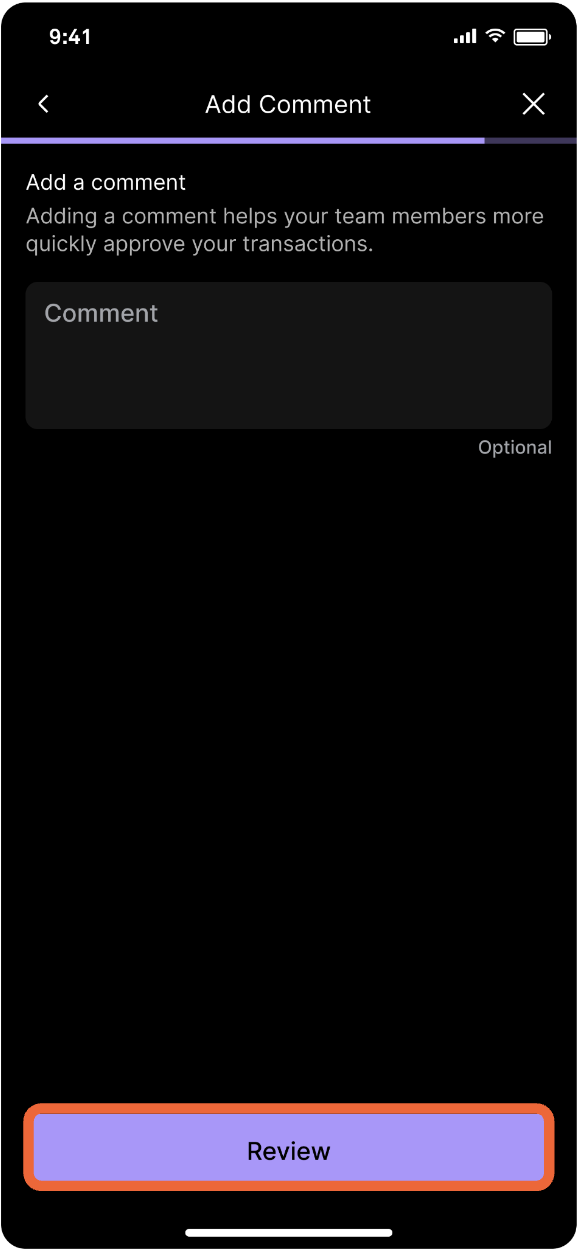
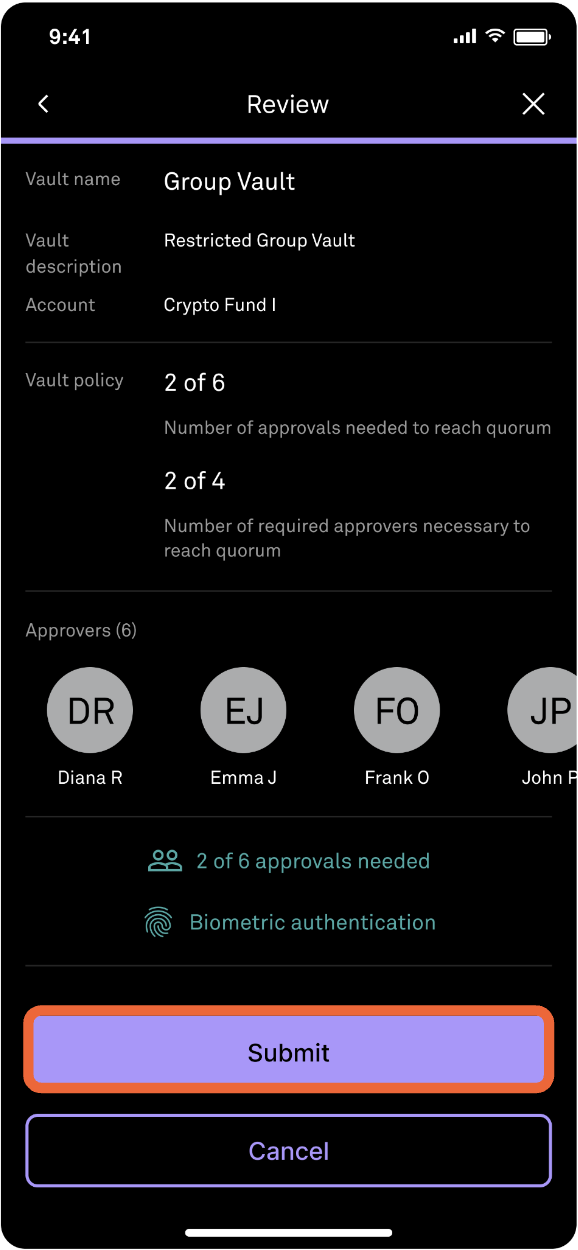
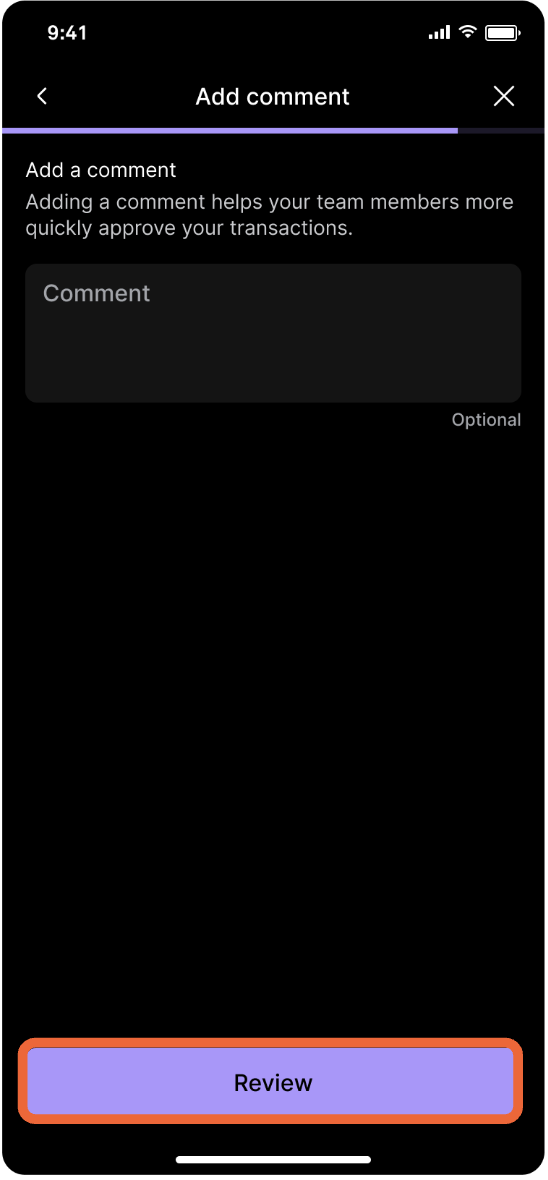
Add a comment (optional). Review the operation details, then submit biometric approval.
Tap Submit to complete. Quorum administrators will be notified to approve the Create vault operation.
Creating a vault on the web dashboard
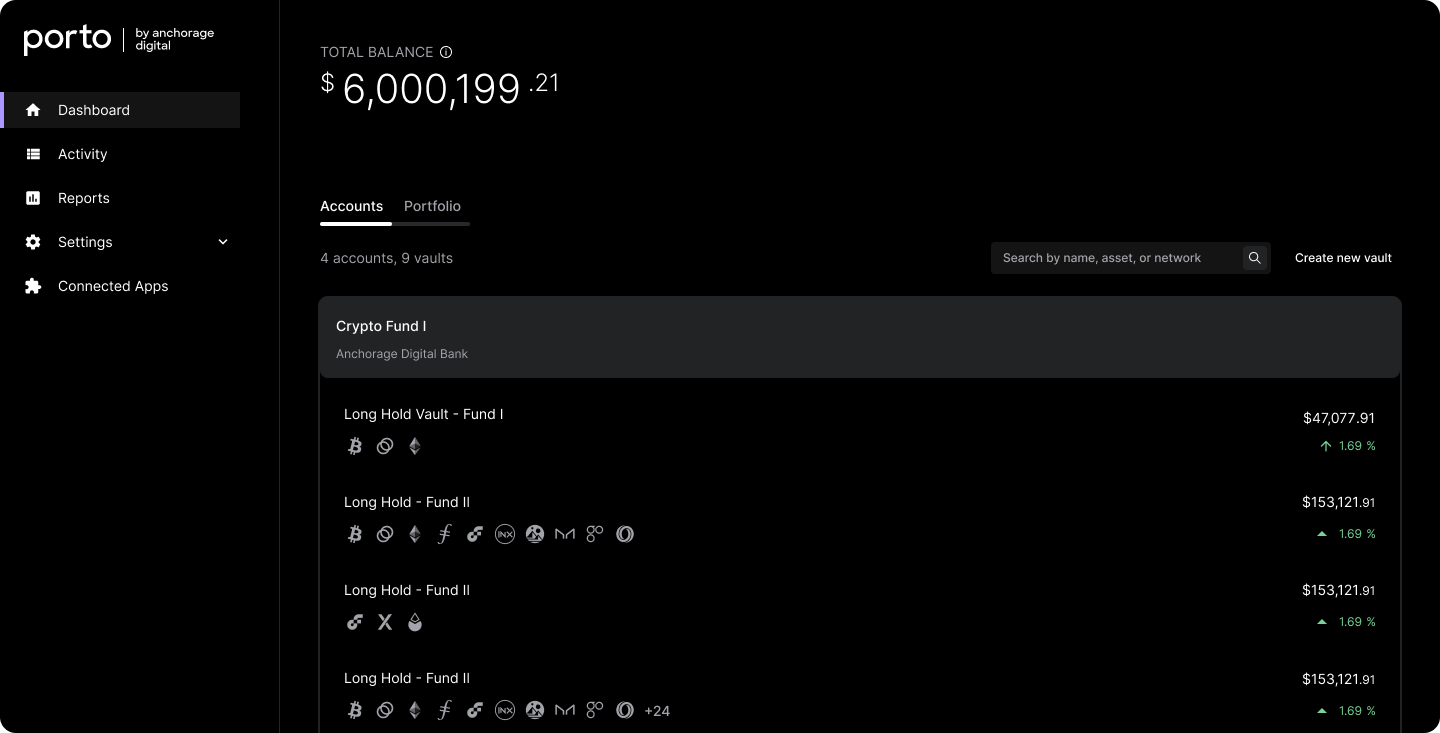
On the dashboard, select Create new vault on the right side to begin.
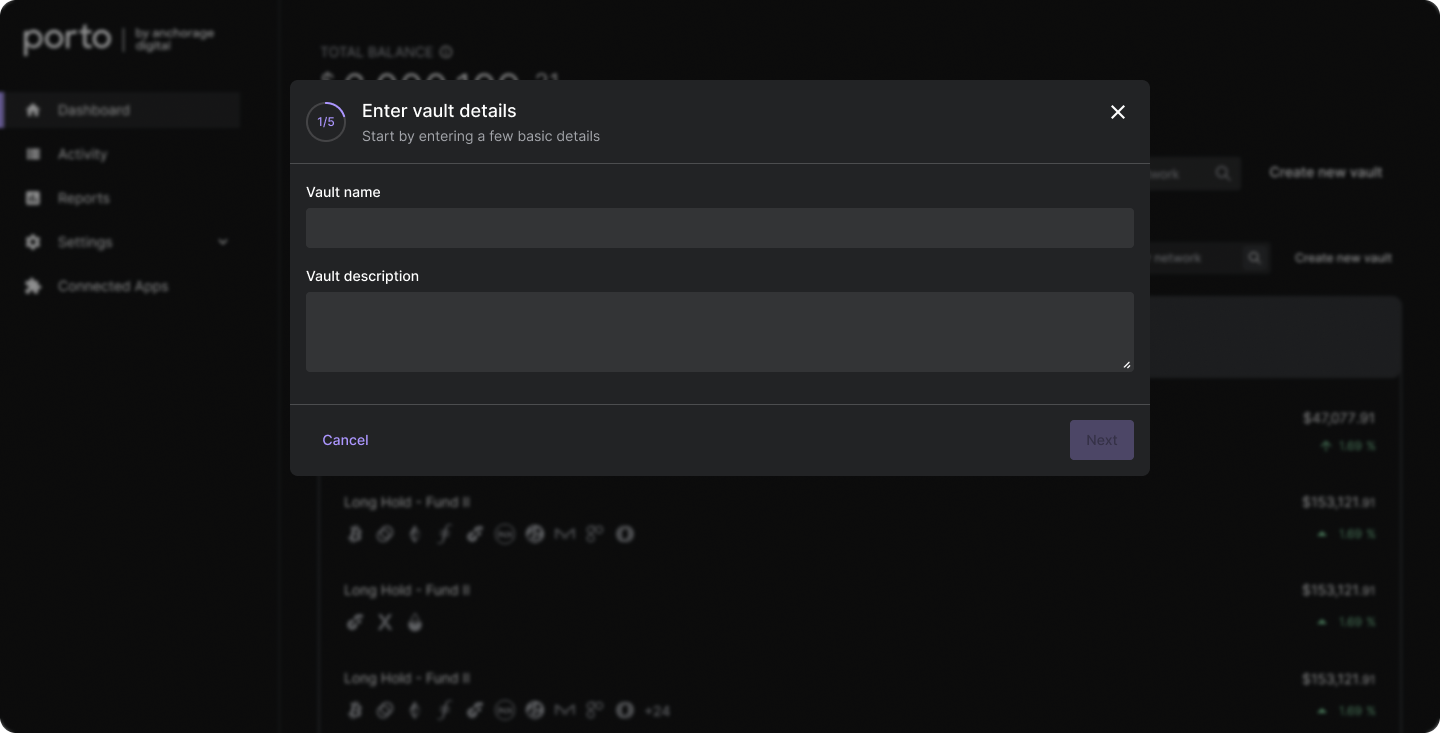
Enter the vault name, description, and select the account. Select Next.
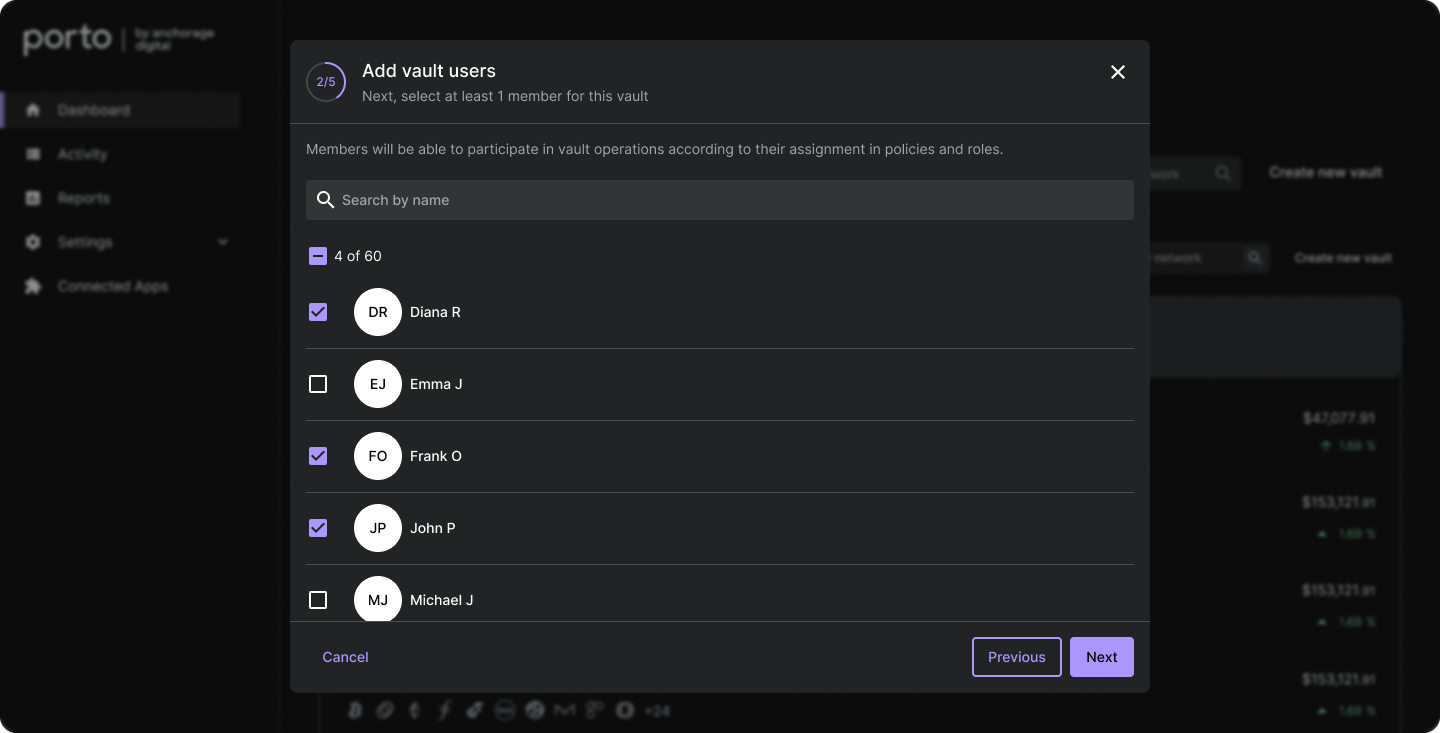
Select at least 3 vault members, then select Next again.
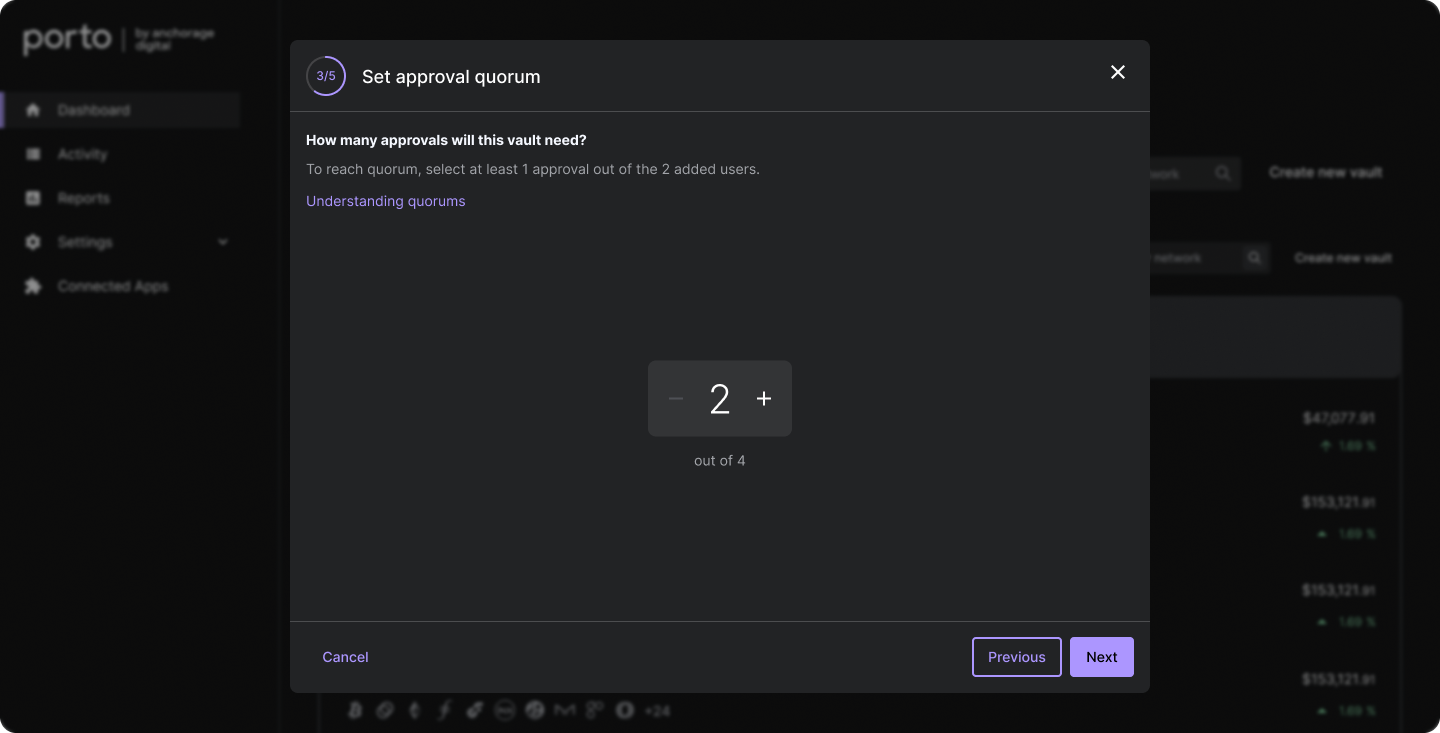
Define the number of approvals needed (minimum of 2).
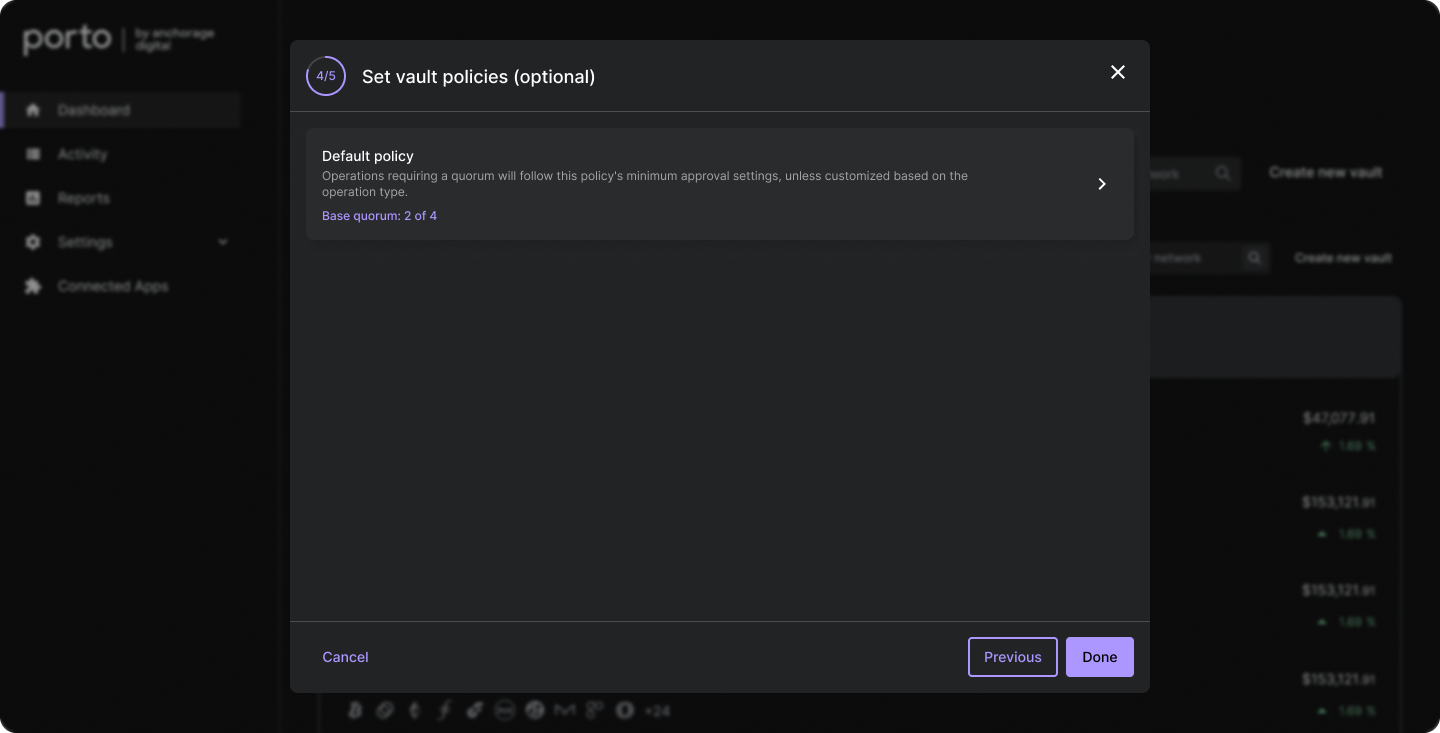
In this step, you can:
- Set a base quorum or sub-quorum.
- Adjust the approval requirements for specific operation types (withdrawal, governance, staking).
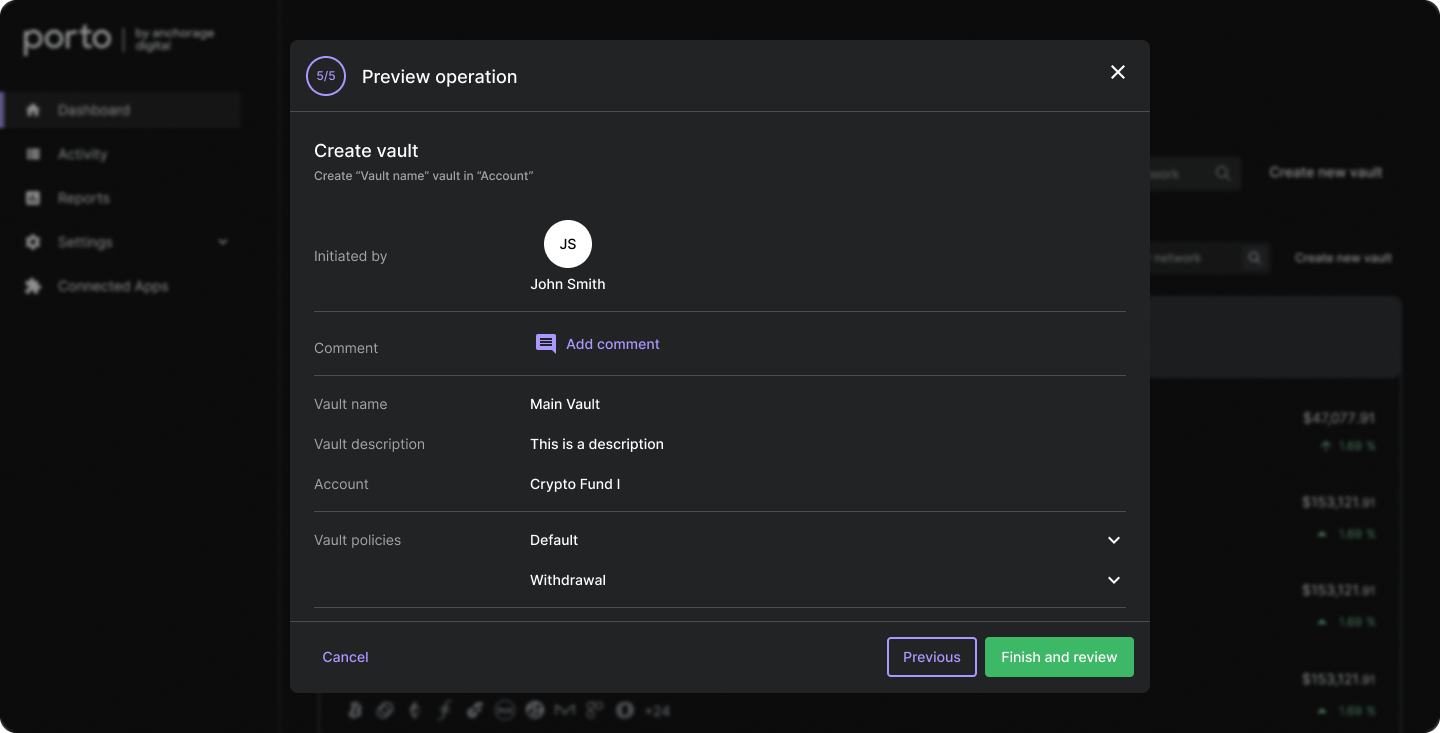
After creating the vault, you can add a comment (optional), and select Finish and review. Then, use the iOS app to submit the vault for approval.
Updated about 1 year ago